Podcasting
·
Oct 15, 2026
From Raw Recording to Tight Episode: A Simple Editing Workflow
Arif Gursel
Founder

Somewhere on a hard drive right now, there is a raw recording that sounds like a real conversation: warm, a little rambly, full of false starts and one great moment buried at minute 34. Editing is the process that turns that file into an episode people finish. It is where a show gets tight, where your voice gets clearer, and where a 70-minute chat becomes a 28-minute story with a beginning, middle and end.
In this part of the series, we map a practical editing workflow from raw files to final cut. You will learn how to organize, back up, review, structure and clean your audio (and video, if you shot it) in a repeatable order, so that editing stops feeling like a swamp and starts feeling like a checklist.
Where Tasha is now: a folder full of raw files
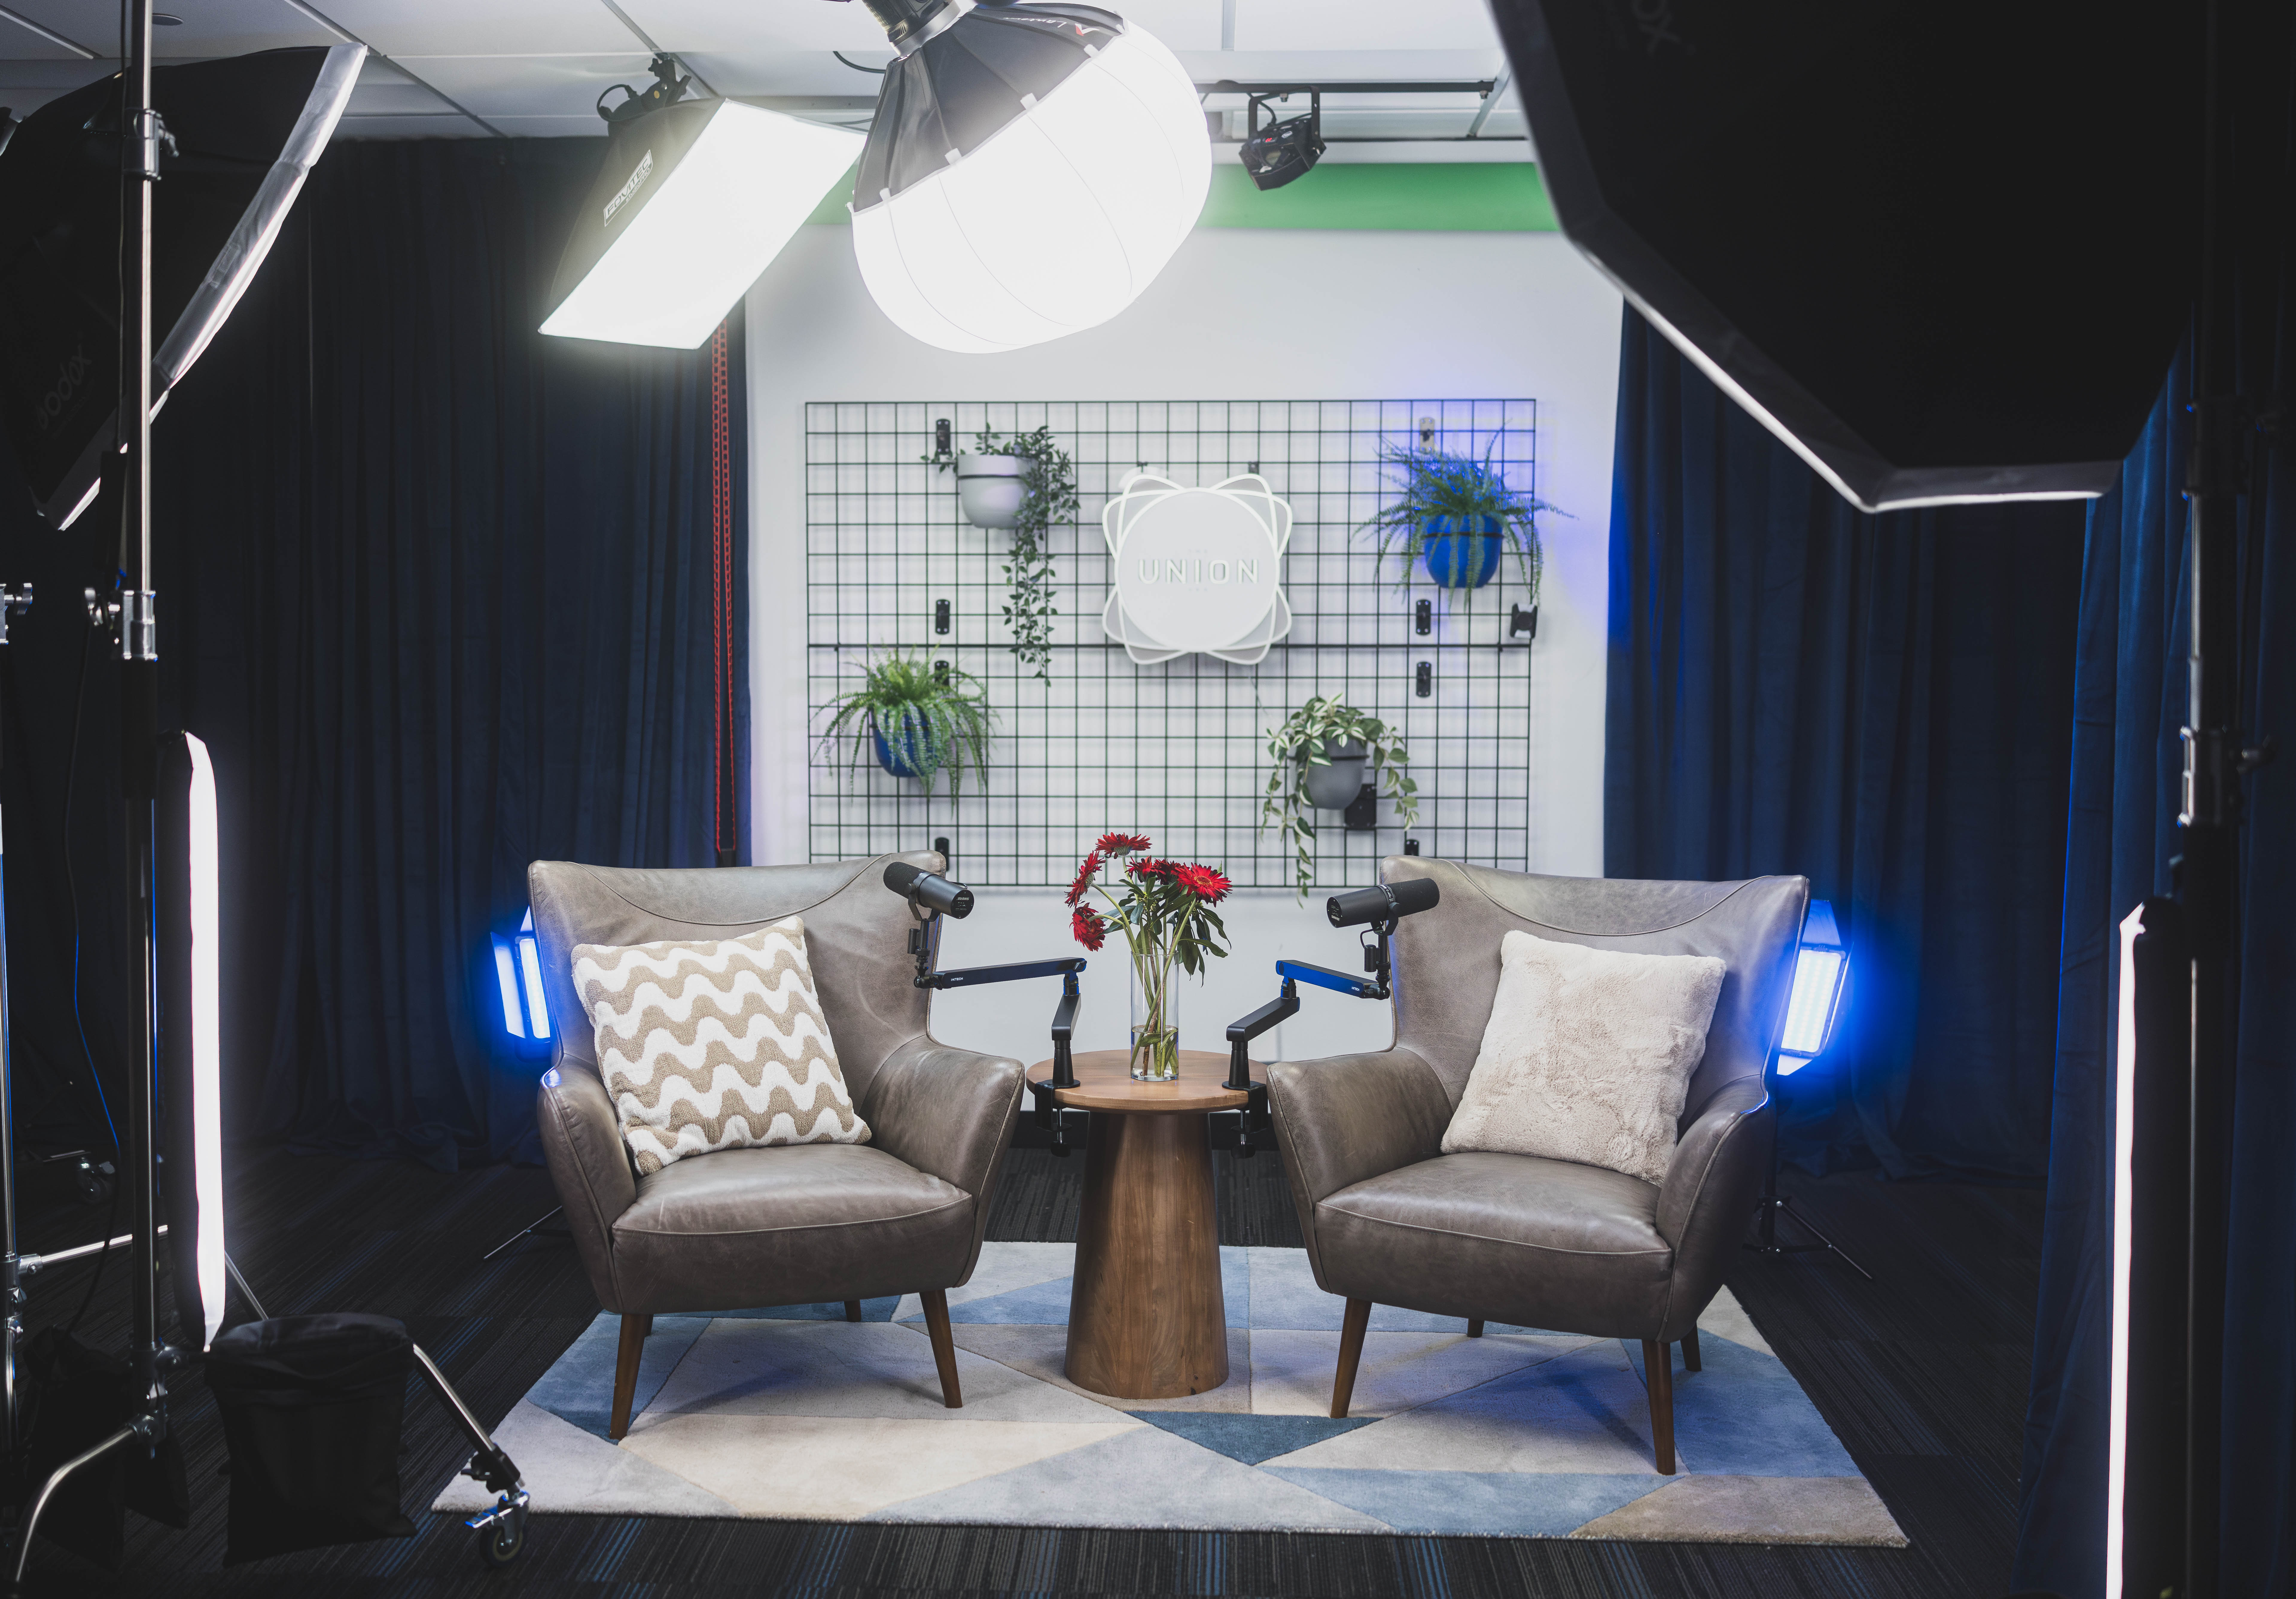
If you are just joining the series, meet Tasha, our illustrative creator. She is a middle school science teacher in Rainier Valley building a podcast for parents of curious kids. Each episode answers one real question a kid asked. In Part 12, she recorded a hybrid episode: Tasha sat on The Cove set in The Union's Blue Pill studio while an illustrative guest, a marine biologist, joined remotely to tackle a sixth grader's question: "Why is the ocean salty but rivers aren't?"
The session went well. Now Tasha has a folder containing her local microphone track, the guest's separately recorded track, a backup recording of the remote call, and camera files from the set. She also has a run-of-show with handwritten notes in the margins, like "great analogy at about 22 min" and "cut the part where my mic bumped."
Like most first-time editors, her instinct is to open the software and start snipping from the top. That is the most common way beginners burn ten hours on one episode. Instead, she is going to work in stages. You can too.
Step one: ingest, name and organize before you touch anything
Every hour you spend organizing files at the start saves you several later. Before editing, copy everything off the recorder, laptop or card into one project folder with a predictable structure.
A simple folder structure that scales
01_RAW: original files, never edited, never renamed after this step
02_PROJECT: your editing session files
03_ASSETS: intro and outro music, sound effects, logo stings, ad reads
04_NOTES: run-of-show, transcript, timestamp notes, show notes draft
05_EXPORTS: rough cuts, the locked edit and final masters
Name files so they sort themselves: S01E04_OceanSalt_Tasha_Mic.wav, S01E04_OceanSalt_Guest_Remote.wav, S01E04_OceanSalt_CamA.mov. Season, episode, short title, source. You will thank yourself at episode 30.
Check your formats
Most podcast audio is recorded as WAV at 48 kHz and 24-bit (44.1 kHz is also common, especially for audio-only shows). Whatever you choose, keep every track in the project at the same sample rate. Mismatched rates are a classic cause of tracks drifting out of sync over a long episode. Edit from WAV files, and save compressed MP3 for the very last step.
Step two: back it up before you need to
Files get lost in boring ways: a dropped laptop, a corrupted card, a "clean up" that deletes the wrong folder. The standard protection is the 3-2-1 rule: three copies of your files, on two different types of storage, with one copy off-site or in the cloud.
For Tasha, that looks like the original files on her laptop, a copy on an external drive, and a copy in cloud storage. This is one of the quiet advantages of working at The Union. The production studio has integrated Blackmagic Cloud Storage and dedicated fiber internet that is fast both up and down, built for rapid file transfers and real-time collaboration. In practice, that means large camera files and multitrack audio move off set quickly, and a remote editor can stay in the loop without waiting on a slow upload at home. Ask the production team to walk you through how cloud sync is set up for your session so you know exactly where your files live.
One habit worth adopting: do not wipe your recorder or cards until you have confirmed at least two good copies and opened the files to make sure they play.
Step three: choose your editing tools (and don't overthink it)
The software matters less than the workflow. Here are widely used options, roughly from simplest to most powerful. Pricing and plans change often, so check current details on each company's site.
Audacity: free, open source, runs on Mac, Windows and Linux. Great for learning basic cuts.
GarageBand: free on Mac. Friendly and multitrack, though limited for advanced work.
Descript: text-based editing, where you edit the transcript and the audio and video follow. Offers a free tier and paid plans. Excellent for story edits.
Reaper: a full digital audio workstation with an inexpensive personal license and a generous evaluation period.
Adobe Audition and Adobe Premiere Pro: subscription-based, common in professional workflows.
DaVinci Resolve: Blackmagic Design's video editor, with a free version and a paid Studio version. Includes a full audio section and integrates with Blackmagic Cloud, which makes it a natural fit if you are shooting video at The Union.
Tasha is recording video for clips but publishing audio as her main product, so she chooses a text-based editor for her story edit and plans to hand video to a collaborator. If you are unsure which path fits your show, this is a good question for a content strategy or post-production consultation with The Union's team. Picking the wrong tool for your format can cost weeks of relearning.
Step four: listen first, cut second (the paper edit)
Here is the step most beginners skip. Before making a single cut, review the entire recording once and take notes. Producers call this a "paper edit": you decide the shape of the episode on paper, then execute it.
How to run a review pass
Generate a transcript. Most editors, including Descript, Premiere Pro and Resolve (depending on version), can auto-transcribe. Expect errors with names and technical terms.
Listen at 1.25x to 1.5x speed with the transcript open.
Mark timestamps with simple codes: KEEP (strong moment), CUT (tangent or dead air), FIX (technical problem), MOVE (good, but belongs elsewhere), CLIP (potential social clip).
Write one sentence describing what the episode is really about after hearing it. It may differ from what you planned.
Tasha's one sentence: "Rivers carry tiny amounts of minerals to the sea, and evaporation leaves the salt behind, so the ocean has been collecting salt for millions of years." Everything that serves that sentence stays. Everything else gets a hard look.
Use your run-of-show as a map
If you prepped a run-of-show (as we covered earlier in the series), compare it to what actually happened. Conversations wander. Sometimes the best answer arrives late, and you will want to move it up. The Union's producers prep a run-of-show before a session and monitor pacing and clarity during recording, which can give you a head start on the paper edit. If you recorded with a producer, ask what notes they can share before you begin.
Step five: the story edit, where the episode gets its shape
Now you cut, starting big and getting smaller. Think of it like sculpting: remove the large chunks before you sand the surface.
Big structural cuts first
Trim the warm-up. Most recordings have two to five minutes of "Can you hear me?" and small talk at the top. Cut it.
Find your cold open. Pull a 15 to 45 second moment that hooks the listener and place it before your intro. For Tasha, it is the guest saying, "If you dried out every ocean on Earth, the salt would cover the continents in a layer hundreds of feet thick." (She double-checks the figure with the guest before publishing, because a science show lives on accuracy.)
Remove tangents. If a five-minute detour doesn't serve your one-sentence summary, cut it. Save the best ones in a "bonus" folder.
Reorder for clarity. Move answers next to the questions they answer. Make sure explanations build from simple to complex.
How long should the episode be?
There is no universal ideal length. Listener habits vary by genre and platform, and studies of average episode length shift from year to year. The better rule: as long as it stays interesting, and consistent enough that your audience knows what to expect. Tasha's target is 20 to 30 minutes, about the length of a drive to school or a dinner prep session, because her listeners are busy parents.
Set realistic time expectations
A common rule of thumb is three to four hours of editing for each finished hour of a conversational show, and much more for heavily produced narrative episodes. Beginners often take longer at first. Your ratio will drop as your workflow solidifies, which is the whole point of this post.
Step six: the cleanup edit, tightening without sanding off the humanity
Once the structure is right, do a detail pass. This is where you remove the friction that makes listeners drift.
Filler words: trim excessive "ums," "likes" and "you knows," but leave some. Removing every one makes speakers sound robotic.
False starts: cut "So the, the reason, well, what happens is" down to "What happens is."
Long pauses: shorten dead air, but keep natural beats after a big idea. A pause can be a punctuation mark.
Crosstalk: on multitrack recordings, you can often lower or cut one person's track while the other finishes a thought.
Breaths: reduce loud ones, keep quiet ones. Zero breaths sounds uncanny.
The craft of an invisible cut
Make cuts at natural pauses or between words, and use tiny crossfades (often around 5 to 20 milliseconds) to avoid clicks. Listen back across every cut. If you can hear the edit, so can your audience. Watch for changes in room tone; a cut that jumps from a hum to silence is noticeable. Recording 20 to 30 seconds of room tone at each session gives you material to patch gaps.
What to leave for mixing
Noise reduction, EQ, compression and loudness targets belong in the mixing stage, which we cover next. During editing, flag problems (a plosive here, a hum there) rather than chasing them. Doing heavy processing too early can lock you into choices that are hard to undo.
Step seven: assemble, add assets and lock the cut
With content cleaned, assemble the full episode in order:
Cold open (15 to 45 seconds)
Intro music and show intro
Episode setup: the kid's question and why it matters
Main conversation, story-edited and cleaned
Mid-roll ad or sponsor marker, if applicable
Recap or takeaway for parents
Call to action (submit a question, rate the show)
Outro music and credits
Do a full listen-through at 1x speed with no distractions, ideally on headphones and once on phone speakers
Export a "locked cut" and mark it clearly, such as S01E04_LOCKED_v1.wav
"Locking the cut" means no more content changes. From here, the episode moves to mixing and mastering. Changing words after mixing often means redoing work, so be decisive.
If sponsors are in scope, mark your ad breaks with timestamps now. The Union's post-production service includes sponsor-ready ad markers when partners are part of the plan, along with mixed audio, a clean video cut, short captioned clips, thumbnails, pull-quotes, show notes and publishing copy. Knowing that full menu exists is useful even if you edit yourself: you can hand off just the pieces you don't have time for.
Use version control like a pro
Save new versions instead of overwriting: v1, v2, v3. Keep a short text note of what changed in each. When a co-host asks, "Can we put back the bit about the Dead Sea?" you will be able to find it in seconds.
Where to edit: a workspace that keeps you moving
Editing takes focus, and kitchen tables are full of interruptions. Tasha learned this quickly. Grading papers, family dinner and a teenager asking for the car all compete with a four-hour edit.
The Union supports this stage in a few concrete ways:
A dedicated pre/post-production room for editing inside the production studio, so you can review footage and audio close to where you recorded it.
Drop-in coworking through the CoWorking Hybrid Worker membership, plus first-come, first-served office spaces and meeting rooms on the 20th floor, along with The Corner.
Fiber internet and Blackmagic Cloud Storage for fast transfers, cloud sync and collaborating with a remote editor in real time.
Member hours of 24/7, Monday through Friday, which matters if your editing window is after the school day ends.
A community of creators in the Commune and at workshops, where you can ask someone who has already solved the problem you are stuck on.
That last point is underrated. Members like Jolyn GC, who records her podcast Wealth Rituals at The Union and co-hosts The Come Up Series on YouTube, are part of a community of local entrepreneurs, artists, educators and creators sharing space. Being around other creators normalizes the grind of post-production and gives you peers to compare workflows with.
Common editing mistakes to avoid
Editing from the top without a review pass. You'll polish sections you later cut.
Over-editing. Stripping every pause and filler makes people sound like robots.
Working on your only copy. Always keep RAW files untouched and backed up.
Mixing while editing. Get the content right first, then make it sound great.
Ignoring the listener's time. A long intro is the fastest way to lose new listeners.
Never finishing. Perfectionism kills shows. Set a deadline for locking the cut.
Skipping the phone-speaker test. Many listeners hear you through earbuds or a car, not studio monitors.
A walkthrough with an experienced producer can surface most of these habits before they become routine. If you are editing your first few episodes, that conversation may save you more time than any plugin.
Do this this week
Take one existing recording (even a 15-minute practice conversation) and run the workflow end to end:
Build the five-folder structure and rename your files.
Make three copies following the 3-2-1 rule.
Transcribe and do a full review pass with KEEP, CUT, FIX, MOVE and CLIP notes.
Write your one-sentence summary.
Do the story edit, then the cleanup edit, and time yourself for each.
Export a locked cut and listen once on headphones and once on your phone.
Write down your total hours. That number is your baseline. By episode five, compare.
By the end of her week, Tasha has a 26-minute locked cut, a folder of three potential social clips and a note that says "fix hum at 14:10 in mixing." She is ready for the next stage.
Coming up next
In Part 14, Mixing and Mastering, Tasha takes her locked cut and makes it sound polished and consistent: balancing voices, taming noise and hitting the loudness levels podcast platforms expect.
Start your story at The Union
You do not need to own an editing rig or know every shortcut to start. The Union is a community, coworking and creative media production space in downtown Seattle, built so educators, entrepreneurs and artists can move from idea to finished episode with space, tools and people around them.
If you want a focused place to edit, the CoWorking Hybrid Worker membership ($100/month, $50 sign-up fee, 3-month commitment) adds drop-in coworking and bookable meeting and creative space. If you want the media lab for recording plus DIY or full-service production, the CoCreate Podcast membership is $300/month with a $100 sign-up fee and a 2-month commitment (CoCreate memberships currently have a waitlist of about one month). Not ready to commit? Guests can book the studio by appointment, 9 AM to 5 PM.
Curious which path fits your show, or want a producer to look at your workflow? Email contact@theunion.io, call 206-551-0964, book the studio as a guest, or apply for membership. Your first locked cut is closer than you think.
The full series
This is Part 13 of 24 in Starting a Podcast at The Union (Post-Production stage). Previous: Part 12, Record Guests Far from Seattle Without Losing Sound Quality. Next: Part 14, Make Every Voice Sound Right: Mixing and Mastering Basics.