Podcasting
·
Oct 15, 2026
A Beginner Guide to Podcast Microphones and Recording Gear
Arif Gursel
Founder

Tasha had a shopping cart open for three days. As a reminder, Tasha is our illustrative creator for this series: a middle school science teacher in Rainier Valley building a podcast for parents of curious kids, where every episode answers one real question a kid asked. Her cart held a popular broadcast microphone, an audio interface, two pairs of headphones, a boom arm and a pop filter. The total was creeping past $700, and she still was not sure she had picked the right things.
Then she remembered what came out of her strategy session in Part 6: her first priority was to record a strong pilot and learn what her show actually needs, and only then decide what to own. She closed the tab. This post is the education she wanted before spending a dollar: how microphones work, what an interface does, and how the signal chain turns your voice into a clean file. By the end you will know enough to make smart choices, whether you buy, borrow, or book a studio where the gear is already set up.
Why audio quality decides whether listeners stay
Podcast listeners forgive a lot. They will forgive a slow intro, a guest who rambles, even a mediocre cover image. What they rarely forgive is audio that is hard to listen to: echoey rooms, clipped and crackly peaks, voices that swing from whisper to shout, or a constant hiss underneath everything. Most people listen through earbuds while commuting, cooking or working out, so harsh or muddy sound gets tiring fast, and a tired listener hits skip.
The good news is that "pro sound" comes mostly from technique, environment and a sensible setup. Expensive gear helps at the margins. A $100 microphone used well in a quiet room will beat a $1,000 microphone used badly in a kitchen with tile floors. So before we talk products, let's understand the path your voice travels.
The signal chain: how your voice becomes a file
The signal chain is every step between your mouth and the finished recording. When something sounds wrong, the problem lives somewhere in this chain, so knowing it makes you a better troubleshooter.
Source: your voice, plus everything the room adds (echo, air conditioning, traffic).
Microphone: converts sound waves into a tiny electrical signal.
Cable: usually XLR (a three-pin connector) for professional mics, or USB for all-in-one mics.
Preamp: boosts that tiny signal to a usable level. This boost is called gain.
Converter: turns the analog signal into digital data (analog-to-digital, or A/D conversion).
Recorder: software on a computer (a DAW, or digital audio workstation) or a standalone recorder that saves the file.
Monitoring: headphones that let you hear what is actually being captured.
In a home setup, the preamp and converter usually live inside one box called an audio interface. In a USB microphone, all of it is squeezed into the mic itself. In a studio, the chain is typically built and routed by an engineer, which is one reason studio recordings tend to sound consistent from session to session.
Microphone types explained
There are dozens of microphone designs, but two types cover almost all podcasting: dynamic and condenser.
Dynamic microphones
Dynamic mics use a moving coil and magnet. They are durable, need no external power, and are relatively insensitive, meaning they mostly pick up what is close to them. That is exactly why so many podcasters love them: they reject a lot of room echo and background noise when you speak close to the capsule.
Well-known examples across the industry include the Shure SM58 (a classic stage mic, often around $100), the Shure SM7B (a broadcast favorite, often around $400) and the Electro-Voice RE20 (a radio staple). The tradeoff: dynamic mics have low output, so they need a preamp with plenty of clean gain. The SM7B, for example, often wants around 60 dB of gain, which some budget interfaces struggle to deliver without adding hiss. Inline boosters (sometimes called mic activators) exist to solve this, at extra cost.
Condenser microphones
Condenser mics use a thin charged diaphragm and require power, usually 48V phantom power supplied by your interface or mixer. They are more sensitive and capture more detail, which sounds gorgeous in a treated room and unforgiving in an untreated one. A condenser in a typical living room will happily record your refrigerator, your neighbor's dog and the echo off your walls.
Condensers shine for voiceover, narration and music in controlled spaces. For conversational podcasts in ordinary rooms, most beginners are better served by dynamics.
USB versus XLR
USB mics plug straight into a computer. They are simple and affordable (many decent ones run roughly $70 to $150), and great for solo shows or remote guests. Their limits: recording more than one USB mic on the same computer is unreliable, and you cannot upgrade one piece at a time.
XLR mics need an interface or mixer, but they scale. You can add a second or third mic, upgrade your interface later, and plug into any studio in the world. Some hybrid mics (the Samson Q2U and Audio-Technica ATR2100x are common examples) offer both USB and XLR outputs, which makes them a smart starter pick or a handy mic to mail to a remote guest.
Polar patterns
A mic's polar pattern describes which directions it hears best.
Cardioid: picks up mostly from the front, rejects the back. The podcasting default.
Supercardioid and hypercardioid: tighter front pickup with a little sensitivity directly behind.
Omnidirectional: hears equally in all directions. Useful for lavalier mics, risky in noisy rooms.
Figure-8: front and back, rejects the sides. Occasionally used for two people facing each other.
For Tasha, who will usually record herself plus one guest (say, an illustrative entomologist answering "Why do bugs like light?"), two cardioid dynamic mics, one per person, is the textbook setup.
Interfaces, mixers and recorders
Once you choose XLR, you need something to plug into. Here are your three main options.
Audio interfaces
An interface connects mics to your computer. A two-input model (the Focusrite Scarlett 2i2 and similar units commonly sell for roughly $150 to $250, depending on generation and retailer) handles a host and one in-person guest. Look for enough clean gain for your mics, phantom power if you use condensers, and a headphone output with its own volume knob.
Podcast mixers and all-in-one consoles
Devices like the RØDECaster Pro II (often around $700) or the Zoom PodTrak P4 (often around $200) are built for podcasting: multiple mic inputs, headphone outputs for each person, sound pads for intros or stingers, and phone or computer connections for remote guests. Many can record to an SD card with no computer at all.
Portable recorders
Field recorders capture audio anywhere. Some newer models record in 32-bit float, a format that makes it very hard to ruin a recording by setting levels too high or too low. That is a real safety net for beginners and for recording on location.
Prices in this section shift with new product generations and sales, so treat every number as a rough guide and check current listings before buying.
Headphones, accessories and the small stuff
The unglamorous items matter more than people expect.
Closed-back headphones: they seal around your ears so your headphone audio does not leak back into the mic. Open-back headphones are lovely for mixing, poor for recording.
Boom arm or stable stand: keeps the mic at a consistent distance and away from desk bumps.
Pop filter or foam windscreen: softens plosives, those bursts of air on "p" and "b" sounds.
Shock mount: isolates the mic from vibrations traveling through the stand.
Good cables, plus a spare: a failing XLR cable causes crackles that waste whole sessions.
Every one of these is a purchase, a storage question and something to maintain. This is where many new podcasters quietly double their budget.
Settings that make you sound pro
Gear only gets you halfway. These habits are what separate clean recordings from frustrating ones.
Mic technique
Keep a dynamic mic roughly 2 to 6 inches from your mouth. A common rule of thumb: about a fist's width.
Speak slightly across the capsule (a little off-axis) to reduce plosives.
Stay consistent. Leaning back mid-sentence makes your voice thin and quiet. Closer gives you more bass due to the proximity effect, which can sound warm or boomy depending on how close you get.
Format and levels
Record at 48 kHz, 24-bit, a widely used standard for audio that may be paired with video. 44.1 kHz is also fine for audio-only shows; just pick one and stay consistent.
Set gain so normal speech peaks around -12 dBFS and laughs or emphasis stay below about -6 dBFS. Never hit 0 dBFS in a standard 24-bit recording; that is clipping, and it usually cannot be repaired.
Record each person to a separate track (multitrack). Your editor will thank you, because they can fix one voice without affecting the other.
Run a backup recording whenever possible: a second recorder, a phone, or the console's onboard recording.
Final loudness for publishing (podcast platforms each have their own recommendations and normalization targets, and they change over time) gets handled in post-production, which we cover later in the series.
Tasha's gear decision: buy, borrow or book
Back to Tasha's abandoned cart. Here is roughly how her options compared.
Buying a home setup. Two dynamic mics, a two-input interface, two pairs of closed-back headphones, two stands and accessories easily lands between $500 and $1,200. And that still leaves her recording in her apartment, which has hardwood floors, a busy street outside and a cat with opinions. Gear cannot fix a room (that is next week's topic).
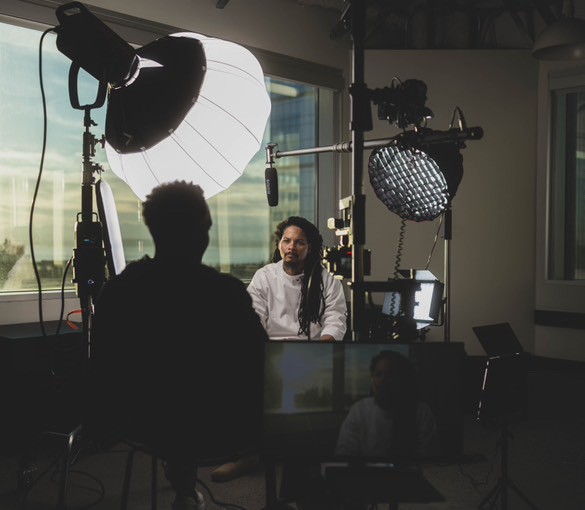
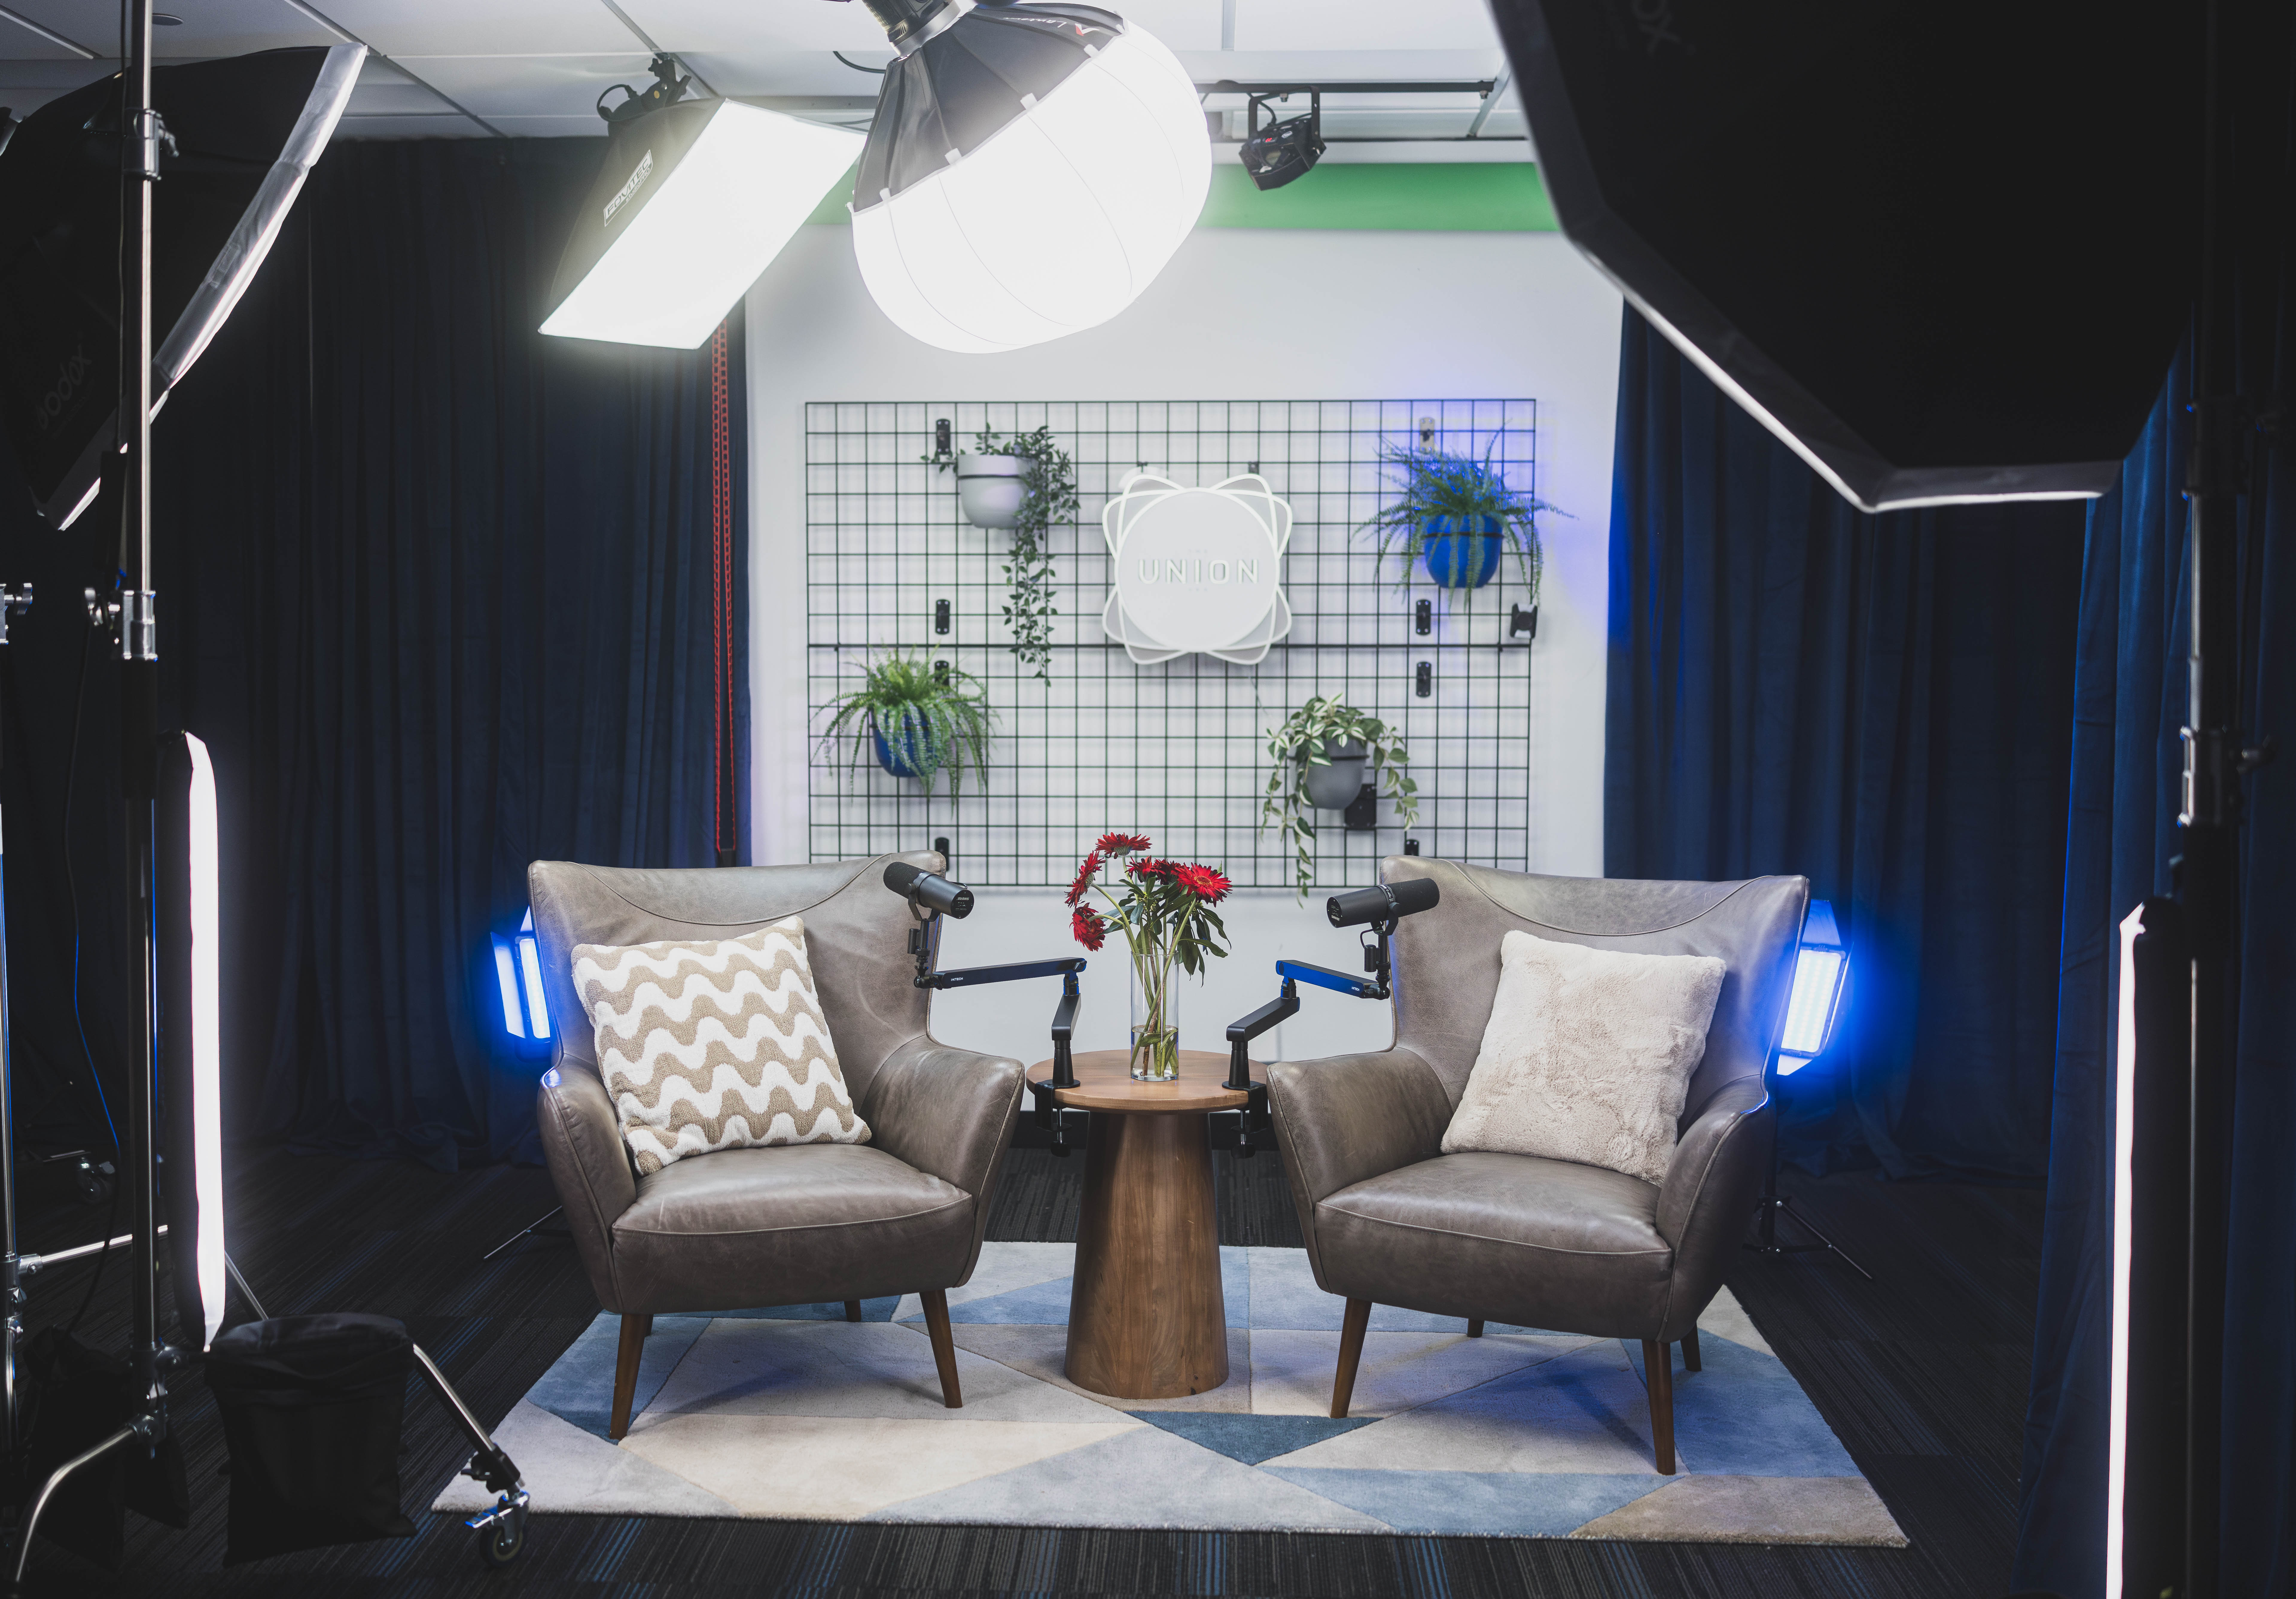
Booking a studio. At The Union, the two purpose-built production studios, the Blue Room ("Blue Pill") and the Red Room ("Red Pill"), come with a proper recording and engineering setup already in place. You walk in, sit down and record. No upfront gear spend, no cables to troubleshoot at 9 PM the night before a guest arrives. Guests can book the studio by appointment, 9 AM to 5 PM, without a membership, which made it easy for Tasha to test the experience before committing to anything.
For her pilot, Tasha booked time in Blue Pill, The Union's primary meeting and production space, whose modular design is built as a controlled environment for a range of audio and visual projects. Sets in the Blue Pill studio include:
The Cove
Blue Room Central
If she ever hosts a live panel of parents and teachers, Red Pill, the studio built for larger setups and visual storytelling, includes sets such as Talk Show. You can browse all the spaces to see how each set looks before you choose.
The biggest surprise for Tasha was how much the people mattered. Before her session, The Union's producers set the room. During recording, they monitored pacing and clarity while capturing clean audio, so she could focus on being curious with her guest instead of staring at level meters. You can bring your own team or borrow theirs. A conversation with the team about her voice and mic distance taught her more than three days of product reviews.
When owning gear does make sense
Buying is a good idea once you know your format. Many podcasters keep a modest kit at home (a hybrid USB/XLR mic is a great first purchase) for solo segments, pickups and remote interviews, then use a studio for guest episodes, video and anything that needs to look and sound its best. Wait until you have recorded a few episodes and know what you actually reach for.
Recording the extras: kid questions and remote guests
Tasha's show has a special ingredient: real kids asking real questions. Those clips will come from parents' phones, so she wrote simple instructions to send out:
Record in a small, soft room (a bedroom or closet full of clothes works well).
Hold the phone about a foot away, bottom microphone facing the child.
Turn off fans, TVs and dishwashers.
Record in the phone's voice memo app at its highest quality setting.
Get a parent or guardian's written permission to use the child's voice, and use first names only.
Phone clips will never match studio audio, and that is fine. A short, charming kid voice followed by a crisp studio conversation actually creates a pleasing contrast.
For remote guests (an illustrative glaciologist in Alaska, for example), producers can test remote links before the session. The Union's dedicated fiber internet and integrated Blackmagic Cloud Storage support real-time collaboration and rapid file transfers, so if Tasha later hires a remote editor, they can stay in the loop without waiting on giant uploads.
Common gear mistakes to avoid
Buying a condenser for an untreated room. You will record your room more than your voice.
Recording everyone onto one track. It makes editing far harder.
Setting gain too hot. Clipped audio is usually permanent damage.
Skipping headphones. If you do not listen while recording, you will discover the buzzing cable afterward.
Underpowering a dynamic mic. Cranking a weak preamp to the max adds hiss.
Upgrading gear to fix a technique problem. Mic distance and room choice usually matter more.
No backup. Every experienced podcaster has a story about the session that vanished.
Your pre-recording audio checklist
Tasha printed this and taped it inside her script folder. Use it before every session, at home or in the studio.
Confirm sample rate and bit depth (for example, 48 kHz, 24-bit) on every device.
Assign each speaker to their own mic and their own track.
Position each mic 2 to 6 inches from the speaker's mouth, slightly off-axis.
Put closed-back headphones on everyone and set comfortable headphone levels.
Do a level check: normal speech around -12 dBFS, loud moments below -6 dBFS.
Record 30 seconds of silence (room tone) for your editor.
Do a 60-second test recording and play it back.
Start a backup recording.
Silence phones, notifications and fans.
Clap once on camera or mic at the start if you are syncing audio and video.
Do this this week
Set aside some time for this, before you buy anything.
Record a two-minute test on whatever you have (phone, laptop, earbuds). Read a paragraph, then speak naturally. Listen back on headphones and write down three things you notice: echo, noise, volume swings, plosives.
Map your format. Solo, co-host, in-person guests, remote guests, video? Your answers decide what gear you need.
Price two paths. List a realistic home kit with today's prices, then compare it with booking a studio session for your pilot.
Write down your questions for an engineer: Which mic suits my voice? Do I need video? How should I record remote guests?
If that list of questions gets long, that is a sign a short studio walkthrough or consultation would save you real money. Explore the production and post-production services to see what the team can take off your plate.
Coming up next
In Part 8, Acoustics & Room Treatment, we tackle the other half of great sound: why rooms echo, how to tame a space at home, and what to look for in a recording environment. Tasha's cat may make an appearance.
Start your story at The Union
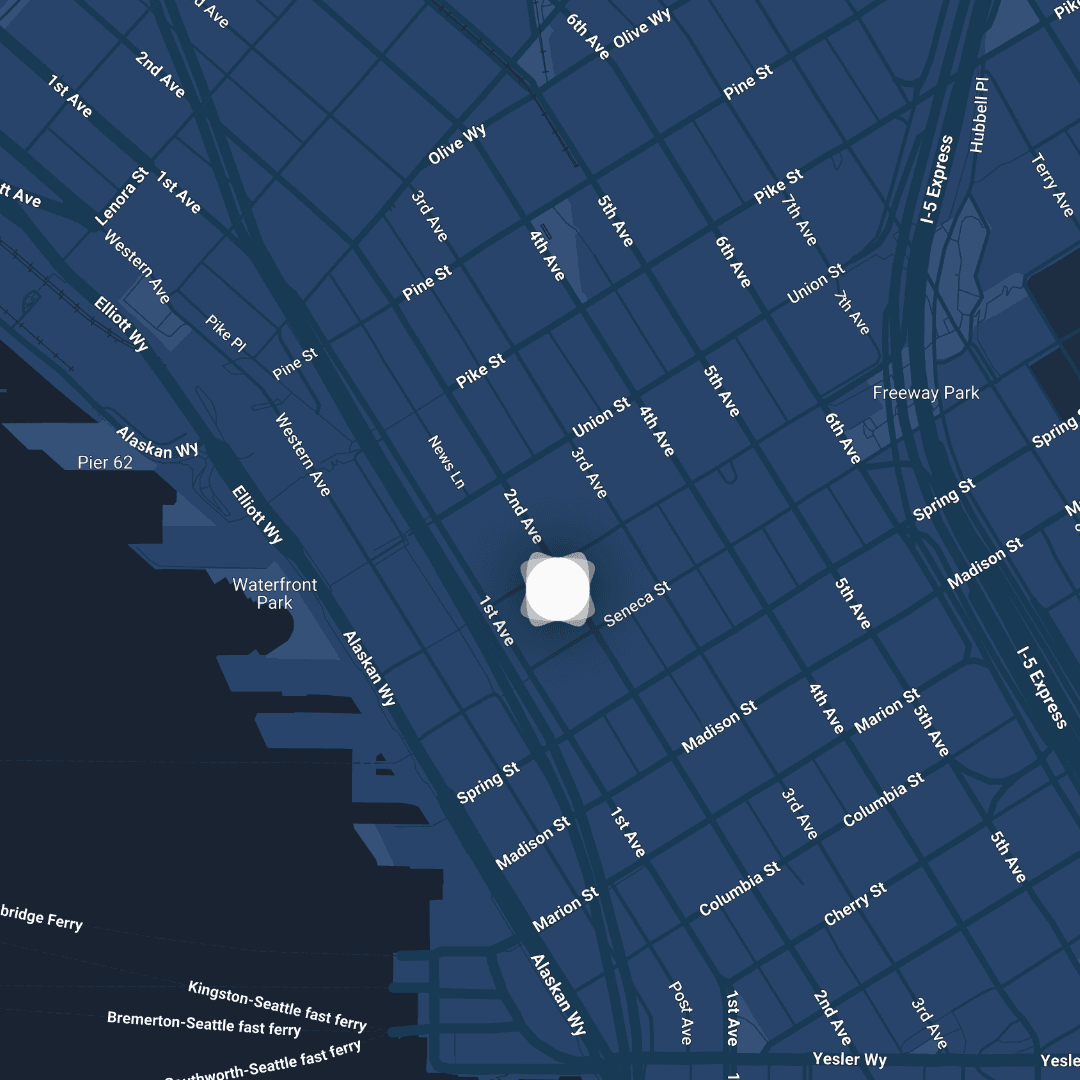
You do not need to own a microphone, understand every knob on an interface or have a perfect room to start your podcast. Since opening on Juneteenth 2018, The Union has grown into creative infrastructure for Seattle: a nonprofit program of PACE where educators, entrepreneurs, artists and creators record, learn and build together in downtown Seattle at 1200 2nd Ave.
Want to hear yourself in a real studio first? Book the studio as a guest by appointment, weekdays 9 AM to 5 PM. Ready to make it a habit? The CoCreate Podcast membership is $300/month with a $100 sign-up fee and a 2-month commitment, and includes the media lab for DIY and full-service productions plus pre-paid parking for you and your guests. CoCreate memberships currently have a waitlist of about one month, so it is worth getting in line early: apply for membership. Prefer to start smaller? The CoMmunity membership is $50/month with no sign-up fee, and includes discounted consultations and VIP event access.
Questions about mics, sets or where to begin? Email contact@theunion.io or call 206-551-0964. The team would love to hear what you are making.
The full series
This is Part 7 of 24 in Starting a Podcast at The Union (Content Production stage). Previous: Part 6, Stuck on a Launch Date? How a Strategy Session at The Union Helps. Next: Part 8, Why Your Room Matters More Than Your Mic.