
Our example creator, Tasha, has her microphones. If you followed along in Part 7, you watched her (a middle school science teacher in Rainier Valley) pick a pair of dynamic mics for her show for parents of curious kids, where every episode answers one real question a kid asked. She plugged everything in at her kitchen table, recorded a test answer to "Why is the sky blue?", and played it back. Her voice sounded thin and distant, like she was calling from inside a tiled bathroom. The mic was fine. The kitchen was the problem.
This is the most common surprise for new podcasters, and it is the topic of Part 8. The room you record in shapes your sound more than almost any piece of gear you can buy. In this post you will learn what reflections and echo actually are, how to diagnose your own space in about twenty minutes, which cheap fixes work (and which popular ones do not), and when it makes more sense to record in a space built for production.
Why the room matters more than the microphone
A microphone does not know which sound is "you." It captures everything arriving at its capsule: your voice traveling straight from your mouth, plus every copy of your voice that bounced off the ceiling, the table, the window and the fridge before arriving a few milliseconds later. Those late copies smear your words and make you sound farther away than you are.
Here is why it matters so much. You can fix a lot in editing: you can trim mistakes, balance levels, cut background hum and add clarity with EQ. Room echo is much harder to remove. Modern AI-based de-reverb tools have improved a lot, and they can rescue a recording that would have been unusable a few years ago, but they often leave a watery or processed texture on the voice. A clean recording always edits faster and sounds better than a rescued one.
That is the core idea of this post: get the sound right in the room, and every later stage of production gets easier.
What is actually happening: direct sound, reflections and reverb
Sound travels at roughly 343 meters per second (about 1,125 feet per second) in room-temperature air. That sounds fast, but in a small room it means reflected sound arrives at the mic just a few milliseconds behind your direct voice. Your ears and your listeners' ears notice. Four effects cause most of the trouble.
Early reflections
These are the first bounces, usually off the surfaces closest to you: the desk in front of you, a nearby wall, the ceiling directly above. Because they arrive so soon after the direct sound, they blend with it and cause something called comb filtering, where some frequencies get boosted and others get canceled. The result is a hollow, boxy or "phasey" voice. A hard tabletop right under your mic is one of the worst offenders.
Flutter echo
When two hard, parallel surfaces face each other (two bare walls, or a bare floor and ceiling), sound can ping back and forth between them in a rapid, metallic ringing. Clap your hands in an empty hallway and you will hear it. It is especially noticeable on hard consonants like "t," "k" and "p."
Reverb tail
After the early reflections, thousands of later bounces pile up into a wash of sound that fades over time. Acousticians measure this as reverberation time, often called RT60: how long it takes for sound to drop by 60 decibels after the source stops. A concert hall might have a reverb time of around two seconds. For spoken word you want a small room to be much drier, with the tail dying away quickly enough that you barely notice it.
Low-end buildup
Bass frequencies have long wavelengths (a 100 Hz tone has a wavelength of about 3.4 meters, or 11 feet), and small rooms tend to exaggerate some low notes and swallow others. This is why a voice can sound boomy in one corner and fine in the middle of the same room. Corners are where bass collects, so sitting with your back in a corner often makes a voice sound muddy.
In Tasha's kitchen, she had all four: a laminate table under the mic, parallel cabinet doors, a tile backsplash and a hard floor. No wonder her test sounded like a bathroom.
Treatment and soundproofing are different jobs
Before you buy anything, understand this distinction, because it saves people a lot of money and frustration.
Acoustic treatment changes how sound behaves inside your room. Absorbers soak up reflections; diffusers scatter them. Treatment is what fixes echo and boxiness.
Soundproofing (isolation) stops sound from getting in or out of the room. It requires mass, airtight seals and decoupled construction: heavy doors, sealed gaps, double walls. It is a construction project.
Foam panels on a wall will make your recording sound less echoey. They will do almost nothing to block the bus on Rainier Avenue, a neighbor's leaf blower or a barking dog. If outside noise is your main problem, your best tools are choosing a quieter room, choosing a quieter time, closing windows and doors, and turning off noisy appliances. Treatment and isolation solve different problems, so diagnose which one you have before spending money.
Diagnose your room in about twenty minutes
You do not need measurement software to find out what is wrong. You need your ears, your phone and your actual recording setup. Run this checklist in every room you are considering.
Clap test. Stand where you would sit and clap once, sharply. Listen for a ringing "zing" (flutter echo) or a long fade (reverb). A good recording spot gives you a short, dull thud.
Silence test. Sit quietly for 60 seconds and list every sound you hear: fridge, furnace, HVAC vents, traffic, a ticking clock, computer fans. These make up your noise floor.
Record room tone. Record 30 seconds of silence with your mic and levels set as you would for an episode. Turn the headphones up and listen. Hum and hiss you could ignore in person become obvious here.
Record a test read. Read the same 60-second passage in each candidate spot. Use the same mic, same distance, same settings.
Listen on headphones and on a phone speaker. Your listeners will use both. Note which spot sounds closest and clearest.
Try the mirror trick. Sit in your recording position while a friend slides a small mirror along the nearest wall and desk. Anywhere you can see the mic (or your mouth) in the mirror is a first reflection point. Those are the spots to treat first.
Check the time of day. Repeat the silence test at the time you actually plan to record. A quiet room at 10 AM can be loud at 4 PM.
Tasha ran this checklist in three spots: the kitchen, the living room and her bedroom closet. The kitchen failed the clap test badly. The living room was better thanks to a rug and a couch, but the furnace kicked on every twenty minutes. The closet, packed with clothes, sounded dead and close, which is exactly what you want for voice. The catch: it fits one person, and her show will eventually feature kids, parents and guest experts sitting together.
Simple treatment that actually works
The good news is that a few soft, thick surfaces placed in the right spots will do more than a wall of decorative panels in the wrong spots. Here is a practical ladder, from free to more involved.
Free fixes
Choose the softest room you have. Bedrooms with carpet, curtains, a bed and full bookshelves usually beat kitchens and bathrooms.
Use what you own. Throw a thick blanket or comforter over the desk under your mic. Pile cushions on hard surfaces near you. Hang a duvet on the wall facing you.
Move away from walls and corners. Sitting a few feet out from the wall, and out of corners, reduces boominess and early reflections.
Face into the soft stuff. Point your mouth toward a couch, a curtain or a closet full of clothes, with the hard surfaces behind the mic's least sensitive side.
Kill the noise sources. Unplug the fridge during takes (set a phone reminder to plug it back in), pause the HVAC, silence notifications, and close the laptop if its fan spins up.
Low-cost fixes
Moving blankets. Heavy, quilted moving blankets are inexpensive and surprisingly effective at taming mid and high frequency reflections. Hang them from a curtain rod, a clothing rack or a couple of mic stands.
A heavy area rug. On a hard floor, a thick rug with a pad under it cuts floor reflections noticeably.
Thick curtains. Heavy, floor-length curtains over windows reduce one of the most reflective surfaces in most rooms.
Building or buying absorption panels
If you have a dedicated space, proper absorption panels are a real upgrade. The most effective DIY panels use rigid mineral wool or fiberglass board (commonly 2 to 4 inches thick) in a wooden frame, wrapped in breathable fabric. Thickness matters: a 2-inch panel does well on mid and high frequencies where most voice reflections live, while thicker panels, especially when mounted with an air gap behind them, reach lower. Treat the first reflection points you found with the mirror trick, plus the wall behind your mic, before anywhere else.
Prices for materials and ready-made panels vary widely by region and retailer, so compare before you buy. Handle mineral wool and fiberglass with gloves, long sleeves and a mask, and make sure it is fully covered by fabric.
Mic technique is free acoustic treatment
The cheapest acoustic upgrade is moving closer to the mic. Sound follows the inverse square law: each time you double your distance from a source, its level drops by about 6 dB. When your mouth is close to the mic, your direct voice is much louder than the room's reflections, so the room effectively disappears.
With dynamic mics (like the ones Tasha chose in Part 7), most voices sound best about 2 to 6 inches away, roughly the width of a few fingers to a hand. Check your mic's manufacturer guidance, since recommended distances vary by model.
Stay on axis. Speak into the front of the mic, the direction it picks up best. Turning your head to read notes changes your tone and lets more room in.
Use a pop filter or foam windscreen to tame plosives so you can work closer without "p" bursts.
Keep everyone consistent. With multiple people, each person needs their own mic at a similar distance, or the quieter, farther voice will carry more room sound and stand out in a bad way.
This is also why Part 7 leaned toward dynamic mics for untreated rooms: they tend to pick up less of the room than many condenser mics when used close.
Common mistakes to avoid
Buying thin foam "egg crate" squares and expecting miracles. Thin foam absorbs some high frequencies and leaves everything else, which can make a room sound dull and still boomy.
Treating the wrong spots. Panels high on a back wall do little if the reflection problem is the desk right under your mic.
Recording in a corner. It feels cozy and sounds muddy.
Relying on noise reduction plugins to fix echo. They are built mainly for steady noise like hiss and hum; heavy de-reverb often leaves artifacts.
Never listening on headphones while recording. If you only hear problems after the session, you cannot fix them during it.
Forgetting room tone. Thirty seconds of silence at the start of each session gives your editor something to fill gaps with and helps noise reduction work cleanly.
Where Tasha lands: home for drafts, a production room for episodes
After her tests, Tasha made a decision many new podcasters reach. Her closet works for solo practice reads and script drafts. But her episodes need two to four people around a table: herself, a parent, sometimes the kid who asked the question, and occasionally a guest expert, such as a local astronomer for "Why is the sky blue?" Building out her living room to handle that, with a furnace she cannot control and a bus route outside, would cost more time and money than she wanted to spend before season one even launched.
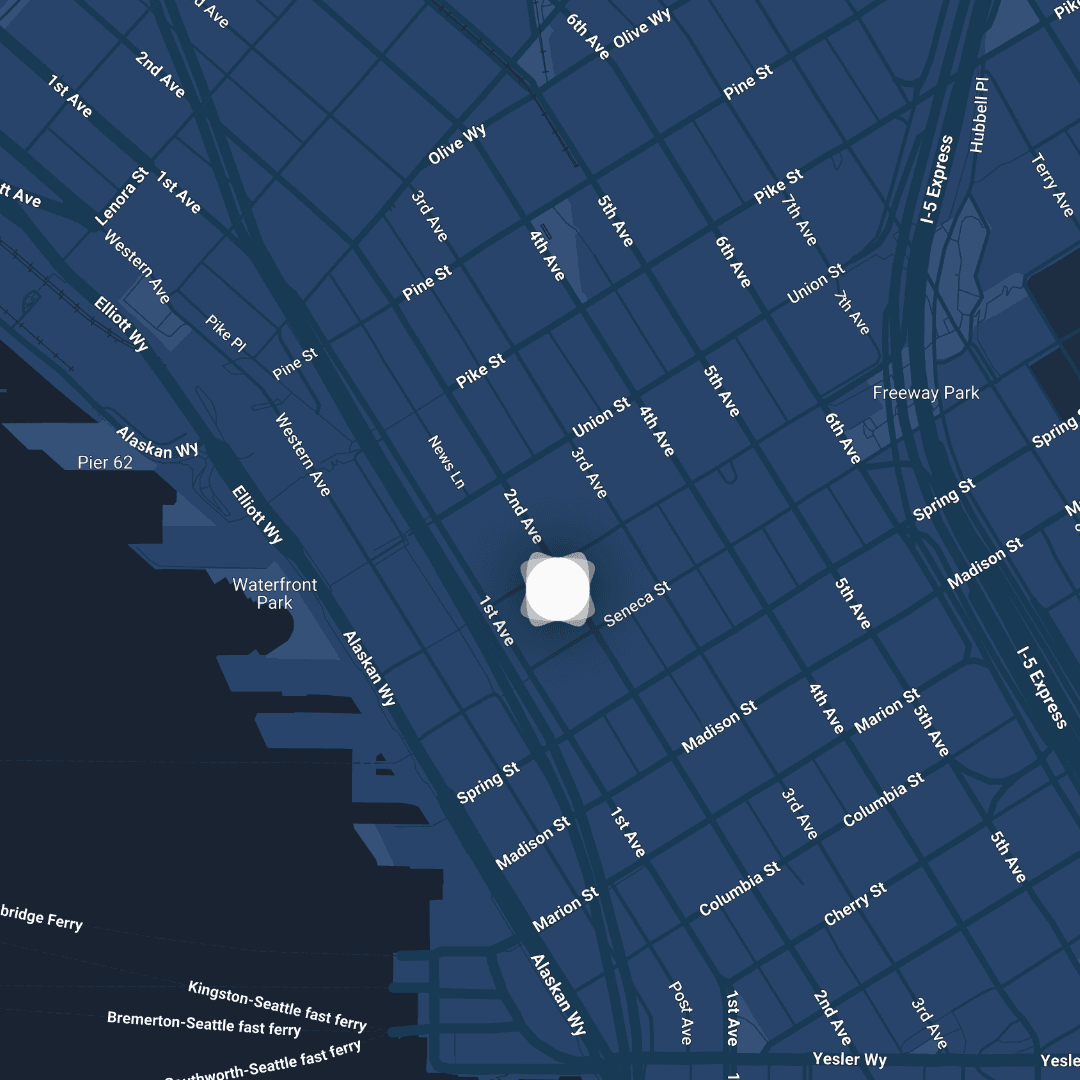
So she booked time at The Union, the community, coworking and creative media production space in downtown Seattle run by PACE. This is where the on-ramp matters: you do not need to own panels, build a booth or become an acoustician to start making a show that sounds professional.
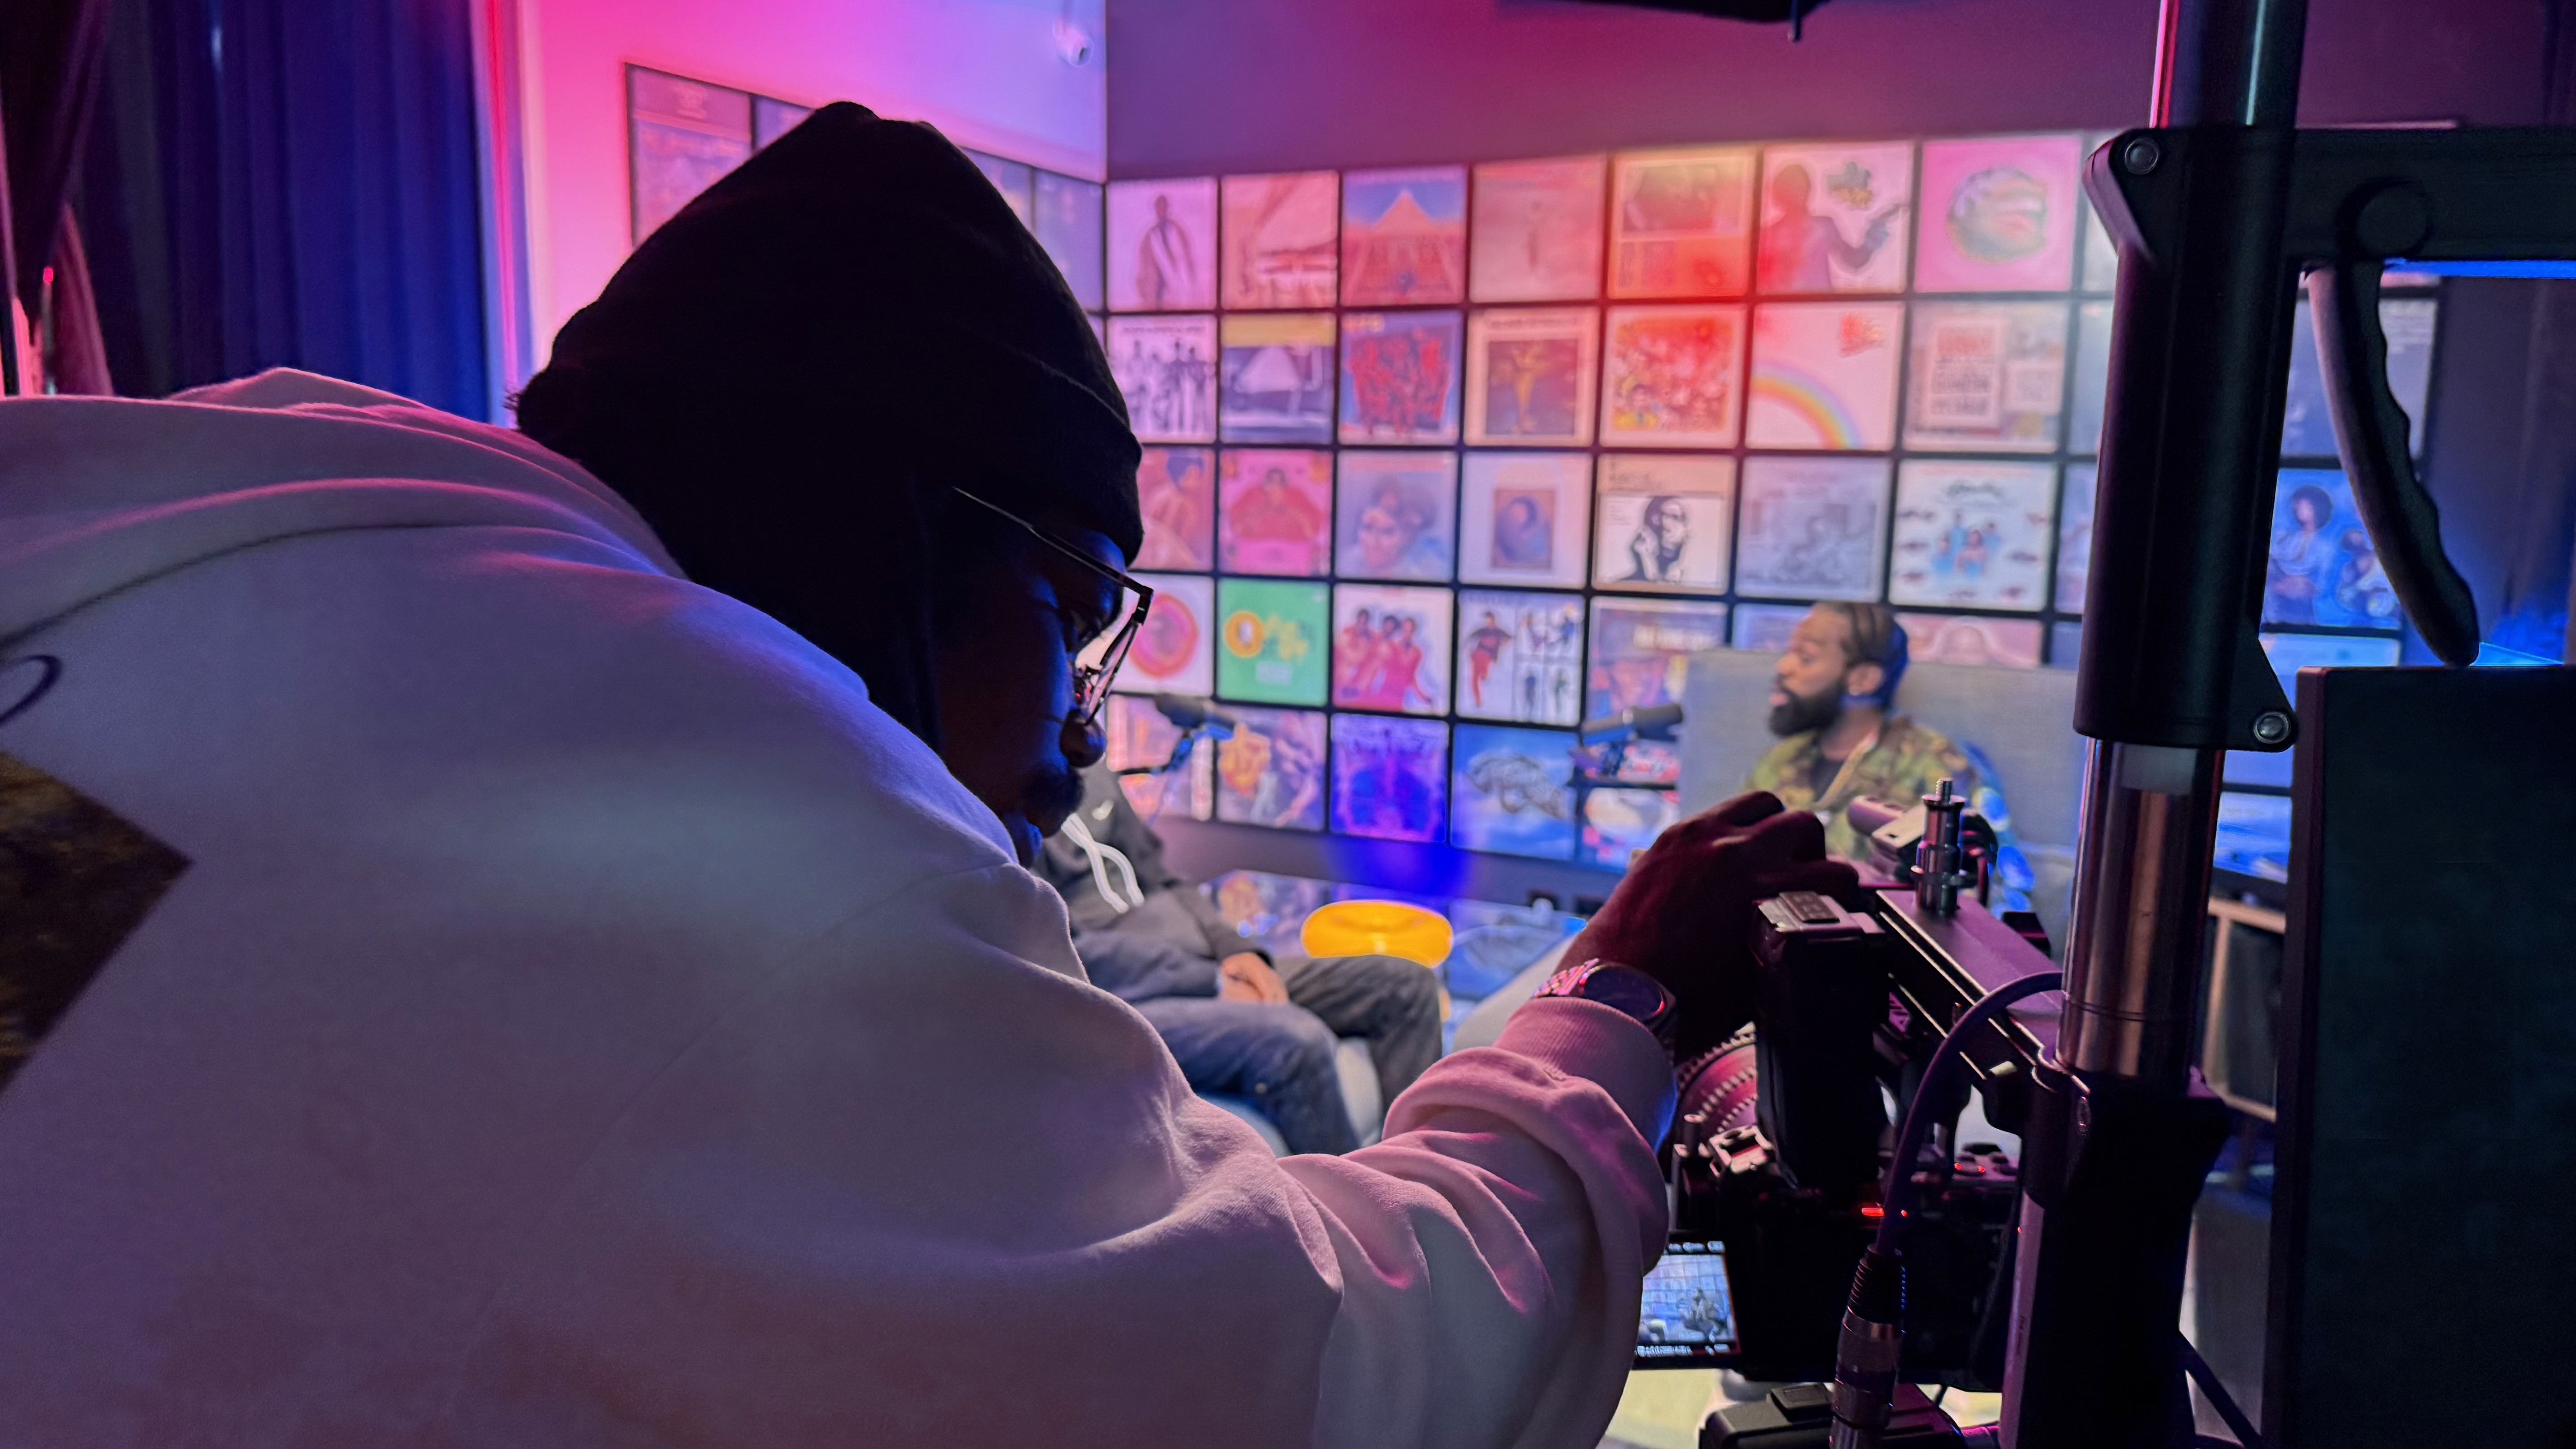
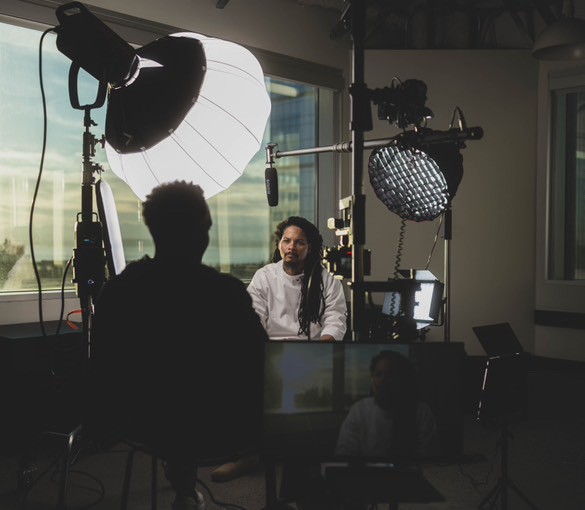
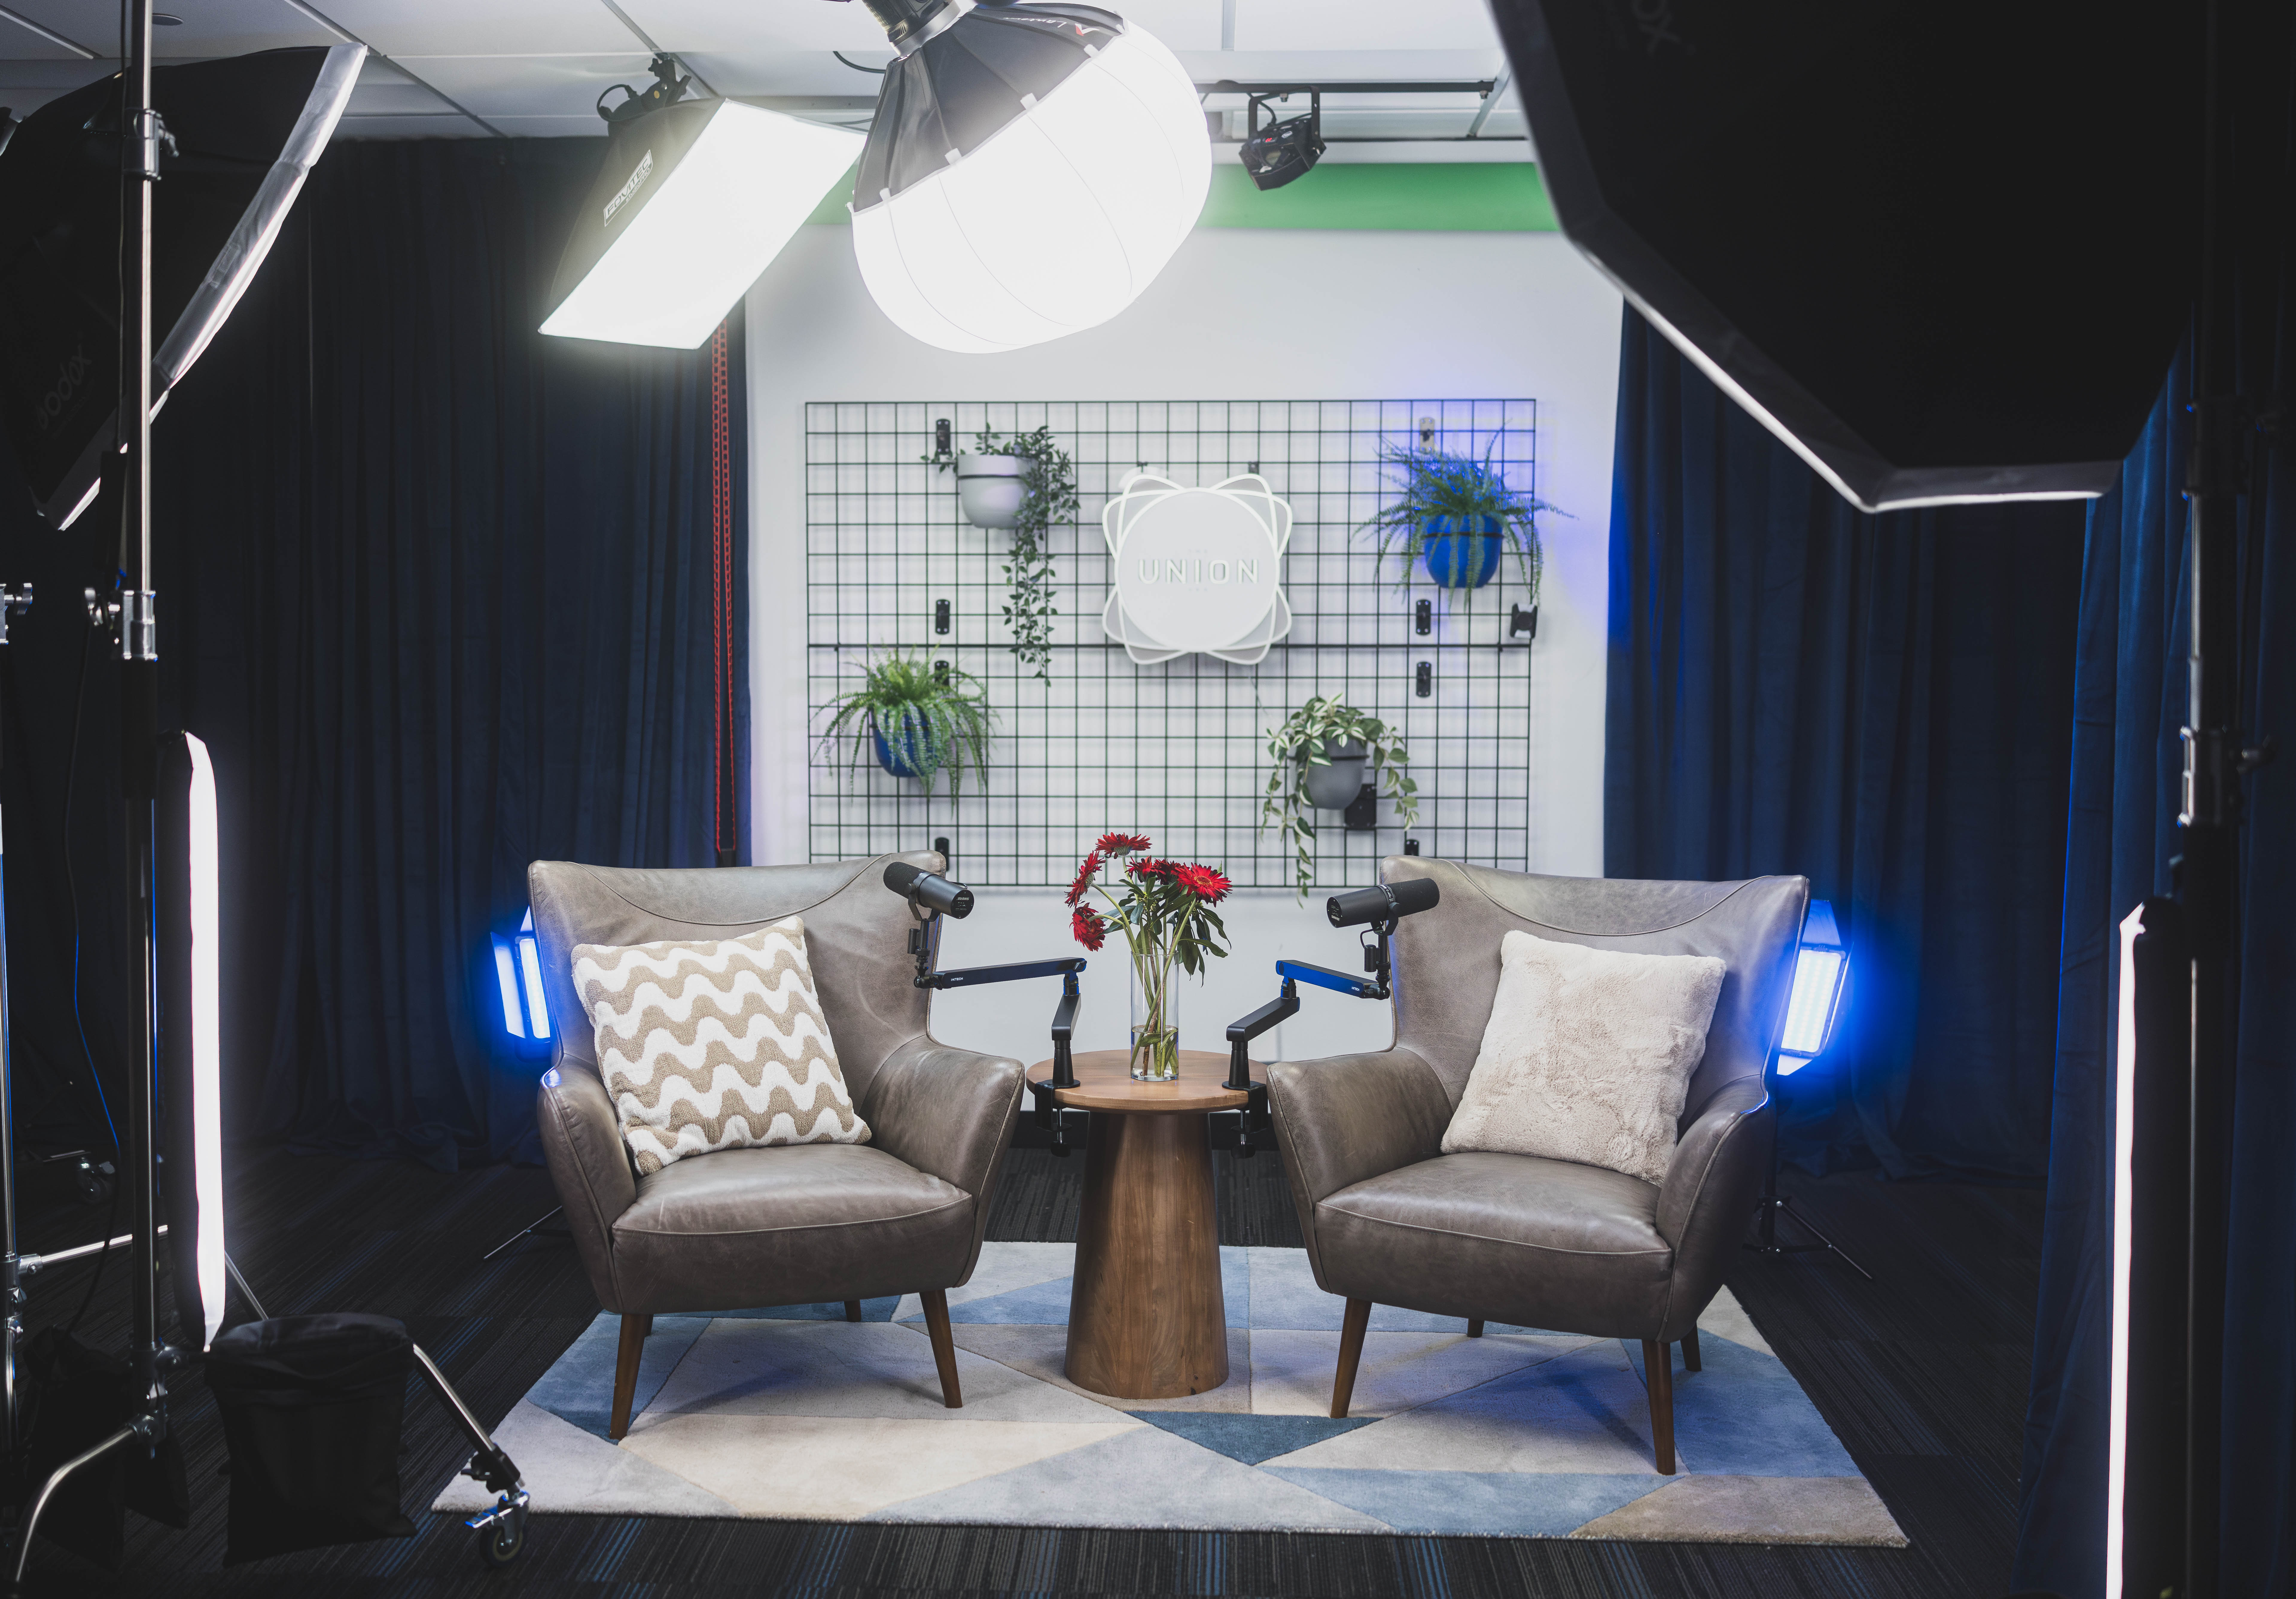
The Union's media lab includes two purpose-built production studios, the Blue Room ("Blue Pill") and the Red Room ("Red Pill"). Blue Pill is described as a controlled environment for a range of audio and visual projects, with sets including Blue Room Central, The Stage, The Stage 2, The Cove, The Grid and Afro Detox. Red Pill supports larger setups and visual storytelling with sets like Lip Sync, QT's Corner, Talk Show and The Cypher. For a small, conversational show like Tasha's, the production team can help match the set to the number of people and whether she wants video too. You can browse the options on the spaces page.
What helps most at this stage is that the room is not left to chance. Before a session, The Union's producers set the room, prep a run-of-show and test remote links. During the session, they monitor pacing and clarity while capturing clean audio, whether on-site or remote. That means someone with experience is paying attention to how the session sounds, while you focus on getting a seventh grader to explain light scattering in her own words.
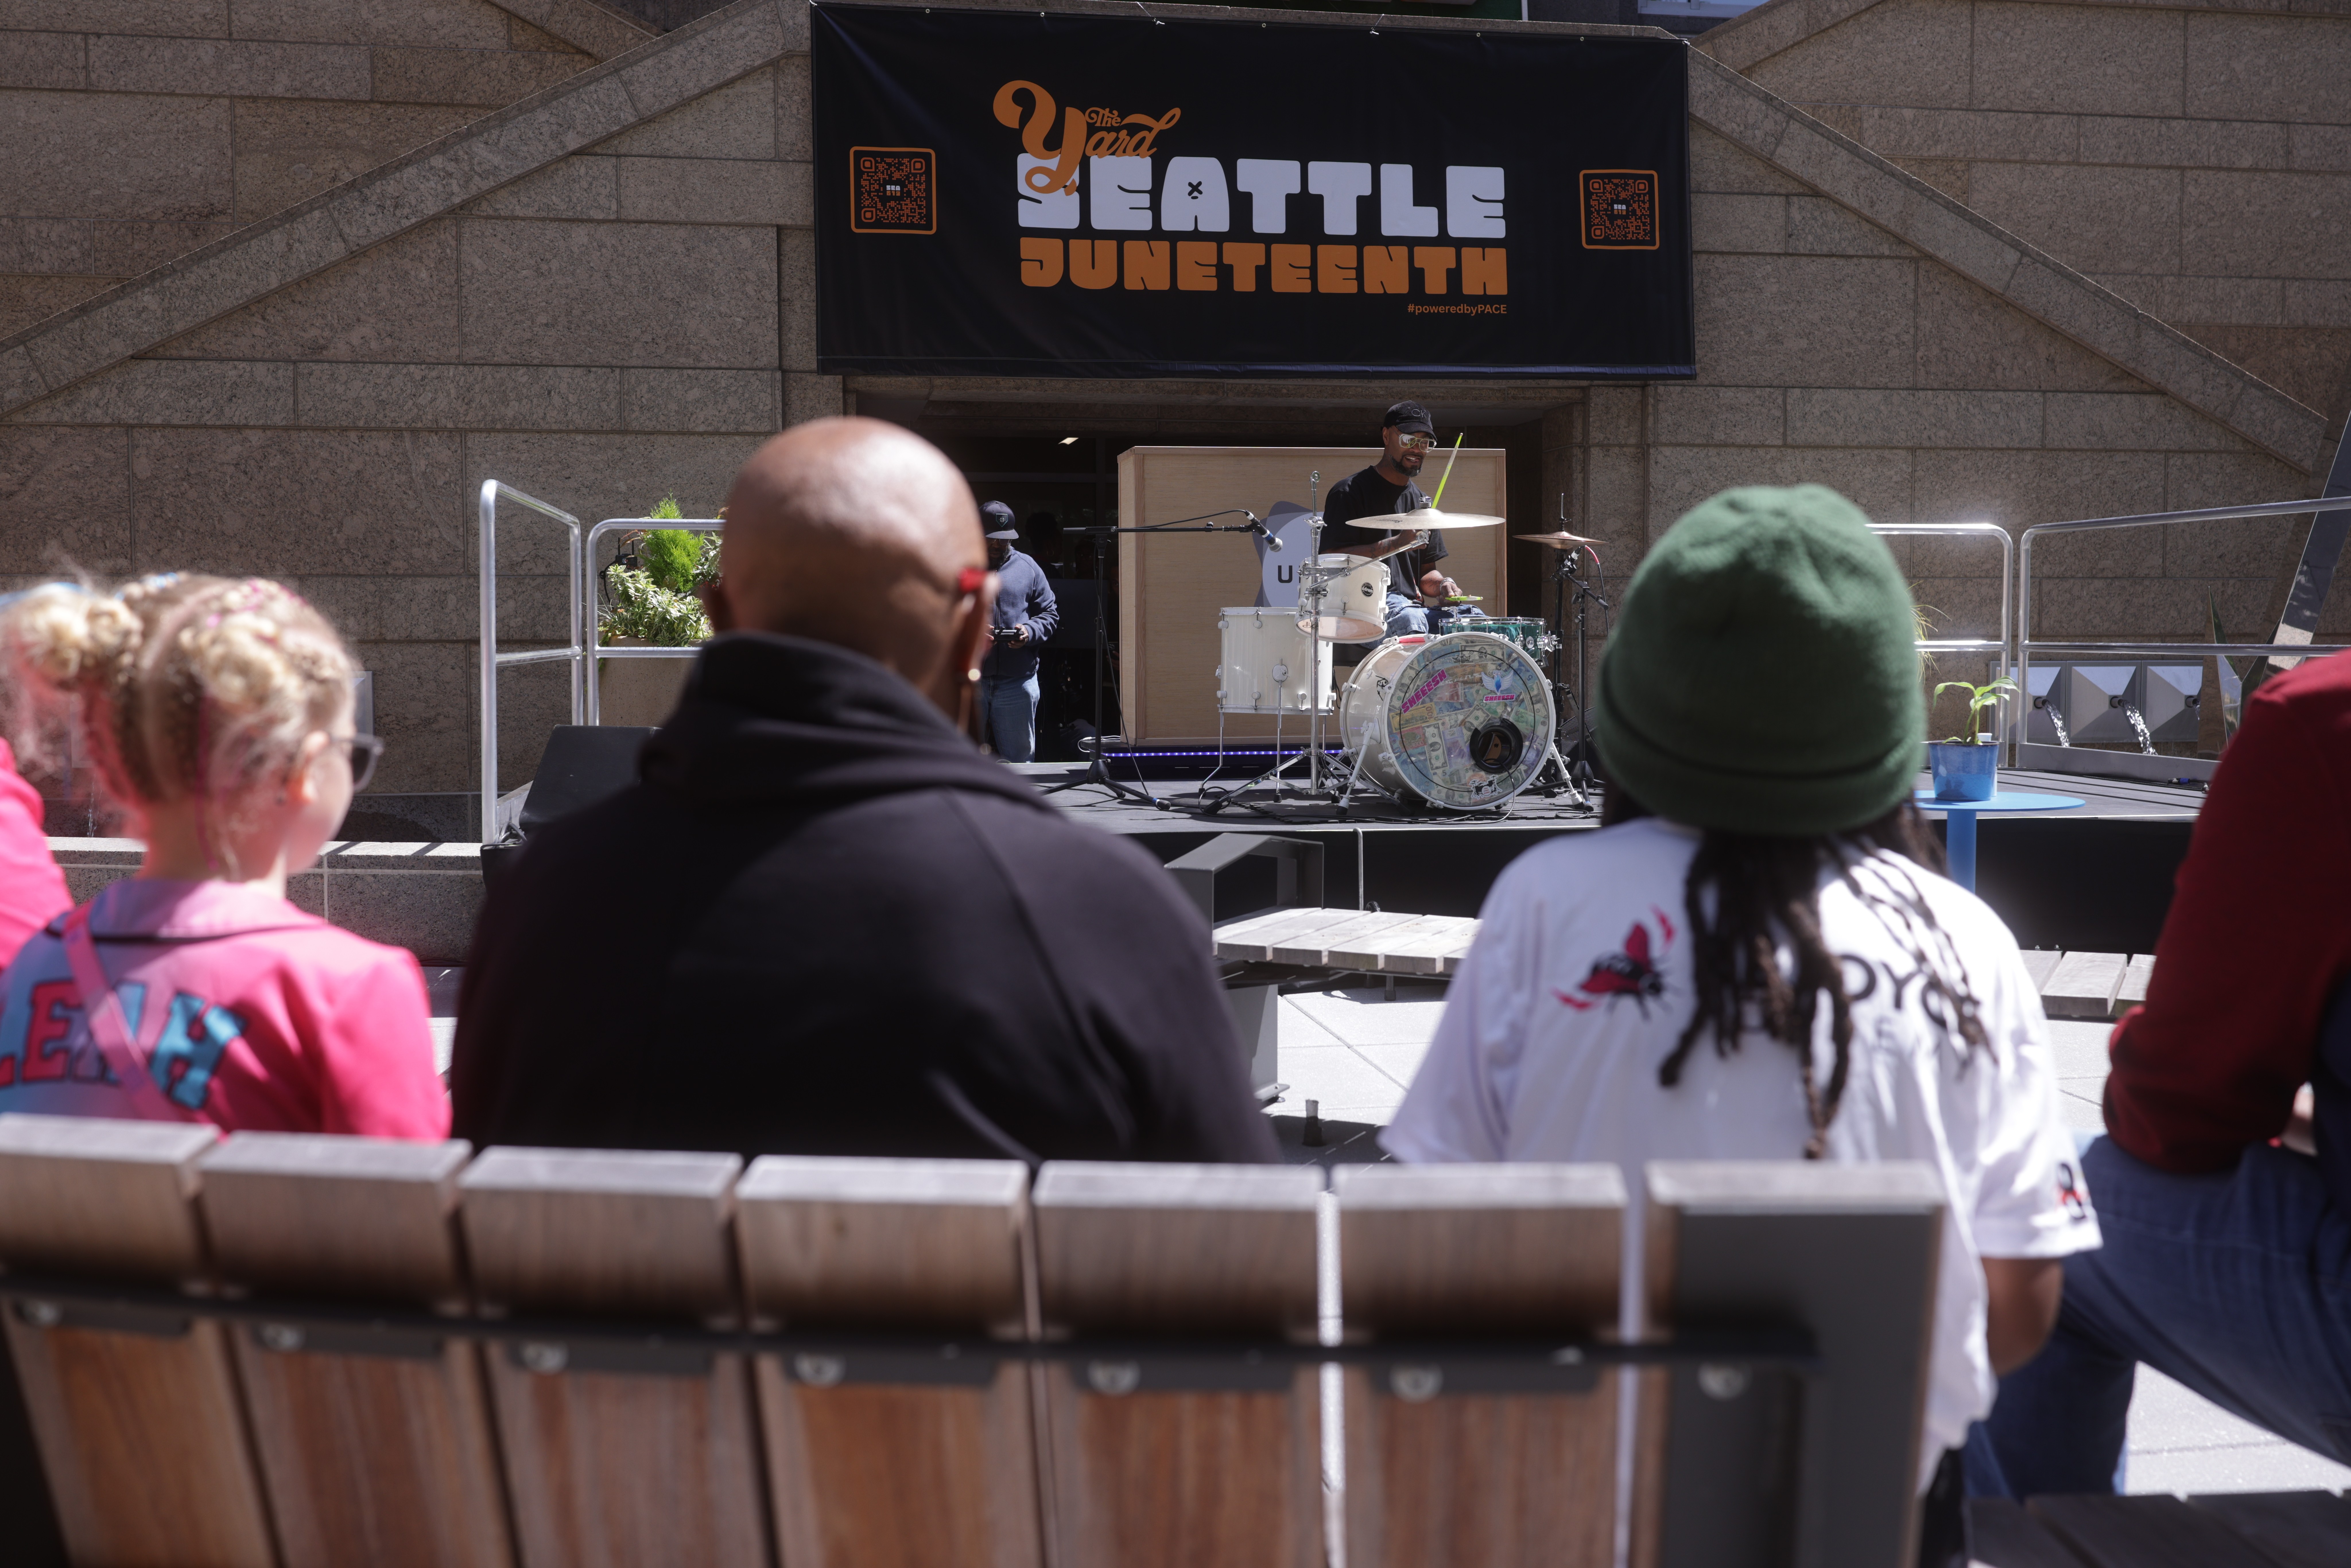
If you want to hear the difference yourself before committing, ask for a studio walkthrough. Bring your test read from home and compare. If you want help planning your show, The Union's content strategy services include pre-production planning and strategy, audience targeting and research, and producer research. Members already use these studios for real shows; Jolyn GC, for example, records her podcast Wealth Rituals at The Union.
Other ways The Union supports this step
Editing on site. The pre/post-production room gives you a dedicated place to edit your takes.
Getting files to your editor fast. Dedicated fiber internet and integrated Blackmagic Cloud Storage mean a remote editor can stay in the loop, and you can review footage while you are still on set.
Learning from other creators. Workshops, community programming and a digital library and eLearning give you places to ask "Does this sound boxy to you?" and get honest answers from people who have been there.
Do this this week
Give yourself one evening to run this exercise. It takes about an hour.
Pick two or three candidate spots in your home and run the seven-step diagnostic checklist above in each.
Record the same 60-second passage in each spot at 2 to 6 inches from your mic. Label the files clearly.
Apply two free fixes in your best spot (a blanket over the desk and something soft on the wall you face) and record the passage again.
Listen to all versions back to back on headphones, then on your phone speaker. Write down which sounds closest and clearest, and what still bothers you.
Bring your best and worst files to a studio walkthrough at The Union and compare them to a take recorded in a production set. That comparison will tell you more than any spec sheet.
Coming up next
Once your room is working for you, it is time to put the whole chain together. In Part 9, Dialing In Your Studio Setup, Tasha sets mic positions, gain levels, headphone mixes and camera angles so every session starts clean and consistent.
Start your story at The Union
You do not need a treated home studio to start a podcast that sounds great. You need a good room, a good plan and people who can help you use both. If you are not sure whether your space is ready, or you want to hear the difference a production set makes, reach out. Email contact@theunion.io or call 206-551-0964 to set up a conversation or a walkthrough.
Ready to record? Guests can book the studio by appointment, Monday through Friday from 9 AM to 5 PM, no membership required. If you plan to record regularly, the CoCreate Podcast membership is $300 per month with a $100 sign-up fee and a two-month commitment, and includes the media lab for DIY and full-service productions plus pre-paid parking for you and your guests. CoCreate memberships currently have a waitlist of about one month, so it is worth getting in line early. Want to start smaller? The CoMmunity membership is $50 per month with no sign-up fee, and includes VIP event access, the digital library and discounted consultations. When you are ready, apply for membership and the team will schedule a conversation to find the right fit for your show.
The full series
This is Part 8 of 24 in Starting a Podcast at The Union (Content Production stage). Previous: Part 7, A Beginner Guide to Podcast Microphones and Recording Gear. Next: Part 9, A Repeatable Studio Setup So You Can Press Record Faster.