
The first episode from our example creator, Tasha, is live. In Part 20 she pushed it out to Apple Podcasts, Spotify and YouTube, refreshed each app a dozen times, and watched the first handful of plays trickle in. Now she is staring at a 28-minute episode called "Do Fish Sleep?" and wondering what happens next. (Tasha, as a reminder, is our illustrative creator for this series: a middle school science teacher in Rainier Valley building a podcast for parents of curious kids, where every episode answers one real question a kid asked.) The honest answer is that most people will never find her episode by browsing a podcast app. They will find it because a 40-second clip of her explaining how parrotfish wrap themselves in a mucus sleeping bag showed up in their feed while they waited for school pickup.
This part of the series is about that clip, and all the other pieces you can cut from a single episode. Done well, one recording session becomes a full week of content: short vertical videos, quote graphics, a carousel, a newsletter, and a blog version of your show notes. You do not need a social media team to do this. You need a repeatable process, a little planning before you record, and a place to shoot and cut.
Why one episode should become a week of content
Podcast apps are great at serving people who already know they want your show. They are weaker at introducing you to strangers. Short-form video platforms work the other way around: TikTok, Instagram Reels, YouTube Shorts and Facebook Reels push content to people who have never heard of you, based on how viewers respond in the first few seconds.
That makes clips your discovery engine. Each one is a small, low-risk audition. A parent who laughs at your 30-second answer about fish naps might tap your profile, see the full episode, and subscribe. Multiply that by five or six clips per episode and you have many more chances to be discovered than a single episode post gives you.
Repurposing also protects your energy. You already did the hard part: research, guest prep, recording and editing. Squeezing a week of material out of that work is far easier than inventing new posts from scratch every day.
What "a week of content" actually looks like
For a weekly show, a realistic target from one episode is:
3 to 5 short vertical video clips (usually 20 to 60 seconds each)
2 or 3 quote graphics pulling memorable lines
1 carousel that teaches the episode's core idea in 5 to 8 slides
1 longer horizontal clip (3 to 8 minutes) for YouTube
1 newsletter or blog post built from your show notes
1 or 2 behind-the-scenes posts from the recording day
You do not have to do all of these from day one. Start with clips and quotes, then add pieces as your workflow settles.
Mine the episode: finding the moments worth clipping
The first step happens before you open an editor. Listen back to your episode (or read a transcript, which most editing tools can now generate automatically) and mark timestamps. Tasha does this with a notes app and her coffee on Sunday morning, writing down any moment that made her sit up.
The five kinds of moments that make good clips
The surprising fact. "Some sharks have to keep swimming while they rest" lands harder than a general overview of fish biology.
The relatable story. Tasha's guest, an illustrative aquarium educator named Marcus, tells a story about a kid who refused to leave the tank until the fish "woke up." Parents see their own kids in that.
The clear answer. A tight 30-second explanation of the episode's central question. This is often your best performer, because it delivers on a promise.
The strong opinion. A moment where someone pushes back, takes a stand, or says something mildly controversial ("I think we under-explain sleep to kids").
The genuine reaction. Laughter, a gasp, a long pause. Emotion travels in short-form video.
Aim to flag 8 to 12 moments, then pick the best 3 to 5. A good test: if the clip needs more than one sentence of setup to make sense, it is probably too dependent on context. Look for moments that stand alone.
This is also where a second set of ears helps. When you are close to your own content, every minute feels important. The Union's producers handle this kind of selection as part of post-production, delivering short captioned clips and pull-quotes alongside the full edit. Even if you plan to do it yourself, sitting with an experienced producer for one episode can show you what an outside eye notices that you miss.
Shoot for vertical before you hit record
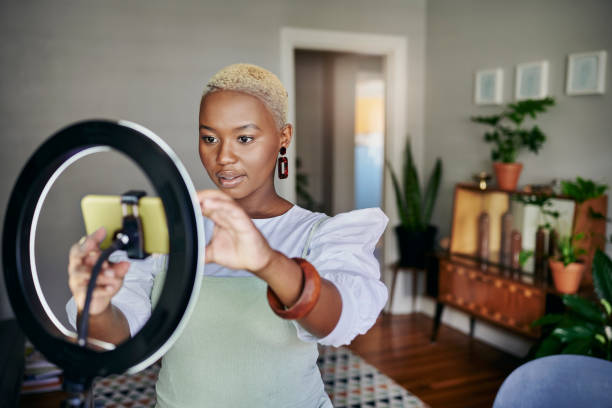
The best clips start on recording day. If you shoot your podcast only as a wide horizontal shot of two people at a table, you will end up cropping a 16:9 frame into a 9:16 vertical one, and you may lose half of someone's face or the reaction that made the moment work.
Plan your framing
Give each speaker their own camera angle, framed chest-up. This lets you crop to a clean vertical shot of whoever is talking.
Leave headroom and side room. Frame a little wider than you think you need so a vertical crop has space to breathe.
Shoot at the highest resolution you can manage. Cropping a 4K frame down to vertical leaves you with a sharp 1080x1920 clip. Cropping a 1080p frame leaves you with less to work with.
Keep the background intentional. In vertical video, the area behind your head fills much of the screen. A recognizable, branded backdrop makes your clips identifiable at a glance as people scroll.
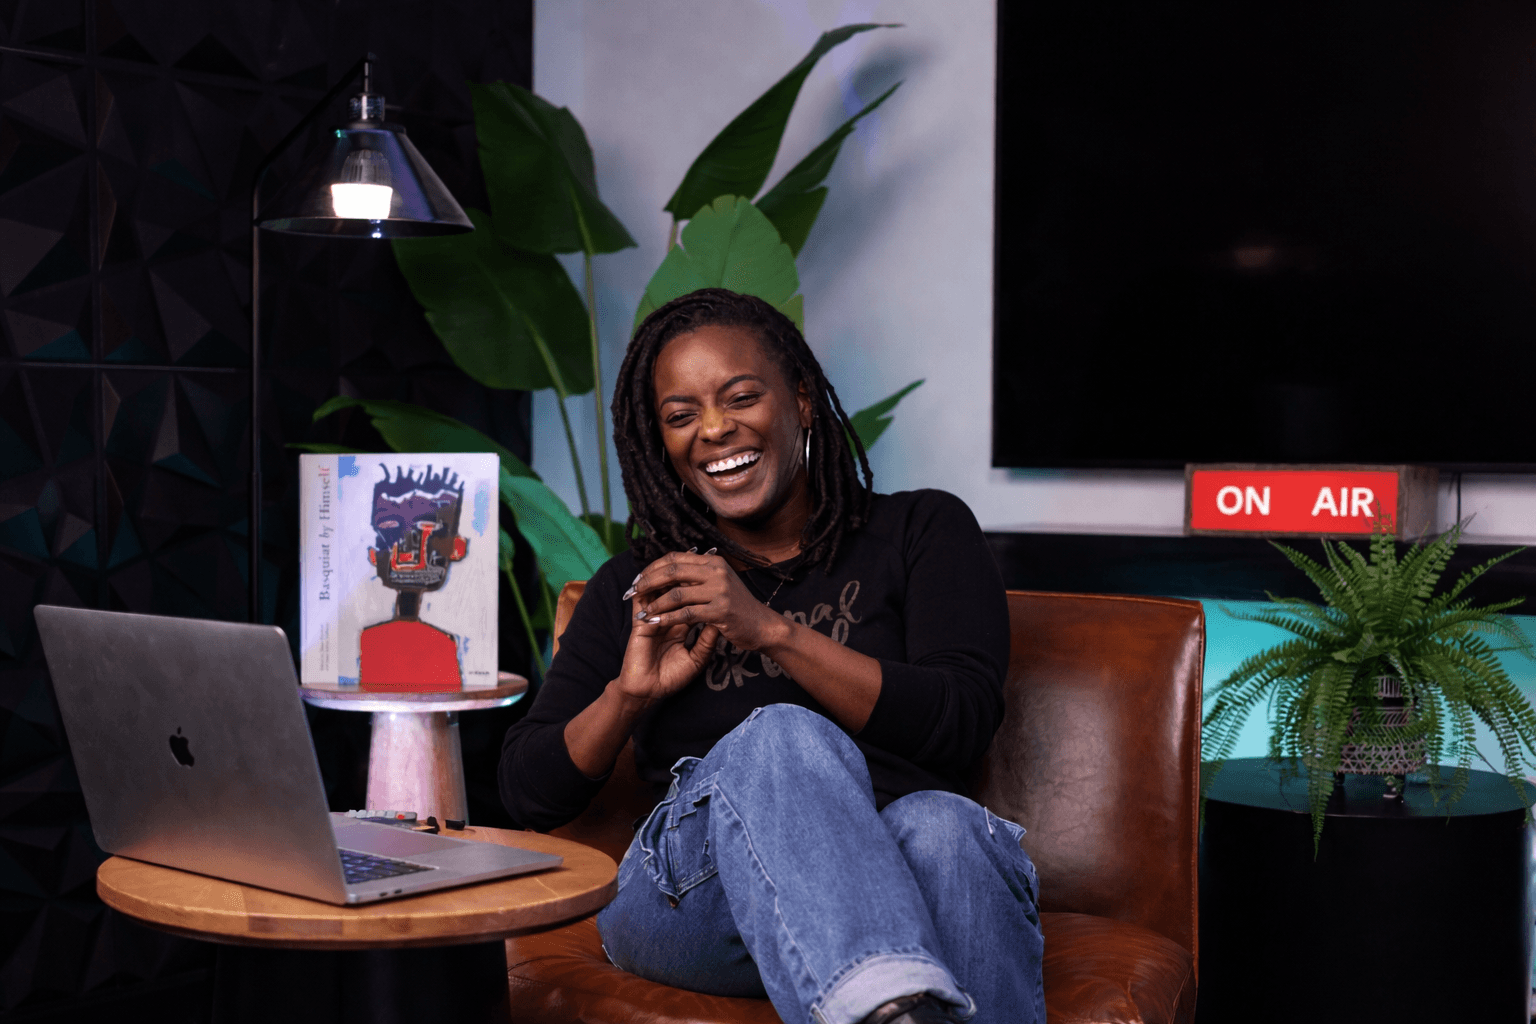
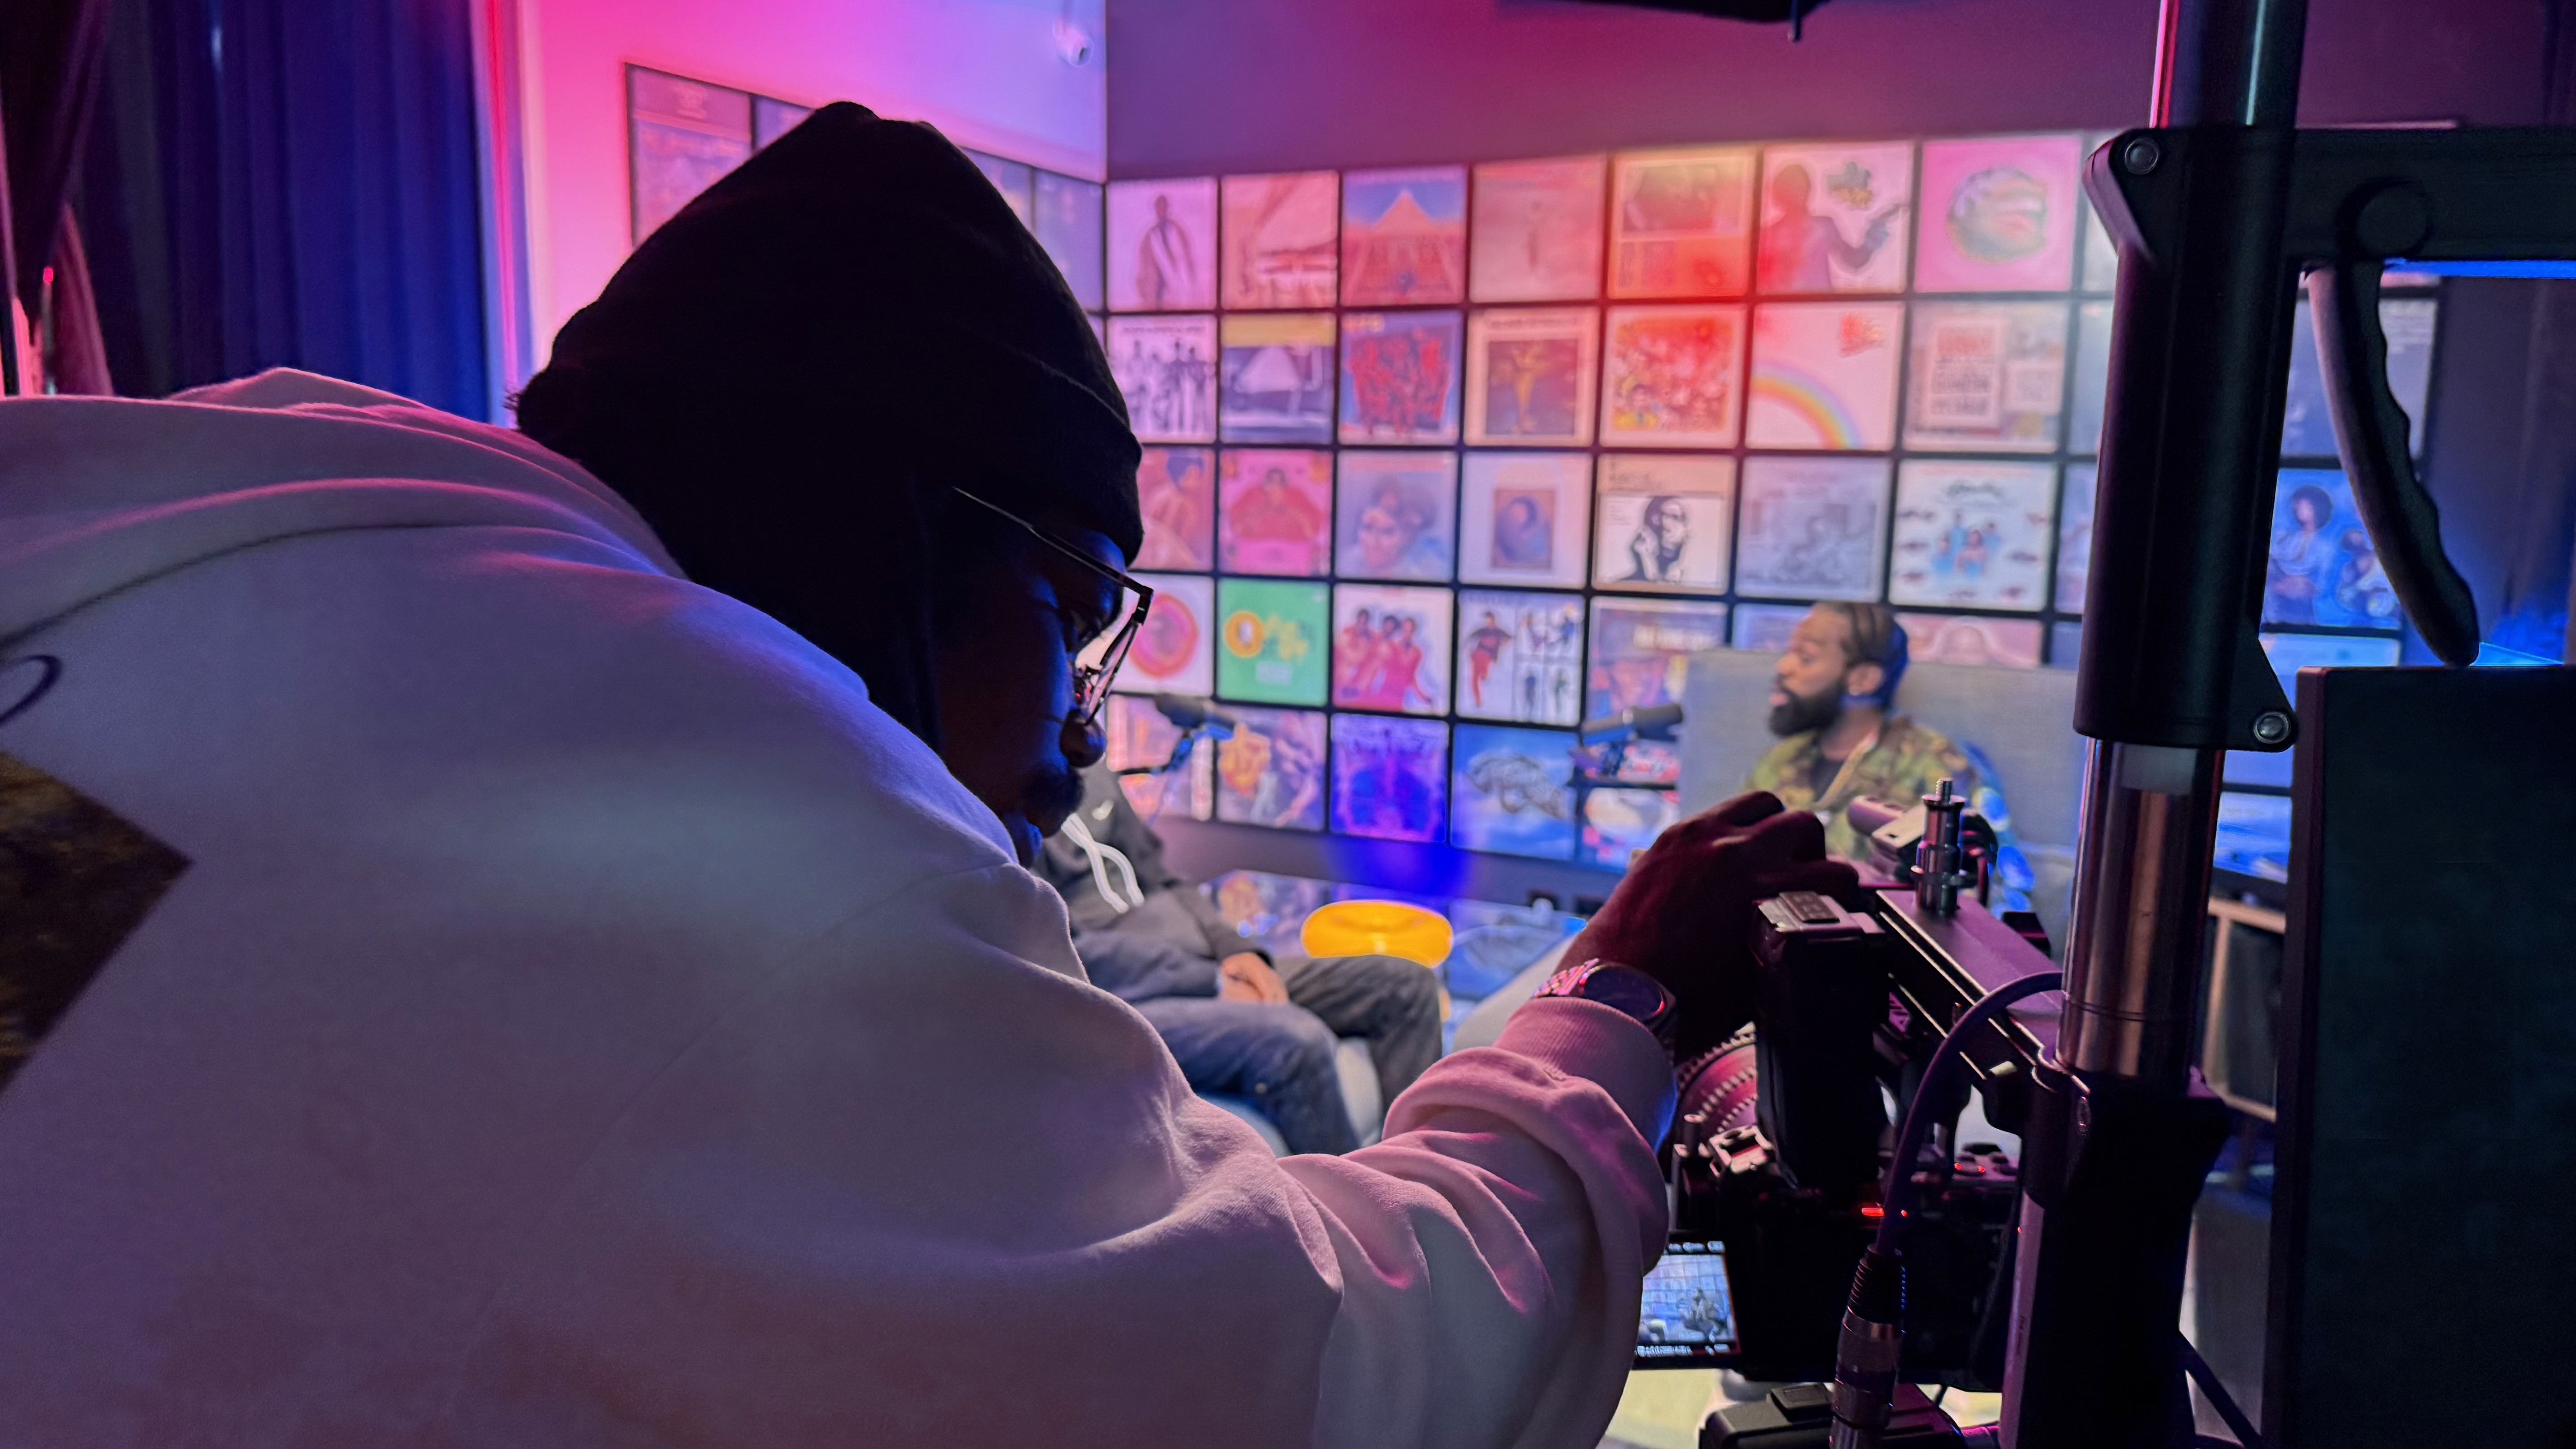
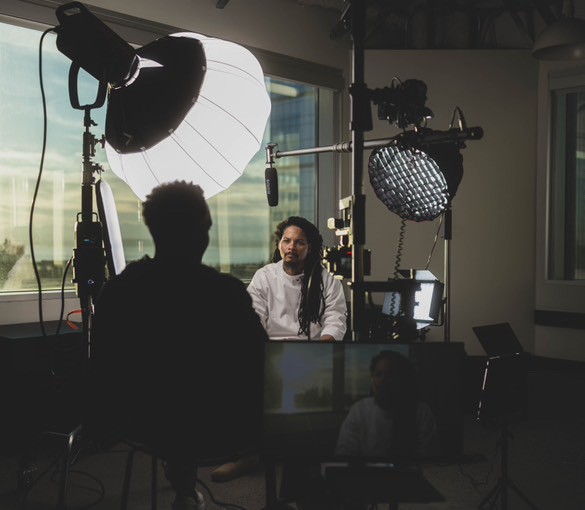
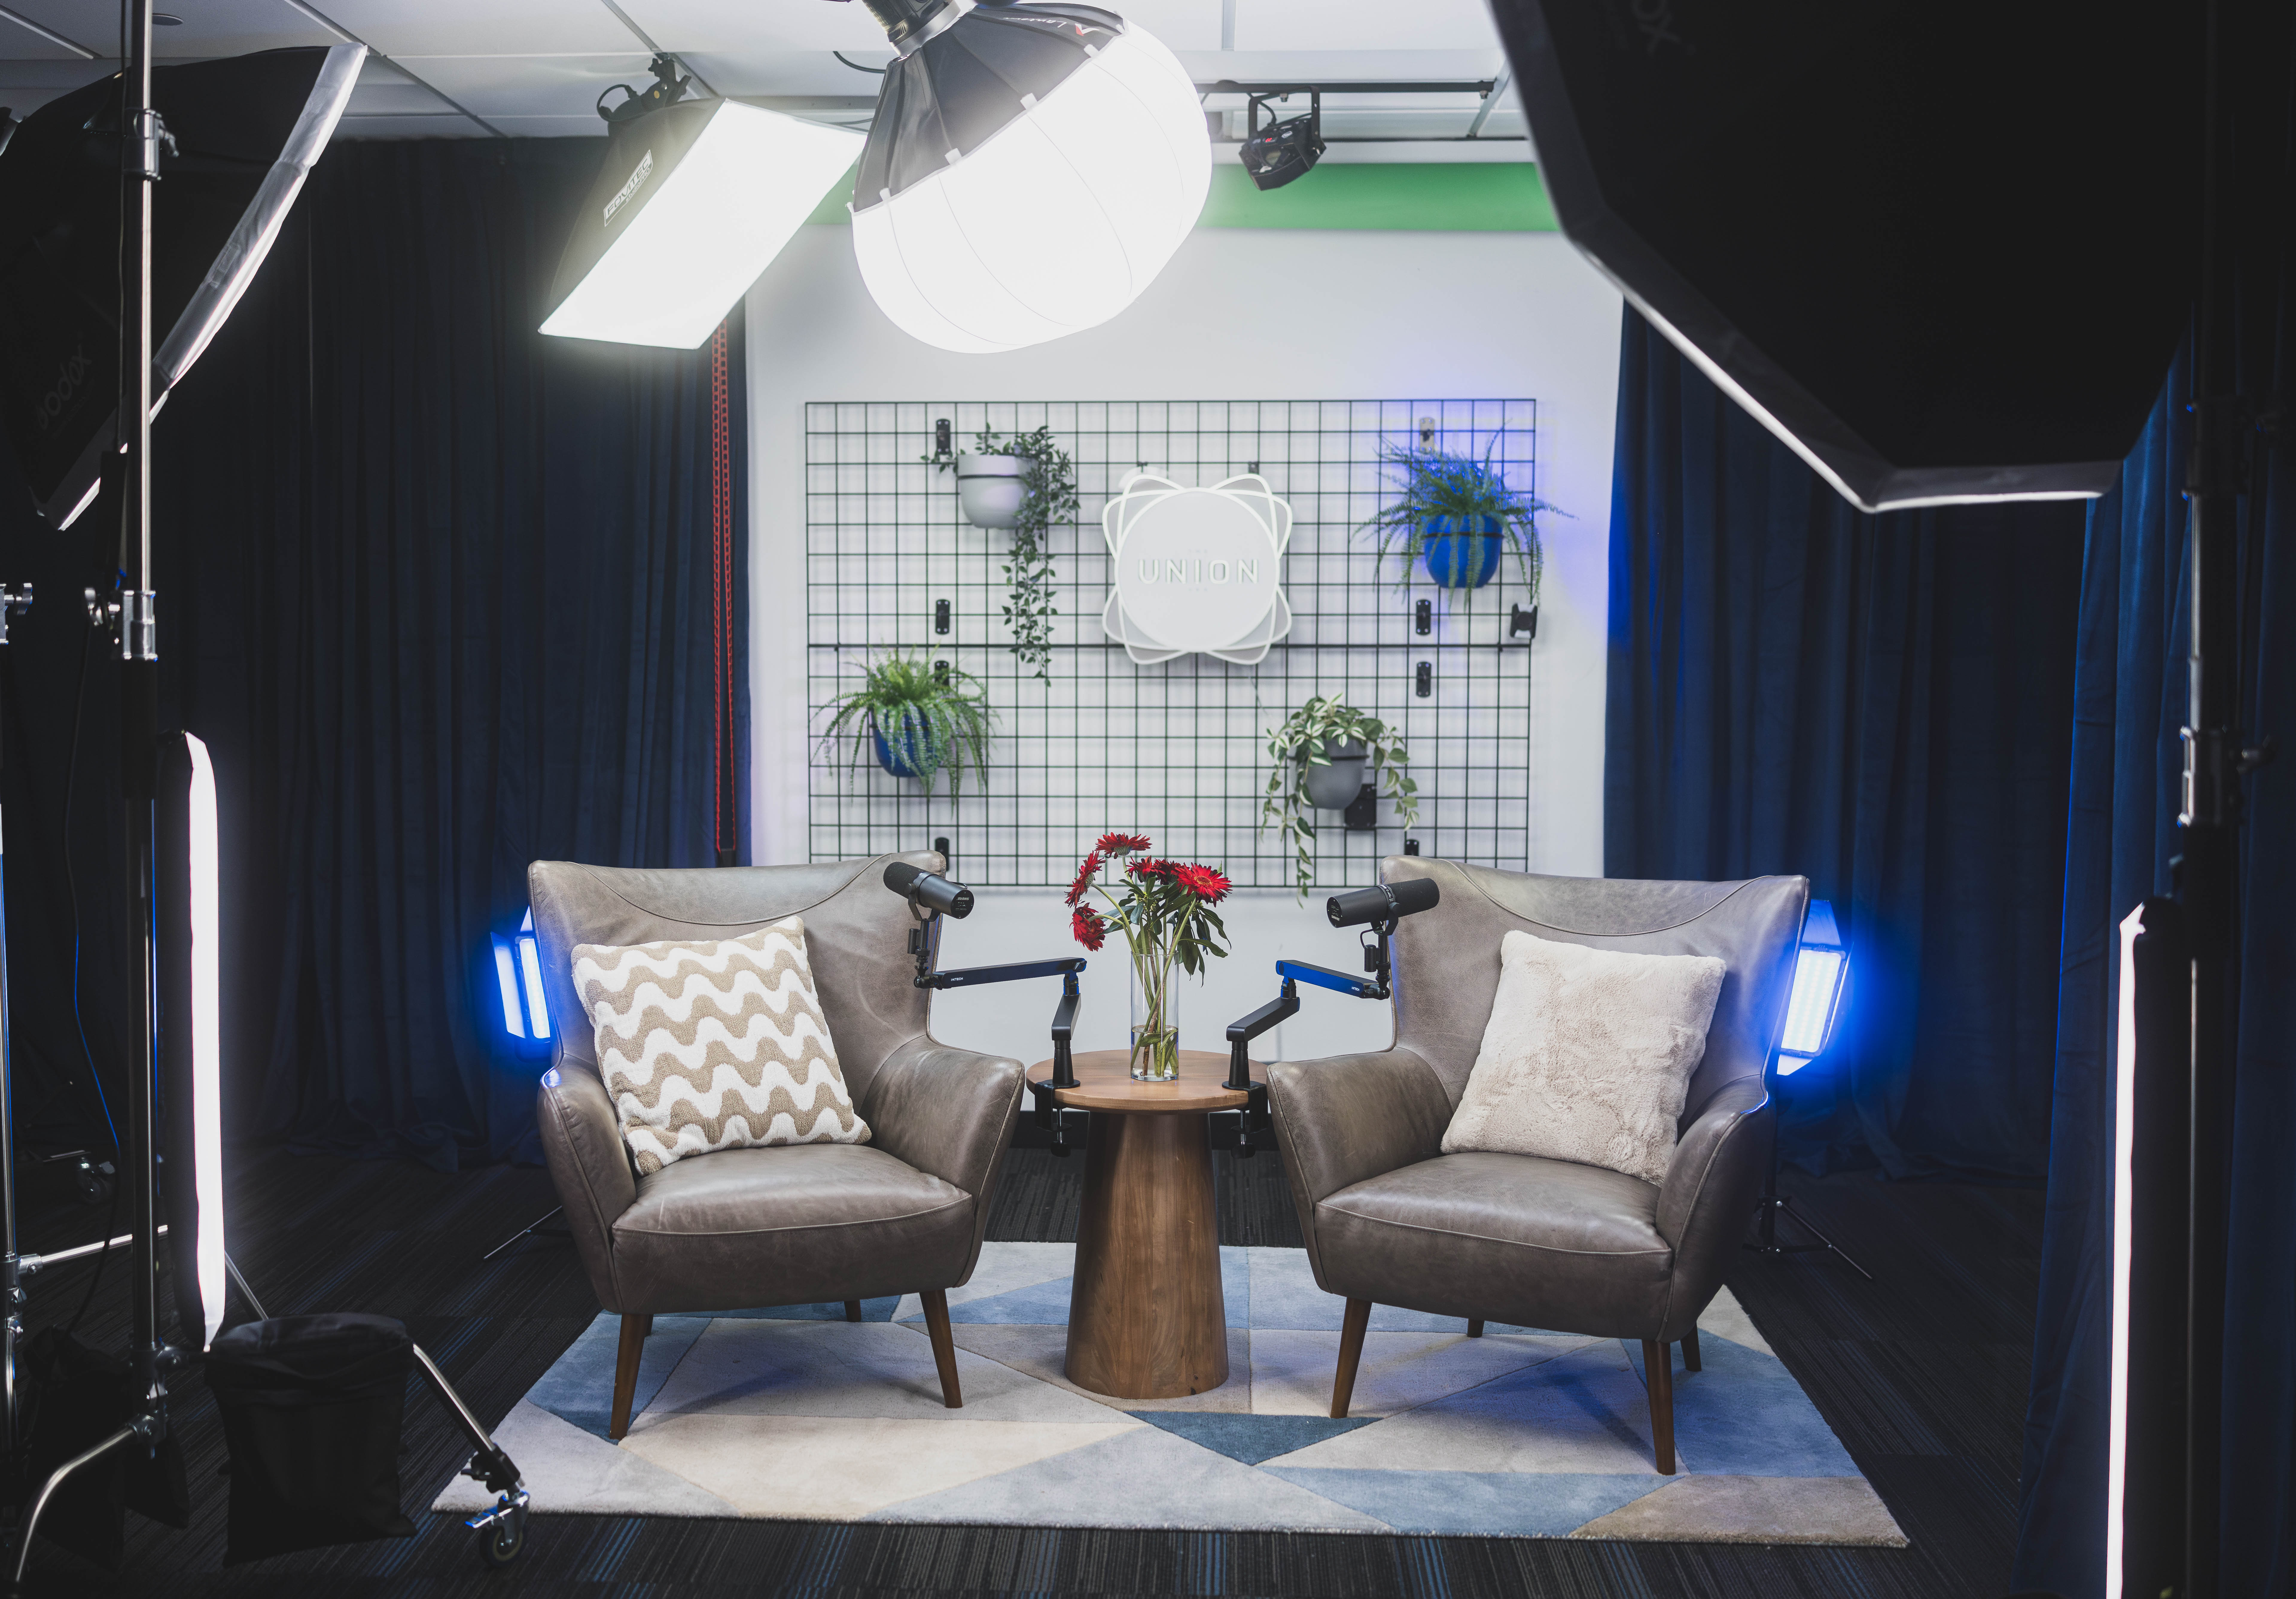
This is where The Union's production studios earn their keep. The Blue Room ("Blue Pill") is a controlled environment with modular sets like The Cove, The Grid and Blue Room Central, and the Red Room ("Red Pill"), built for larger setups and visual storytelling, includes sets such as Talk Show and QT's Corner. Because the sets and color backdrops are modular, the team can switch from a talking head to a product shoot to a panel without a long reset. The production team can also design custom backdrops, lighting and furniture layouts around your brand, which matters a lot once your face is filling a phone screen. You can browse the sets on the spaces page before you visit.
Record a few clip-only extras
Tasha now spends the last ten minutes of every session recording short pieces made just for social: a 15-second direct-to-camera intro to the episode ("Your kid asked if fish sleep. The answer is weirder than you think."), a quick "three facts in thirty seconds" segment, and a call to action pointing to the full episode. The teleprompter screen in the studio makes it easy to read host notes for these without looking away from the lens. These extras often outperform clips cut from the conversation, because they are designed for the format from the first word.
Cutting clips that hold attention
Once you have your moments and your footage, it is time to cut. Here is what separates a clip people watch from one they scroll past.
Lead with the hook
You have roughly the first one to three seconds to earn attention. Do not start a clip with "So, um, yeah, that's a great question." Start on the most interesting sentence, even if it means trimming the setup. If the payoff comes at second 25, consider opening with a text overlay that teases it: "Wait until you hear how parrotfish sleep."
Caption everything
A large share of people scroll with the sound off, especially in public. Burned-in captions (text built into the video itself) keep your clip watchable without audio. Keep captions large, high-contrast, and limited to a few words per line. Check them carefully: automatic transcription often mangles names and scientific terms, and Tasha learned fast that "parrotfish" sometimes becomes "parent fish."
Respect the safe zones
Every platform overlays buttons, usernames and captions on top of vertical video, mostly along the bottom and the right edge. Keep your faces and on-screen text in the center of the frame so they are not covered. Each platform publishes its own guides, and they shift over time, so check before you design a template.
Keep it tight
Cut pauses, filler words and false starts more aggressively than you would in the full episode.
Add a jump cut or slight zoom every few seconds to keep visual energy up.
End cleanly, ideally on a punchline or a question, and point viewers to the full episode in the caption or on screen.
Aim for 20 to 60 seconds for most clips. Longer can work when the story earns it.
The Union's pre/post-production room gives you a dedicated place to do this work, separate from the distractions of home. Because the studio has fiber internet and integrated Blackmagic Cloud storage, you can review footage while still on set, and a remote editor can stay in the loop and start pulling clips from the same files without waiting for a hard drive to be mailed or uploaded overnight.
Know your formats (and check them often)
Platform specs change regularly, so treat this as a starting point and confirm current limits in each app before you publish.
Vertical short-form (TikTok, Instagram Reels, YouTube Shorts, Facebook Reels): 9:16 aspect ratio, 1080x1920 pixels. Maximum lengths vary and have grown over the past few years: YouTube Shorts and Instagram Reels currently allow up to about three minutes, and TikTok allows considerably longer uploads. Length limits are a ceiling; shorter usually performs better for discovery.
Feed posts (Instagram, LinkedIn, Facebook): 4:5 (1080x1350) takes up more screen space in feeds than square 1:1 and is a safe choice for quote graphics and carousels.
Horizontal YouTube clips: 16:9, typically 1920x1080 or 4K. Longer clips of 3 to 8 minutes work well as standalone videos and often get recommended alongside your full episodes.
Audiograms: If you record audio-only, you can still make clips with a static image, a waveform animation and captions. They generally perform below on-camera video, but they are much better than posting nothing.
One practical tip: create templates once (caption style, colors, fonts, logo placement, end card) and reuse them. Consistency helps people recognize your content, and it cuts your editing time dramatically.
Beyond video: quotes, carousels and written content
Clips get the attention, but other formats round out your week and reach people who prefer reading or saving posts.
Quote graphics
Pull lines that are short (under 25 words), quotable, and make sense alone. Tasha's best one came from Marcus: "Kids don't need us to know everything. They need us to stay curious with them." Put it on a branded background with the speaker's name and the episode title. Tag your guest so they can share it.
Carousels
A carousel teaches your episode's core idea slide by slide. Tasha's "Do Fish Sleep?" carousel goes: hook slide, three surprising fish sleep facts, one "try this at home" activity for parents, and a final slide pointing to the episode. Carousels tend to get saved, which signals value to the algorithm.
Newsletter and blog
Expand your show notes into a short article with a summary, key takeaways, links mentioned and an embedded player. This version is searchable on Google, which podcast audio alone generally is not. If you have an email list, the same piece becomes your weekly newsletter.
Behind the scenes
A photo of the set, a short video of you adjusting the mic, a candid laugh between takes. These posts humanize the show and give people a sense of the place where it is made.
Tasha's week: a sample posting schedule
Here is how Tasha spreads one episode across seven days. Adjust it to your own capacity.
Monday: Episode drops. Post the direct-to-camera intro clip on all short-form platforms, plus a link post in Stories.
Tuesday: Clip of the clearest answer to the episode's question. Send the newsletter.
Wednesday: Quote graphic from the guest, with the guest tagged. Publish the blog version.
Thursday: The relatable story clip (the kid who waited at the fish tank). Post the longer horizontal clip to YouTube.
Friday: Carousel with the "try this at home" activity, timed for weekend planning.
Saturday: Behind-the-scenes post from recording day.
Sunday: A "question of the week" post asking parents what their kids have been wondering about lately. This doubles as research for future episodes.
After two weeks, Tasha checks her analytics. She looks at average watch time and the percentage of viewers who watched past the first three seconds, and she notices that her direct-to-camera clips hold people longer than her conversation clips. That tells her to record more of them. Analytics are guidance, not gospel, so give any pattern a few weeks before drawing big conclusions.
Your repurposing checklist
Run through this for every episode:
Before recording, plan camera angles that allow clean vertical crops of each speaker.
Record 2 or 3 short direct-to-camera extras made just for social.
Generate a transcript and mark 8 to 12 clip-worthy moments with timestamps.
Pick the best 3 to 5 that stand alone without setup.
Cut each clip to open on the hook within the first few seconds.
Add burned-in captions and proofread every name and technical term.
Check that faces and text sit inside each platform's safe zone.
Pull 2 or 3 quotes and build them into branded graphics.
Build one carousel and one written article from the episode.
Schedule posts across the week and tag guests on anything they appear in.
Review watch time and retention after two weeks and adjust.
Common mistakes to avoid
Posting the same clip everywhere with no adjustment. Captions, hashtags, cover images and on-screen text styles differ by platform. Small tweaks help.
Leaving visible watermarks from one app on another. Export a clean version from your editor instead of downloading from one platform and uploading to the next.
Clips that need too much context. If a stranger would be confused, choose a different moment.
Burying the hook. Long intros kill short clips.
Ignoring guest permissions. Let guests know before recording that clips of them will be shared on social media.
Burning out. Three great clips a week beats ten rushed ones you stop making after a month.
If the volume feels overwhelming, remember you can bring in help. The Union's content delivery services include editing and post-production, distribution strategy, and social media promotion and management, and their producers already deliver short captioned clips, thumbnails, pull-quotes and publishing copy as part of a session's post-production. Many creators handle the strategy themselves and hand off the cutting, or the other way around. A short conversation with the team about your workflow can clarify which parts are worth your time. You can see the full range on the services page.
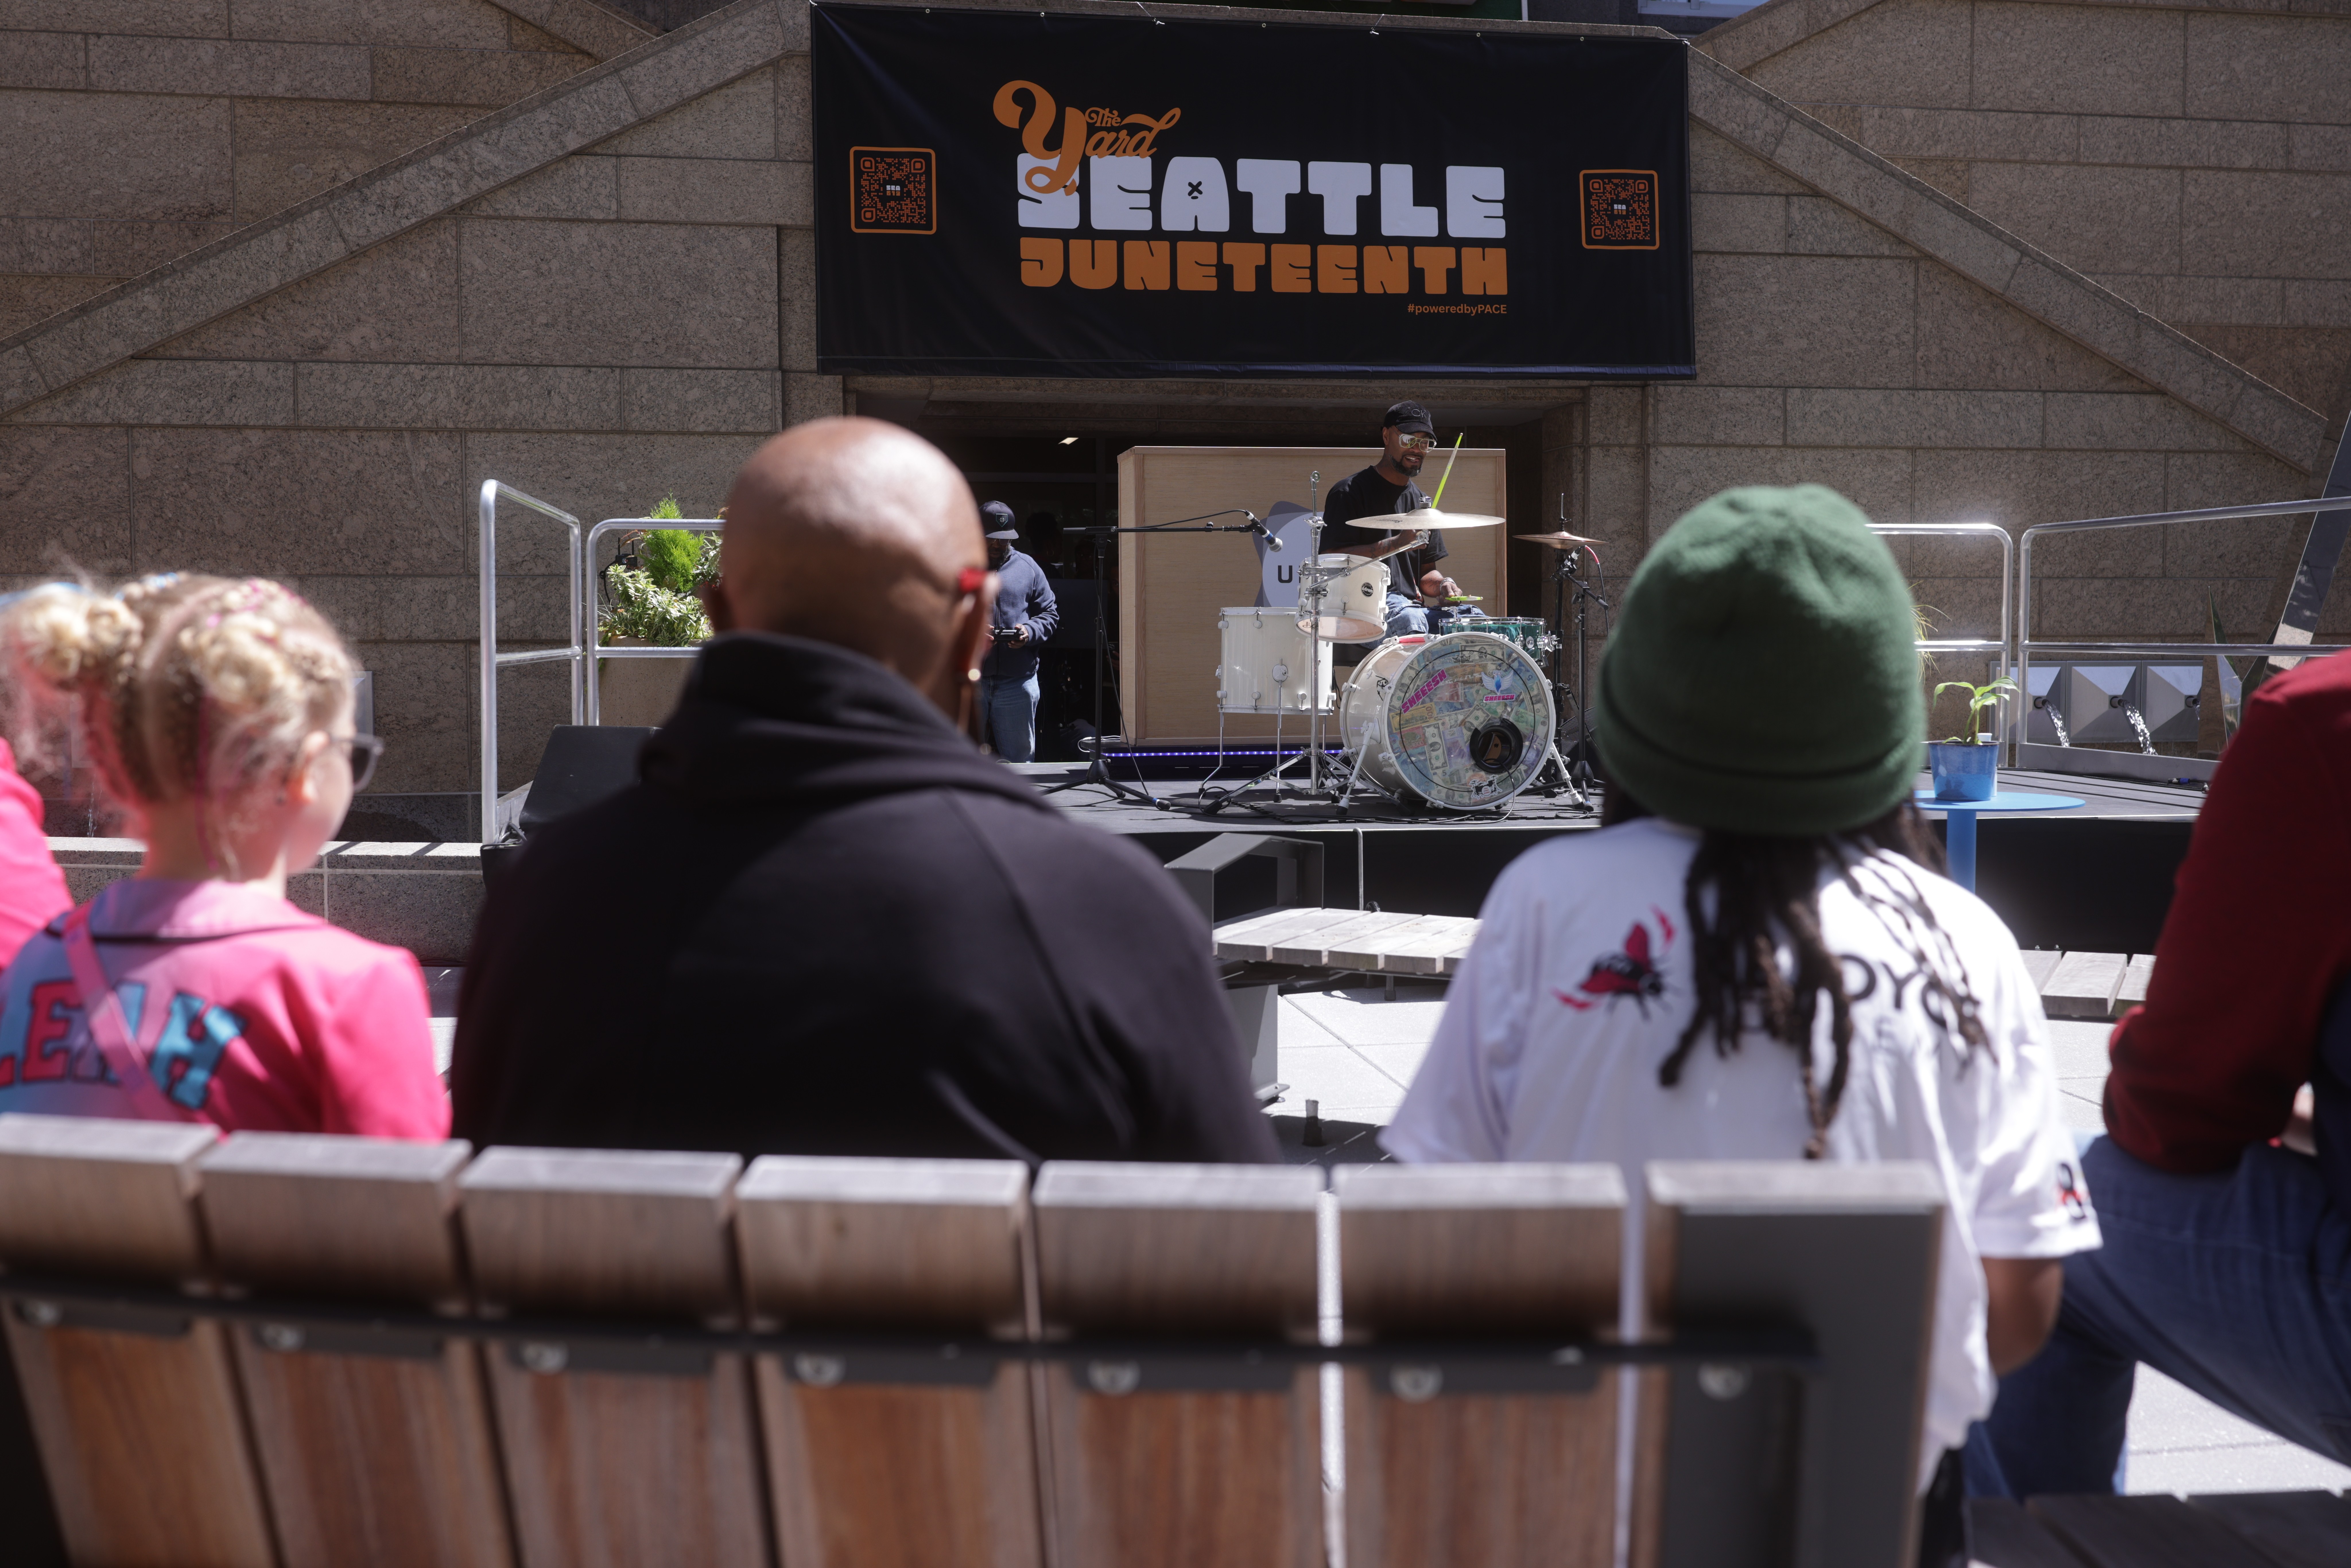
It also helps to be around people doing the same work. Jolyn GC records her podcast, Wealth Rituals, at The Union and co-hosts The Come Up Series on YouTube, so she is one of the creators in the building who lives in both long-form and video. That mix of educators, entrepreneurs and artists sharing space is part of what makes The Union a working piece of Seattle's creative economy rather than just a room with cameras.
Do this this week
Take your most recent episode (or a practice recording) and do the following in one sitting of about two hours:
Generate a transcript and mark five moments that could stand alone.
Cut one vertical clip under 45 seconds with a hook in the first three seconds and burned-in captions.
Make one quote graphic.
Post both, then write down what you learned about how long each step took.
That timing note is gold. It tells you how much of a weekly content calendar you can realistically sustain on your own, and where outside help would buy back the most hours.
Coming up next
Clips get you discovered, but turning viewers into loyal listeners takes more. In Part 22, Growing Your Audience, we will look at how Tasha builds real community around her show, from guest cross-promotion to showing up where parents already gather.
Start your story at The Union
You do not need to own a camera, a lighting kit or editing software to start making clips that travel. The Union has over 15 production sets supporting podcasts, documentary-style video, and content from audio recording to post-production, a pre/post-production room for editing, and a team that supports everything from DIY to full-service productions. If you are not sure where to begin, a studio walkthrough or a strategy conversation is the fastest way to see how your episodes could stretch into a full week of content.
Reach out at contact@theunion.io or call 206-551-0964. Guests can book the studio by appointment, weekdays from 9 AM to 5 PM, without a membership, and The Union also hosts Saturday guest events. If you are ready to make this a regular practice, apply for membership: the CoCreate Podcast membership is $300/month (with a $100 sign-up fee and a 2-month commitment) and includes media lab access for DIY and full-service productions, and the CoCreate Vodcast membership is $400/month for creators leaning into video. CoCreate memberships currently have a waitlist of about one month, so applying now means you will be ready when your next season is. Come see the space, meet the team, and let one episode become the start of something bigger.
The full series
This is Part 21 of 24 in Starting a Podcast at The Union (Distribution stage). Previous: Part 20, Get Your Show on Apple Podcasts, Spotify, and YouTube. Next: Part 22, Downloads Flatlined? Ways to Grow Your Podcast Audience in Seattle.