Podcasting
·
Oct 15, 2026
Transcripts and Captions Make Your Podcast Open to Every Listener

Arif Gursel
Founder

The first finished episode from our example creator, Tasha, is sitting in a folder. The audio is mixed, the artwork from last week looks sharp, and the question at the heart of the episode ("Why do cats always land on their feet?", asked by a fifth grader in her after-school science club) gets a clear, playful answer in 26 minutes. She's ready to hit publish. Then a parent in her test group sends a message: "My son is hard of hearing. Is there a transcript he can read along with?"
That question changes how Tasha thinks about her show. If you're new to this series, Tasha is our illustrative creator: a middle school science teacher in Rainier Valley building a podcast for parents of curious kids, where every episode answers one real question a kid asked. She's a composite example, but her situation is common. Most first-time podcasters treat transcripts and captions as an afterthought. By the end of this post, you'll see why they belong in your workflow from the very first episode, and how to make them without losing a weekend.
Why transcripts and captions are worth your time
A podcast is an audio file, and audio files are invisible to a lot of people and a lot of software. Transcripts and captions turn your spoken words into text, and text travels much further than sound.
Accessibility comes first
Deaf and hard of hearing listeners, people with auditory processing differences, and English language learners all benefit from text. The Web Content Accessibility Guidelines (WCAG), the standard most organizations use, call for a text transcript for prerecorded audio and captions for prerecorded video at the most basic conformance level. You may not be legally required to meet WCAG as an independent creator (requirements vary by situation and jurisdiction), but it's the clearest benchmark for doing right by your audience.
For Tasha, this matters even more. Her listeners include parents who want to share episodes with their kids, and a kid who reads along with a transcript is still learning. A transcript also gives a teacher in another classroom an easy way to use the episode as a lesson.
Reach and discoverability
Search engines index text. They can't reliably understand what's said inside a 26 minute MP3 on your website. A transcript posted on your episode page gives Google and other search engines thousands of words that describe exactly what you talked about. When a parent searches "why do cats land on their feet explained for kids," a transcript page has a real chance of showing up.
Listening apps have caught on too. Apple Podcasts began automatically generating transcripts for many episodes in 2024 and lets creators supply their own. Spotify generates transcripts for some shows. YouTube auto-captions most uploaded videos. These features change often and differ by platform, country and language, so check each platform's current help pages before you count on them.
A content engine for everything else
Once you have accurate text, you have raw material for show notes, blog posts, social captions, quote graphics, newsletter blurbs and short clips. Tasha realized her transcript held the best line of the episode, a kid's guess that cats "have a gyroscope in their butt," which became the caption on her first social clip.
Transcripts vs. captions: know the difference
The terms get used interchangeably, but they're different files with different jobs.
Transcript: the full text of the episode, usually with speaker labels and paragraph breaks. It's meant to be read on its own. Common formats are plain text, a web page, or a document.
Captions: short, time-coded chunks of text that appear on screen in sync with audio or video. They're meant to be read while watching or listening.
Closed captions can be turned on and off by the viewer (uploaded as a separate file). Open captions, sometimes called burned-in captions, are part of the video image itself, which is what you usually see on short social clips.
The file formats you'll actually use
SRT (.srt): the most widely supported caption format. Numbered blocks with start and end times and text. YouTube, most social platforms and most editing software accept it.
WebVTT (.vtt): similar to SRT, built for web players. It supports some styling and speaker tags.
Plain text or HTML: for the readable transcript on your website.
JSON: some podcast hosts and apps use this for interactive transcripts that highlight words as they're spoken.
If your podcast host supports the Podcasting 2.0 transcript tag in your RSS feed, you can attach a transcript file (often SRT or VTT) to each episode, and supporting apps will display it. Support varies widely by host and app, so ask your hosting provider what they accept.
Choosing a transcription tool
Almost every transcript today starts with automatic speech recognition (ASR), then gets cleaned up by a human. The tools fall into a few groups. Pricing and plan limits change frequently, so treat any numbers you see online as a snapshot and confirm on the vendor's site.
Built into your editor
Descript transcribes your recording and lets you edit audio by editing text. Popular with beginners.
Adobe Premiere Pro includes speech-to-text and caption generation.
DaVinci Resolve offers transcription and subtitle generation in its paid Studio version (feature availability depends on the version you're running).
Riverside and similar remote recording platforms often generate transcripts automatically after a session.
If you already edit in one of these, start there. You avoid exporting and re-importing files.
Standalone automatic services
Otter.ai, Sonix, Happy Scribe, Trint and similar services take an uploaded file and return a transcript, usually within minutes. Many offer free tiers with monthly limits.
OpenAI's Whisper is an open-source model you can run on your own computer for free if you're comfortable with a bit of setup. Several apps wrap it in a simple interface.
Human transcription
Services such as Rev offer human-made transcripts and captions, typically priced per audio minute and noticeably more expensive than automatic options. Human transcription makes sense for episodes with heavy accents, crosstalk, poor audio, or technical vocabulary, or when you need near-perfect accuracy for a client.
How to pick
For most new podcasters, the right answer is an automatic tool plus a short human review. Automatic accuracy on clean, single-speaker audio is often very high, but it drops quickly with background noise, overlapping voices and unusual words. Which brings us to the single biggest factor in transcript quality: your recording.
Good transcripts start in the recording room
Transcription software is only as good as the audio it hears. Every echo, mumble and moment of two people talking at once becomes a correction you'll make later.
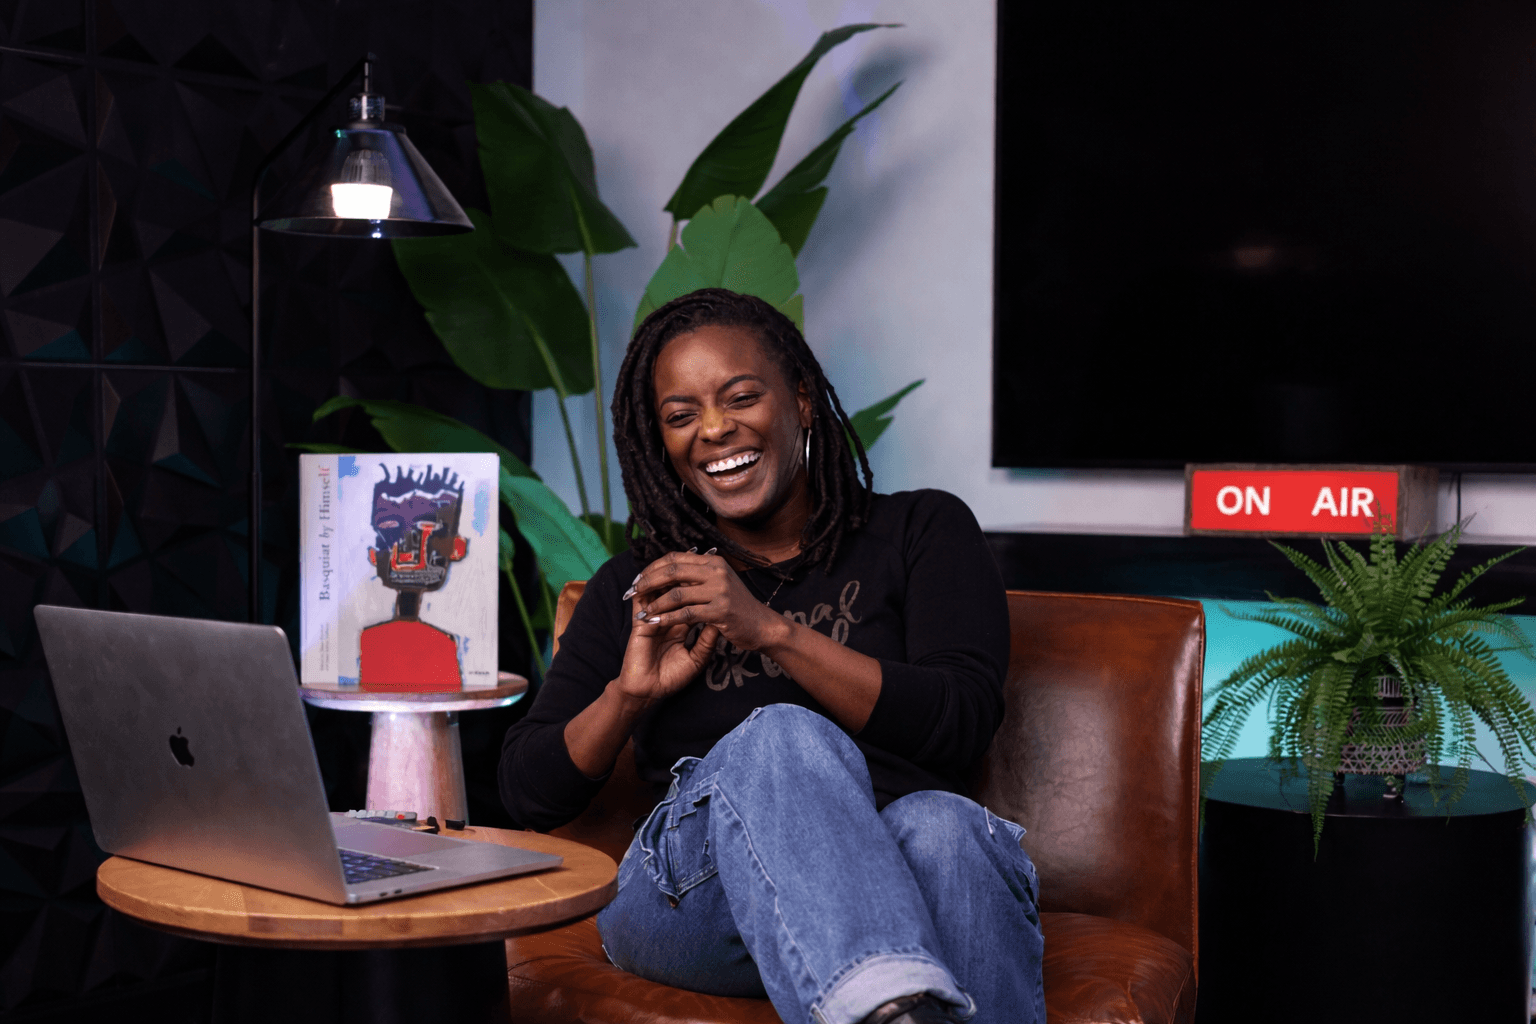
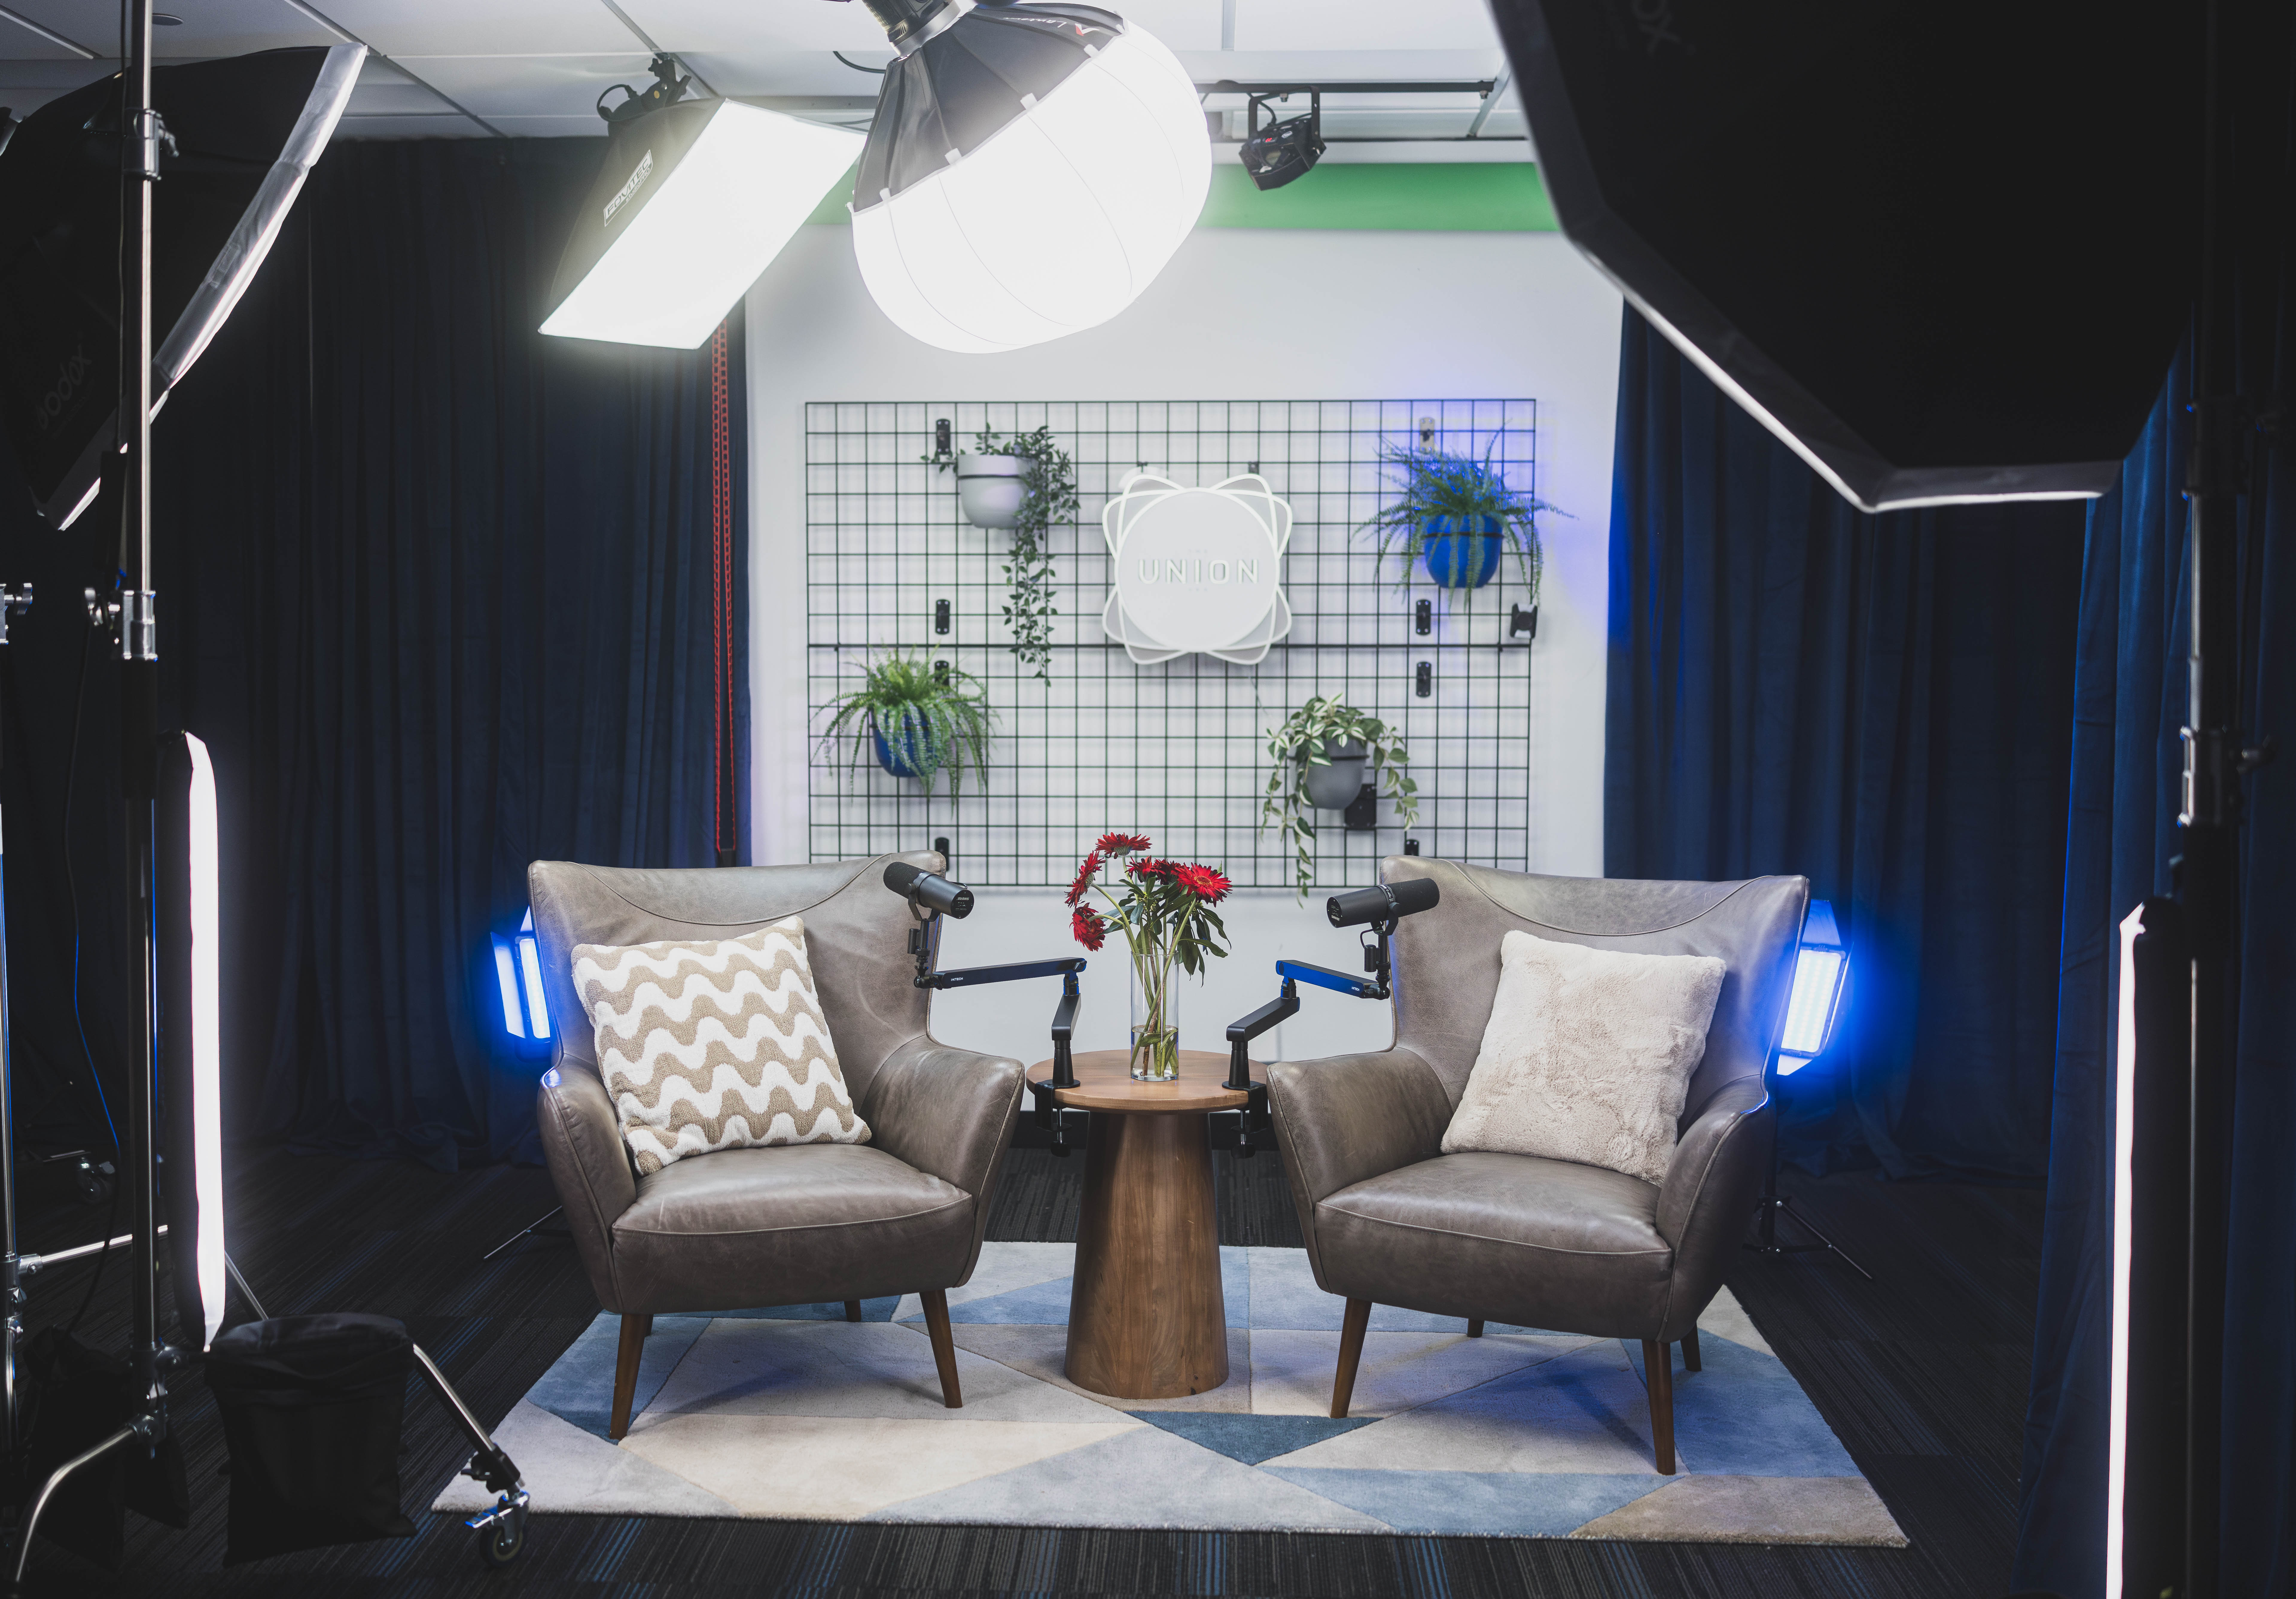
Tasha recorded her episode with a guest, an illustrative veterinarian named Dr. Ruiz, in The Cove, one of the sets in The Union's Blue Pill studio. Blue Pill is designed as a controlled environment for a range of audio and visual projects, and recording clean audio in a controlled space made a real difference when the transcript came back: the software could tell who was talking, and very few words were lost.
A few recording habits that save transcript cleanup:
Give each speaker their own mic and, ideally, their own track.
Avoid talking over each other. Pause half a beat before responding.
Spell out unusual names and terms on the recording when they first come up ("that's R-U-I-Z").
Keep a written list of names, places and technical terms. You'll feed it to your transcription tool.
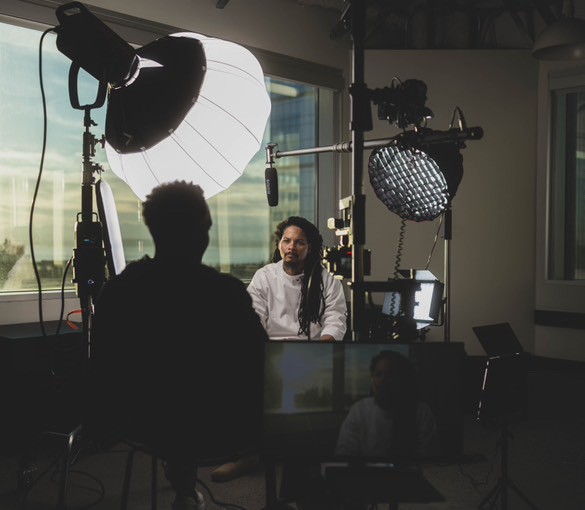
If you're not sure how to set up a room for clean multi-speaker audio, this is exactly the kind of thing The Union's production team handles before a session: they set the room, test remote links and capture clean audio and video, whether you're on site or bringing in a guest remotely. You can see the full range of support on the services page.
A lightweight review process that actually gets done
The trap is perfectionism. A beginner opens a raw transcript, sees 200 small errors, and gives up. You don't need a flawless verbatim document. You need an accurate, readable one. Here's a review process Tasha uses that takes roughly 30 to 45 minutes for a 25 to 30 minute episode once you've done it a few times.
Before you transcribe: build a custom vocabulary
Most tools let you add custom words or a glossary. Tasha's list for the cat episode included "righting reflex," "vestibular system," "Ruiz," and "Rainier Valley." Adding these before transcription prevents the same error from showing up dozens of times. Her first attempt without a glossary rendered "vestibular" four different wrong ways.
The three-pass method
Search-and-replace pass (5 to 10 minutes). Fix the predictable errors across the whole document: names, technical terms, your show's name. Use find-and-replace, but check each change rather than replacing all blindly.
Speaker label pass (5 minutes). Confirm every speaker label is correct. Software often mixes up voices that sound similar or swaps labels after a long pause.
Listen-and-skim pass (15 to 25 minutes). Play the audio at 1.5x speed and read along. Stop only for errors that change meaning, missing words, or garbled sentences. Ignore small stuff like a missing "um."
Readability pass (5 minutes). Break long walls of text into paragraphs at natural topic shifts. Add a few headings for a long episode so readers can skim.
Privacy check (2 minutes). Look for anything that shouldn't be published: a guest's personal detail said off-hand, a child's last name, a school name. Tasha only uses kids' first names with parent permission, and she double checks that the transcript matches that rule.
Export (2 minutes). Save a clean text or web version for your episode page, and SRT or VTT files for captions.
Clean verbatim vs. true verbatim
Decide once and stick with it. True verbatim keeps every "um," false start and repeated word. Clean verbatim removes filler while keeping meaning and the speaker's voice. For a podcast transcript, clean verbatim reads better and is the most common choice. Never clean up so much that you change what someone said, especially a guest.
Captions for your video and social clips
If you record video (and Part 10 covered why many podcasters now do), captions make your clips usable for the many people who scroll with sound off. They also help viewers follow fast speech or accents.
Caption guidelines that make text readable
Line length: aim for roughly 32 to 42 characters per line, no more than two lines on screen at once. Short vertical clips often work better with one short line.
Timing: each caption should stay up long enough to read, generally between about one and seven seconds.
Placement: keep captions clear of on-screen faces, platform buttons and the bottom area where apps place their own interface. This differs by platform, so preview before posting.
Style: high contrast (white or yellow text with a dark outline or background), a simple sans-serif font, sentence case.
Accuracy: captions are more visible than transcripts. One wrong word on screen in a 30 second clip gets noticed. Review every clip.
Uploaded vs. burned-in
For full episodes on YouTube, upload a reviewed SRT or VTT file rather than relying on auto-captions. Viewers can toggle it, and the text is available to the platform. For short clips on Instagram, TikTok and similar apps, creators usually burn captions into the video, though several apps now offer their own caption tools. Features change frequently, so check what each platform currently supports.
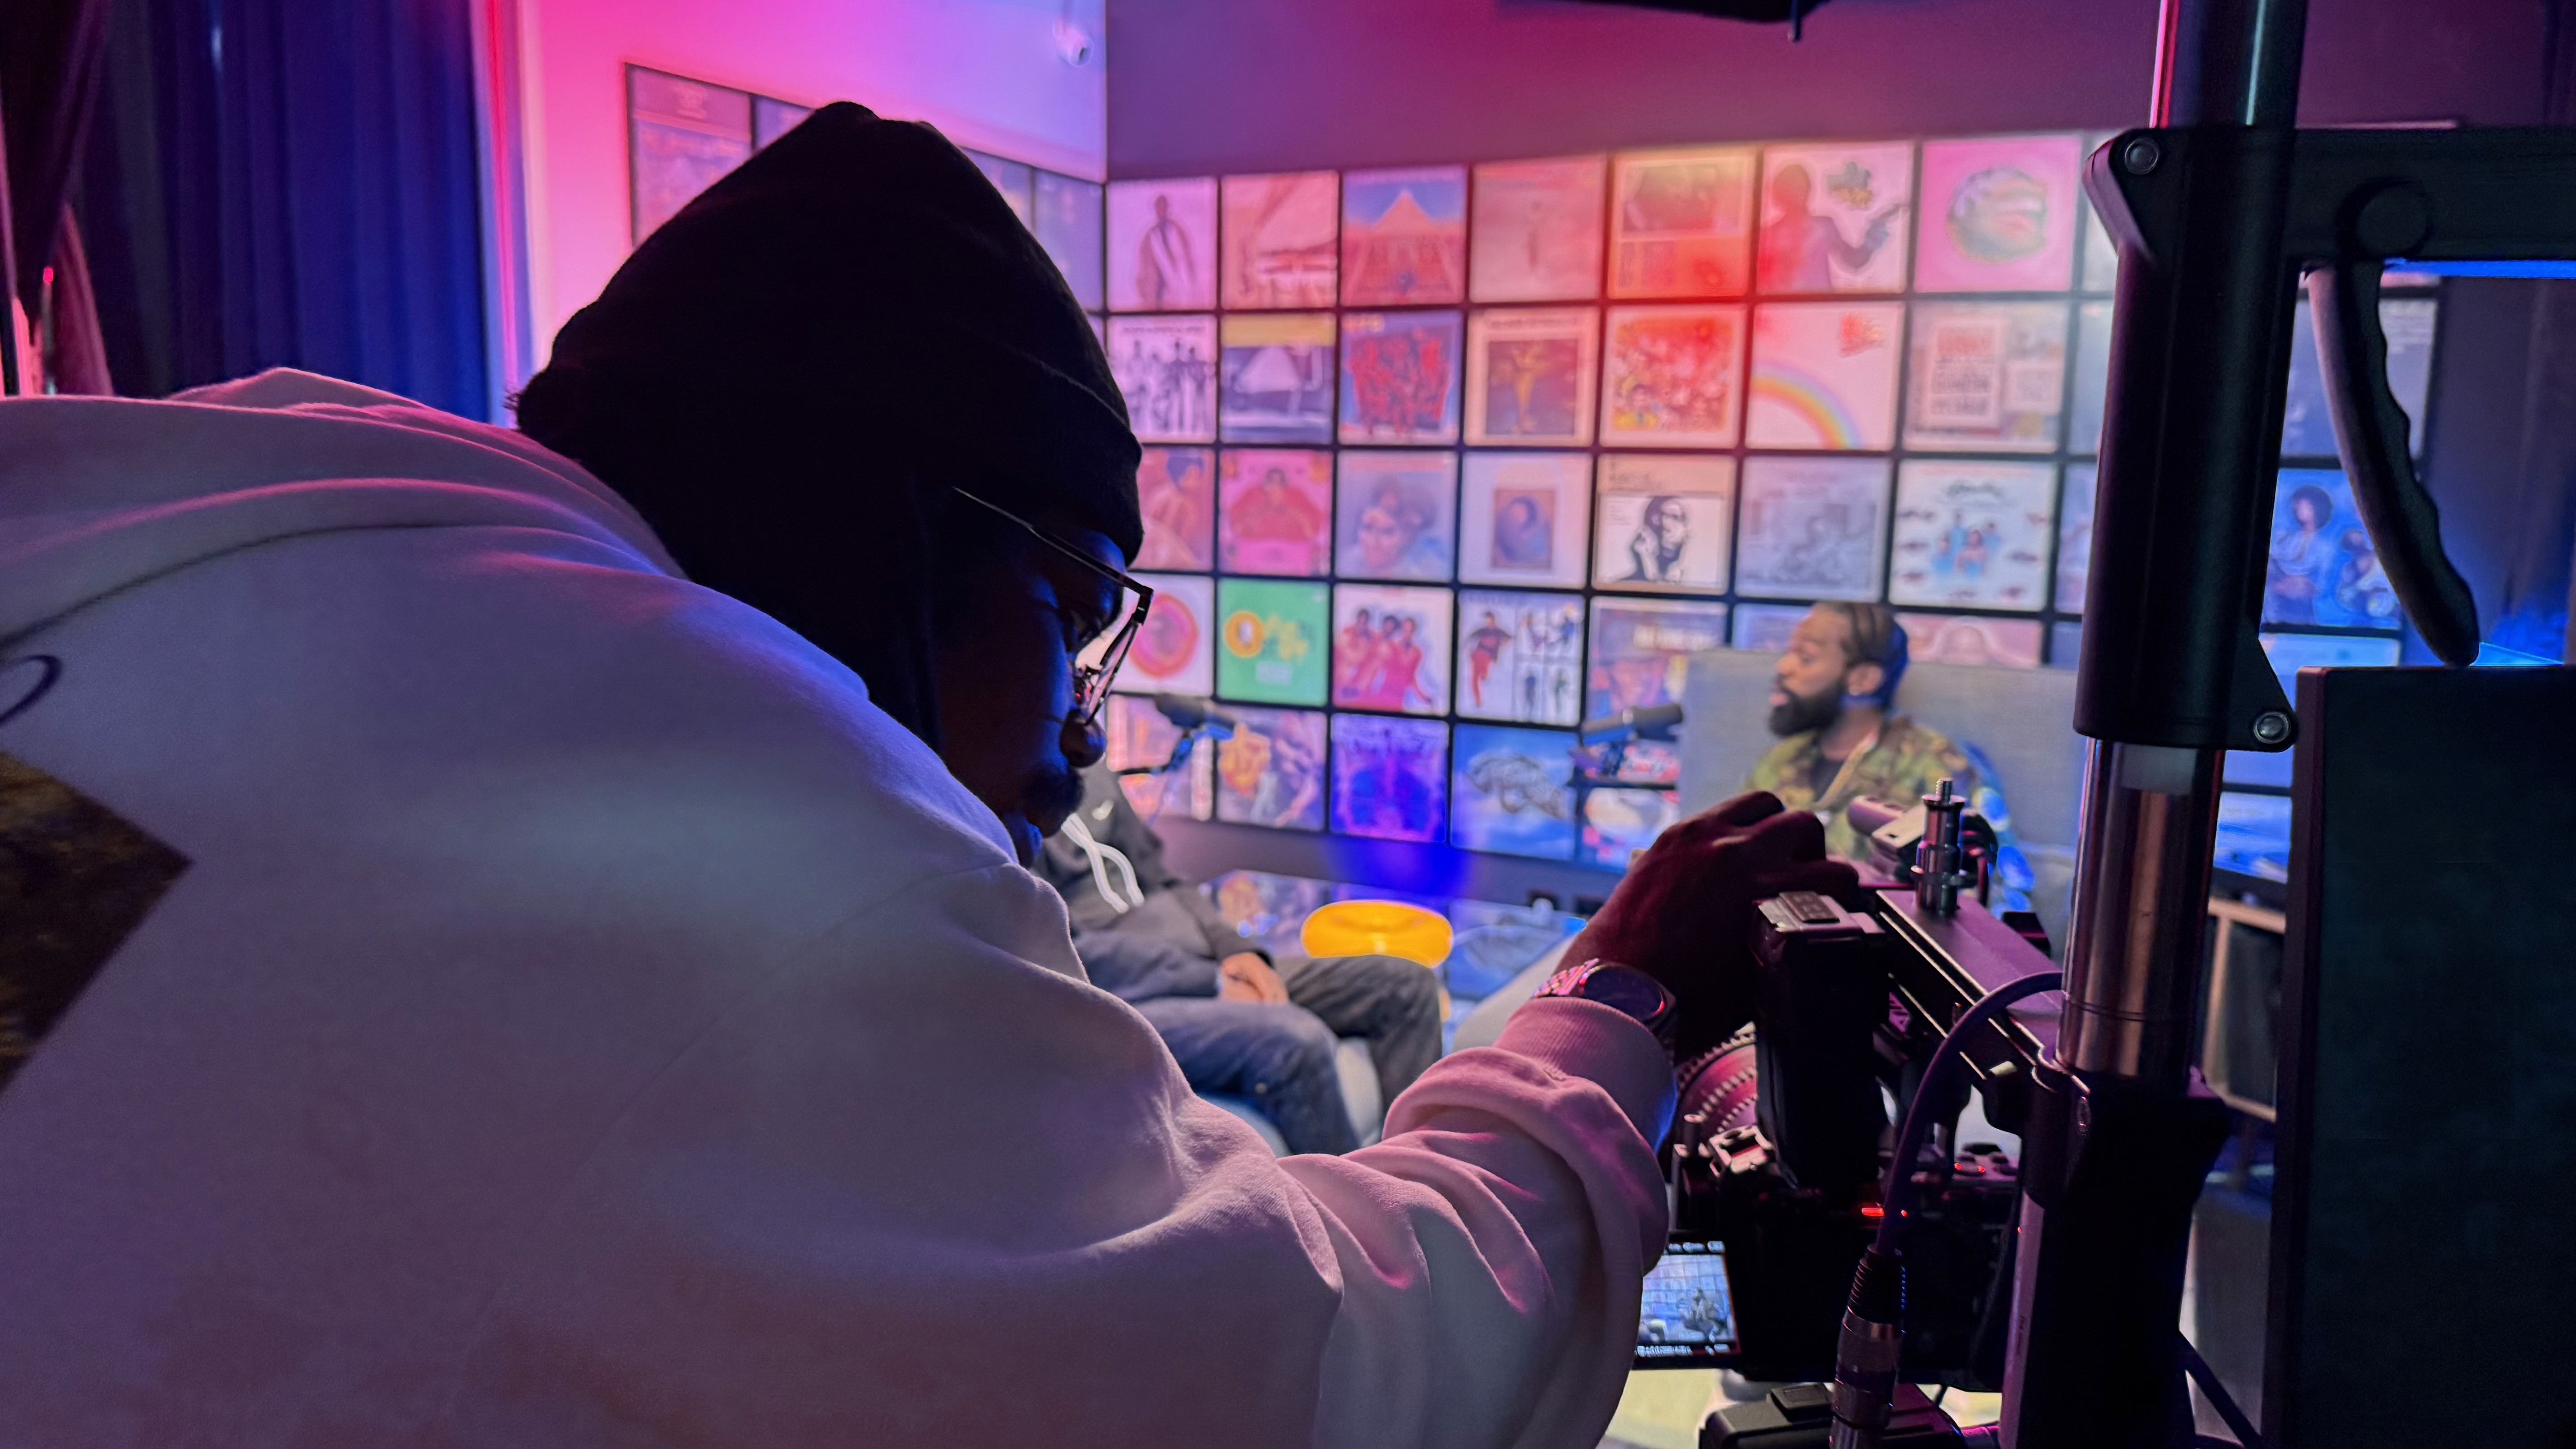
Tasha's video was shot on the Talk Show set in The Union's Red Pill studio for a short companion clip. Because she already had a reviewed transcript, generating captions for three 45 second clips took minutes: she pulled the matching lines, checked the timing, and exported.
Where The Union fits into your transcript workflow
Here's an honest note: a transcript or caption file is tiny. A full episode transcript is a few dozen kilobytes. What's heavy is everything around it: multitrack audio, and especially multi-camera video, which can run into many gigabytes per session. To transcribe and caption, you upload those large media files to a transcription service or move them into your editing software, then send captioned video back out.
That's where infrastructure starts to matter. The Union has dedicated fiber internet, with speed both up and down, so uploading a long video file to a transcription service or sharing a captioned cut doesn't eat your afternoon. The studios are also integrated with Blackmagic Cloud storage, built for real-time collaboration and fast file transfers. If you work with a remote editor or a friend who's helping with captions, cloud sync keeps them in the loop on the same project files without passing hard drives around.
There's also a pre/post-production room for editing, so you can finish your review passes right after recording while the conversation is fresh. Members on CoCreate memberships have 24/7 access Monday through Friday, which helps if your editing window is after a full day of teaching, as Tasha's is.
When you'd rather hand it off
Short captioned clips are part of The Union's full-service post-production. After a session, the production team delivers mixed audio, a clean video cut, short captioned clips, thumbnails, pull-quotes, show notes and publishing copy. For a creator like Tasha who has lesson plans to write, handing off captioned clips while she focuses on the next kid's question could be the difference between publishing weekly and stalling out after episode three.
If you're on the fence about doing it yourself versus getting help, a conversation with a producer is worth having before you build habits. They've seen what trips beginners up and can tell you which parts of this workflow are worth your time.
Common mistakes to avoid
Publishing raw auto-transcripts. An unreviewed transcript with a mangled guest name looks careless and can embarrass a guest.
Skipping speaker labels. Readers can't follow a conversation without them.
Hiding the transcript. Put it on the episode page or link it clearly. A transcript buried in a PDF download helps few people and does less for search.
Burning captions into your full episode. Use uploadable caption files for long-form video so viewers can turn them off.
Forgetting music and sound cues. Accessible captions note meaningful sounds, like [cat meows] or [laughter].
Doing it all on deadline. Transcript review the night before launch gets skipped. Schedule it as part of post-production.
Ignoring privacy. Text is easier to search and copy than audio. Review it with that in mind, particularly with kids or sensitive topics.
Do this this week
Pick one finished episode, or even a 10 minute practice recording, and run it through the whole workflow:
Write a glossary of 10 to 15 names and terms from your show.
Generate a transcript with a free tier of any tool listed above.
Do the three passes and time yourself.
Post the cleaned transcript on your episode page or draft blog.
Make one captioned 30 to 60 second clip and preview it on your phone with sound off.
Note how long each step took and where the errors clustered. That tells you whether you need better recording conditions, a better glossary, or some help.
Tasha's first full run took nearly two hours. Her third took 40 minutes. And the parent who asked about a transcript? Her son now reads along with every episode, and he's started sending in his own questions.
Coming up next
In Part 18, Batching and Collaboration, we'll look at how to record several episodes in one session and work smoothly with co-hosts, guests and editors so your show keeps its rhythm even in a busy month.
Start your story at The Union
You don't need your own studio, editing suite or a deep understanding of caption formats to make an accessible, searchable show. The Union exists to be part of Seattle's creative infrastructure, an on-ramp where educators, entrepreneurs and artists can start telling stories with the space, tools and people to help. Members like Jolyn GC record her podcast Wealth Rituals here, and your show could be next.
Want to talk through your post-production workflow, or see the studios and editing room in person? Email contact@theunion.io or call 206-551-0964. You can book the studio as a guest by appointment, 9 AM to 5 PM, without a membership. If you're ready to make podcasting a habit, apply for membership: the CoCreate Podcast membership is $300/month with a $100 sign-up fee and a two-month commitment, and includes the media lab for DIY and full-service productions. CoCreate memberships currently have a waitlist of about a month, so it's a good idea to apply early while you keep building your show.
The full series
This is Part 17 of 24 in Starting a Podcast at The Union (Post-Production stage). Previous: Part 16, Episode Artwork That Still Looks Great on a Tiny Phone Screen. Next: Part 18, Batch Your Episodes and Bring in Help to Keep Your Schedule Sane.