Podcasting
·
Oct 15, 2026
Make Every Voice Sound Right: Mixing and Mastering Basics

Arif Gursel
Founder

Here is a hard truth about podcasting: listeners will forgive a lot. They will forgive a slow intro, a tangent about your weekend, even a guest who says "um" forty times. What they will not forgive is audio that makes them work. If they have to crank the volume to hear you and then yank it down when your co-host laughs, or if your voice sounds like it was recorded inside a cardboard box, they quietly hit skip. Usually you never find out why.
Mixing and mastering is how you prevent that. It is the stage where your edited episode becomes consistent, clean and loud enough to sit comfortably next to every other show in someone's queue. The good news is that the core of it comes down to three tools you can learn in an afternoon: EQ, compression and loudness normalization. This post walks you through each one with real settings, a step-by-step checklist and the mistakes beginners make most often.
Where our example creator, Tasha, is right now
If you are just joining the series, meet Tasha (an illustrative example we have followed since Part 1). She teaches middle school science in Rainier Valley and is building a podcast for parents of curious kids. Each episode answers one real question a kid asked her. The episode she is finishing now tackles a question from a sixth grader: "Why do cats purr?"
In Part 13, Tasha built her editing workflow. She cut the dead air, tightened the story and dropped in her theme music and a short ad read for a local bookstore. Structurally, the episode works. But when she plays it back start to finish, three problems jump out:
Her own voice, recorded on a set in the Blue Room, sounds full and clear, while her guest (an illustrative veterinarian who joined remotely) sounds thin and noticeably quieter.
When Tasha gets excited explaining vibrating vocal folds, her voice spikes loud. When she reads a kid's question softly, it nearly disappears.
The whole episode feels quieter than the other parenting shows she listens to on her commute.
Every one of these is a mixing or mastering problem, and every one is fixable. Let's walk through it the way Tasha does.
Mixing vs. mastering: what each one actually does
People use these words loosely, so here is a plain definition.
Mixing is working on each track individually so they sound good together. In a podcast, that usually means a track for each voice, plus music and any sound effects. You shape each voice with EQ and compression, set the levels so nobody is louder than anyone else and tuck the music underneath speech.
Mastering is the final pass on the finished, combined episode. You set the overall loudness to a target, catch any peaks that could distort and export the file in the right format for podcast platforms.
In music, these are often separate jobs done by separate people. In podcasting, one person (often you) usually does both in the same session. That is fine. What matters is the order: clean, then shape, then control, then finalize.
The standard signal chain
Most podcast mixes follow roughly this order on each voice track:
Cleanup: noise reduction for hum, hiss or room tone (use lightly).
EQ: remove problem frequencies and add clarity.
Compression: even out loud and soft moments.
De-essing: tame harsh "s" and "sh" sounds.
Level matching: balance voices against each other.
Then on the whole episode: a limiter and loudness normalization to hit your target. Nearly every editing app (Audacity, GarageBand, Adobe Audition, Reaper, DaVinci Resolve's Fairlight page, Descript and others) includes these tools, so you do not need to buy plugins to start.
Set yourself up to hear what you are fixing
Before you touch a single knob, think about where you are listening. You cannot fix what you cannot hear. Mixing on laptop speakers at a kitchen table, with the dishwasher running, is the number one reason beginner mixes sound off. Laptop speakers barely reproduce low frequencies, so you will miss the rumble and boom that shows up loudly in a listener's car.
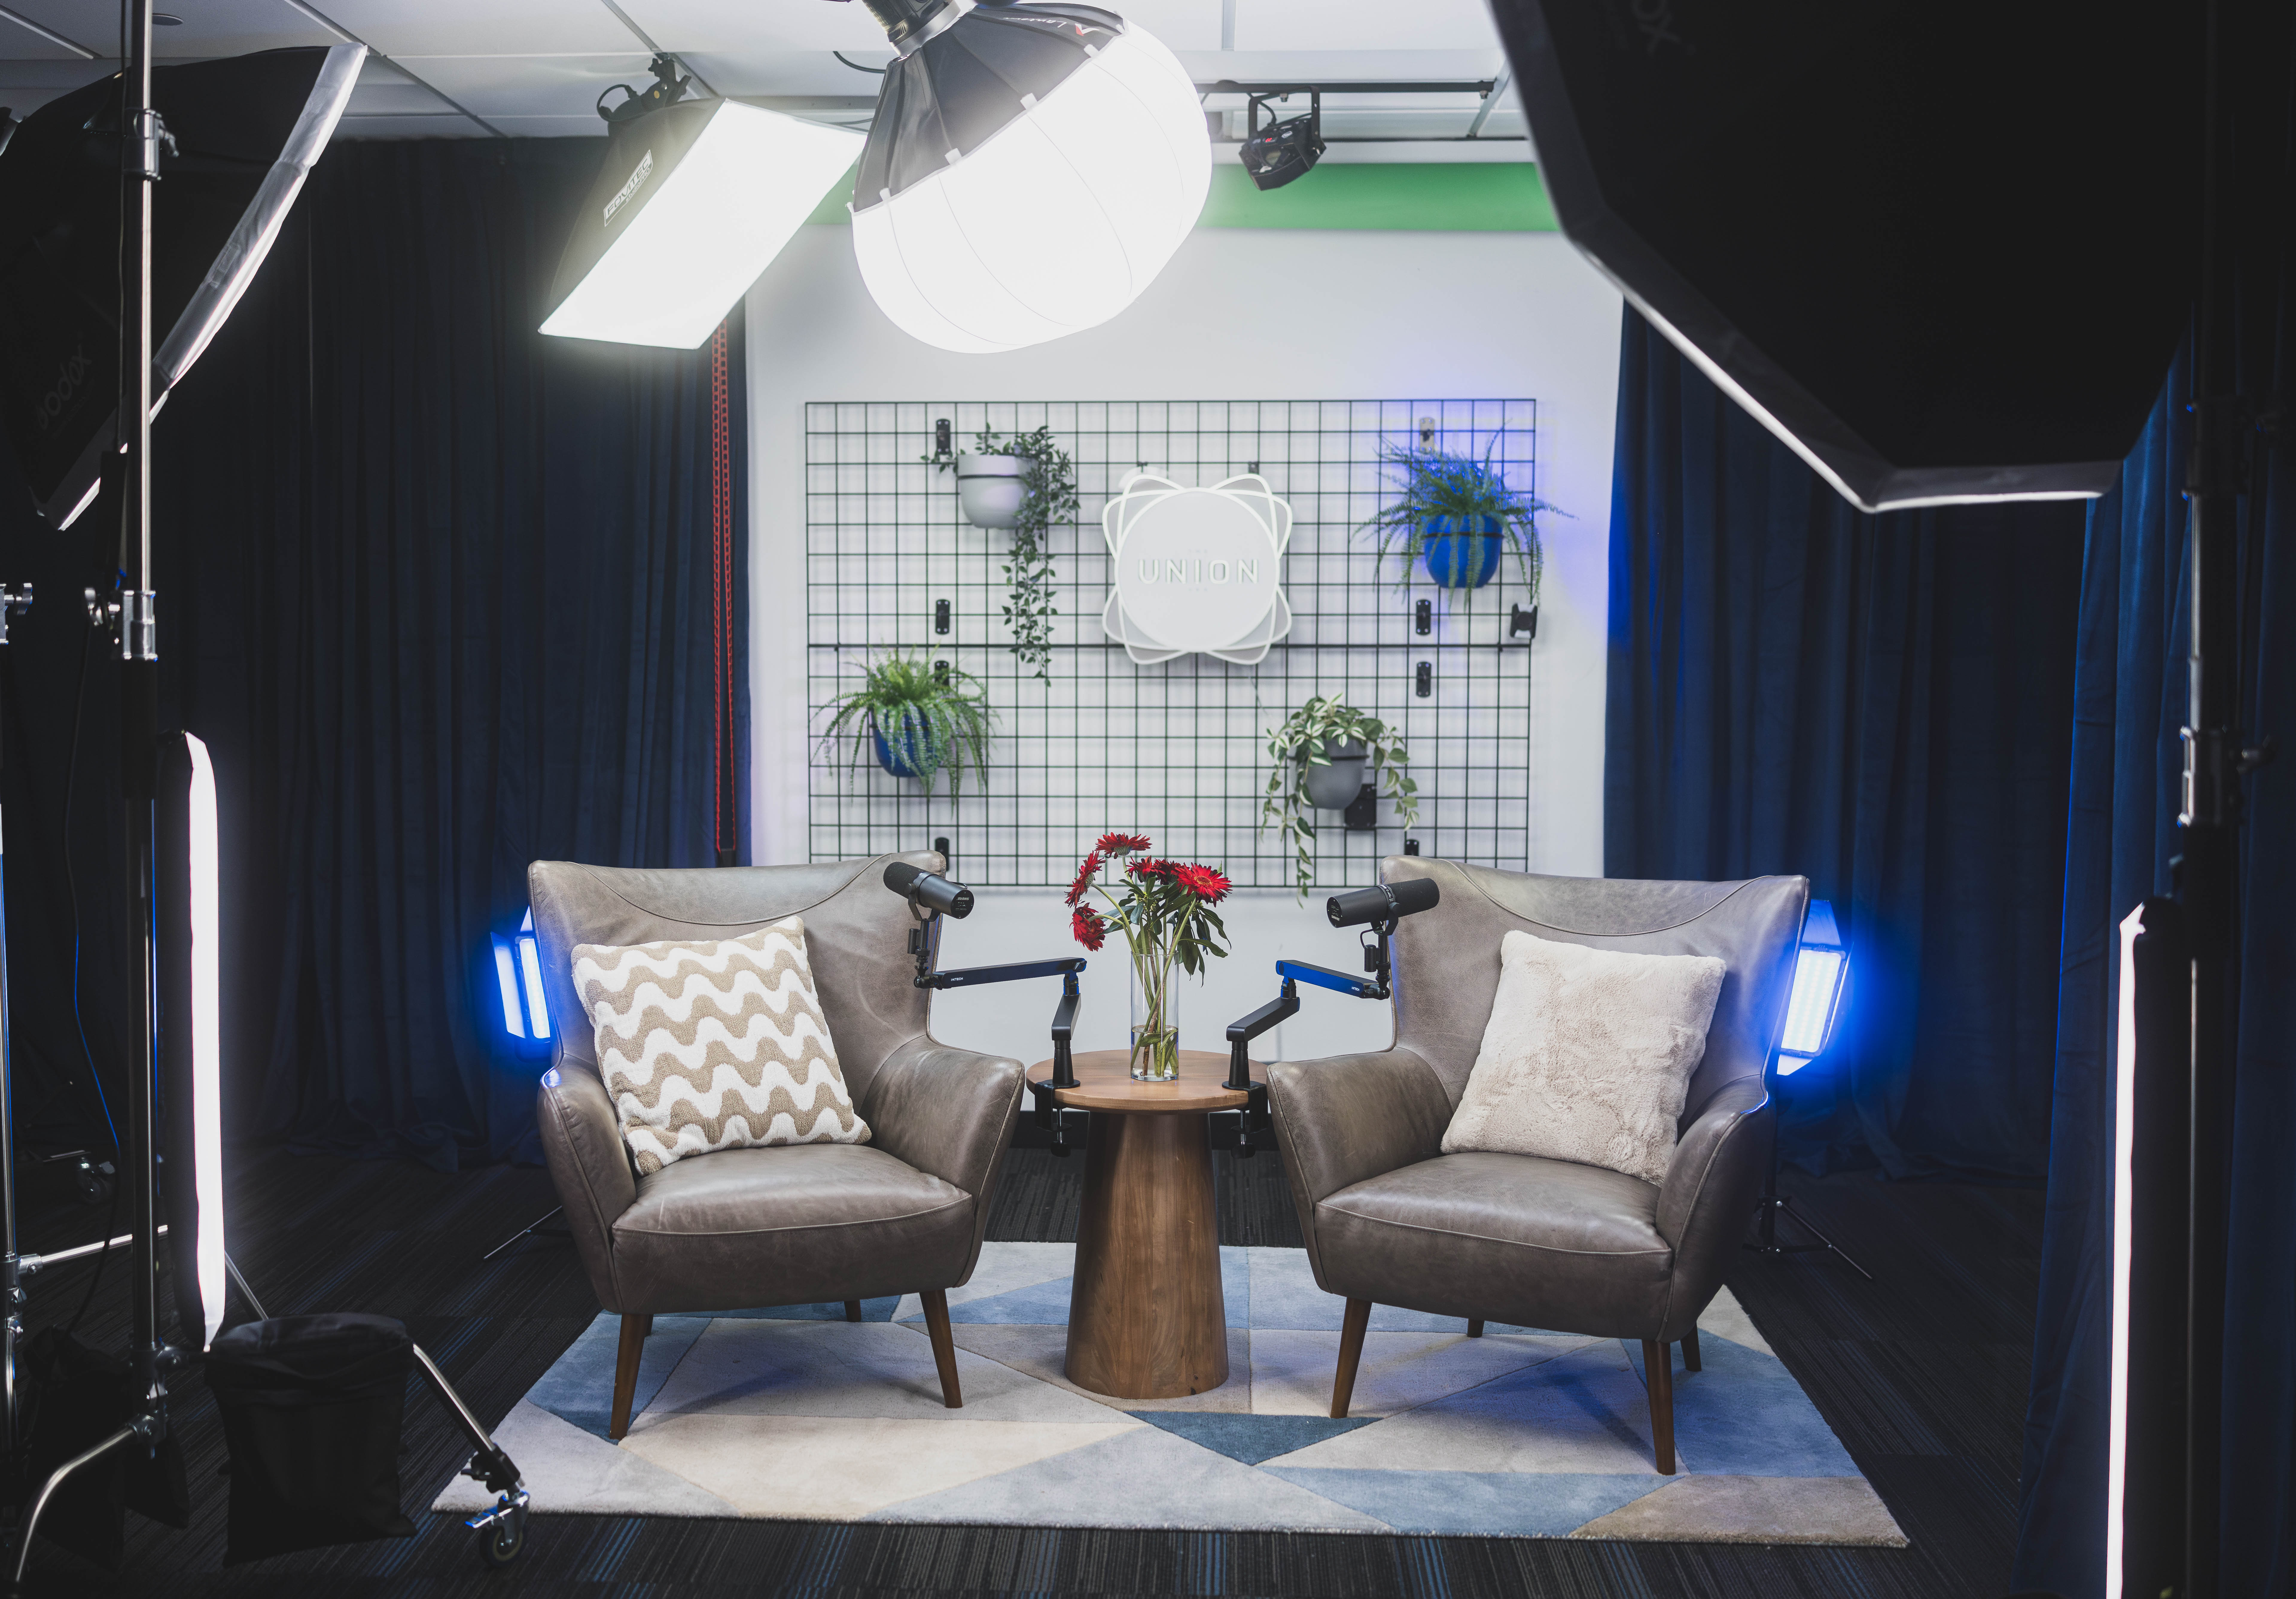
Tasha used to edit at home after her kids went to bed, wearing whatever earbuds were in her bag. For this stage, she books time in The Union's pre/post-production room, a space set aside for editing. Having a dedicated room for focused listening, away from household noise and interruptions, makes it much easier to notice subtle problems like a low hum or a slightly harsh "s." If you are not sure what setup makes sense for your project, you can book a tour of the space before your first session, and The Union offers hands-on support where you bring your own team or borrow theirs.
Your listening checklist
Closed-back headphones for detailed work. They block outside noise and reveal clicks, breaths and hiss.
Speakers (if available) for judging overall balance, since headphones can exaggerate stereo width and detail.
Reference devices: your phone speaker, cheap earbuds and your car. Most of your audience listens on exactly these.
Moderate volume. Loud listening fatigues your ears fast and makes everything sound better than it is. Take a short break every 45 minutes or so.
EQ: making voices clear without making them weird
EQ (equalization) turns specific frequency ranges up or down. Think of it as sculpting. Most of the time in podcasting, you are cutting problems more than boosting good stuff. Here is a practical map of the human speaking voice:
Below 70 to 100 Hz: rumble, traffic, desk bumps, air conditioning. Almost no useful voice information lives here.
200 to 400 Hz: "mud." Too much makes voices sound thick and cloudy.
300 to 600 Hz: "boxiness," that cardboard-box quality from small, reflective rooms.
2 to 5 kHz: presence and intelligibility. This is where consonants live.
5 to 8 kHz: sibilance, the sharp "s" sounds.
10 to 12 kHz and up: "air," a subtle sense of openness.
A starting EQ recipe for spoken word
High-pass filter at around 80 Hz for most voices (try 100 Hz for higher voices, 60 to 70 Hz for very deep ones). This one move cleans up more than any other.
Cut 2 to 4 dB somewhere in the 200 to 500 Hz range if the voice sounds muddy or boxy. Sweep a narrow boost slowly through that range to find the ugliest spot, then cut there.
Gentle boost of 1 to 3 dB around 3 to 5 kHz if the voice needs more clarity.
Optional small shelf boost above 10 kHz for air, only if it does not add hiss.
For Tasha, the studio recording of her own voice needs very little: a high-pass at 80 Hz and a small cut around 300 Hz. The remote veterinarian is a different story. The remote audio is thin, so instead of boosting the lows aggressively (which would bring up room noise), Tasha cuts a little harshness near 4 kHz and adds a modest 2 dB lift around 150 to 200 Hz for warmth. The goal is for the two voices to sound like they belong in the same conversation, even though they were not in the same room.
Common EQ mistake: boosting everything. If you find yourself adding 6 dB or more anywhere, stop and ask whether a cut elsewhere would do the job. Big boosts amplify noise along with voice.
Compression: taming the loud and lifting the soft
Compression reduces the gap between your loudest and quietest moments. When Tasha gets excited, a compressor turns her down a little. When she reads quietly, the overall level stays steady after makeup gain brings everything back up. The result: listeners stop reaching for the volume button.
The four settings that matter
Threshold: the level where compression starts working. Set it so the compressor is active on normal speech, not just on shouts.
Ratio: how hard it compresses. For voice, start at 3:1. Range: 2:1 (gentle) to 4:1 (firm).
Attack: how fast it reacts. Try 10 to 20 milliseconds. Too fast can dull consonants; too slow lets peaks through.
Release: how fast it lets go. Try 50 to 150 milliseconds, or use "auto" if your software offers it.
Watch the gain reduction meter. On a typical podcast voice, you want roughly 3 to 6 dB of reduction on normal speech. Then raise the makeup (output) gain so the track sits back at a healthy level.
Signs you overdid it
Breaths suddenly sound as loud as words.
Room noise "pumps" up between sentences.
The voice sounds flat, squashed or tiring after a few minutes.
If you hear any of these, lower the ratio or raise the threshold. Gentle compression in two stages (a light compressor followed later by a limiter) almost always sounds more natural than one heavy compressor.
Do not forget the de-esser
Compression and presence boosts can make "s" sounds sharp. A de-esser is a compressor that only listens to the sibilant range (usually 5 to 8 kHz). Set it to reduce harsh "s" sounds by 3 to 6 dB, and listen for a lisp. If "sister" starts sounding like "thithter," back off.
Balancing voices, music and the ad read
Once each voice is shaped, set their levels so they feel equally loud. Do this by ear, then double-check with a loudness meter on each track (more on meters below). Two voices that read the same on a peak meter can sound very different in perceived loudness.
For music, the rule is simple: speech wins. When a voice comes in over theme music, the music should drop roughly 10 to 15 dB below the voice. Many editors use "ducking" (automatic lowering of music whenever speech is present), or you can draw volume automation by hand. Tasha's intro music swells for four seconds, then ducks under her opening line: "This week's question comes from a sixth grader named..."
Ad reads deserve attention too. A sponsor segment that is suddenly louder or quieter than the episode feels jarring and can make listeners skip it. Mix the ad at the same perceived loudness as the conversation. If your episodes will carry sponsors regularly, it helps to plan this early; The Union's producers include sponsor-ready ad markers in post-production when partners are in scope.
Loudness targets: how loud is "loud enough"?
This is where many beginners get stuck, so here is the short version. Podcast loudness is measured in LUFS (Loudness Units relative to Full Scale), which reflects how loud audio sounds to human ears over time, rather than just its peaks. The number you care about is integrated loudness: the average across the whole episode.
Common targets (check current specs before you publish)
-16 LUFS integrated for stereo files is the most widely used podcast target. Apple Podcasts' published guidance recommends around -16 LUFS with a true peak no higher than -1 dBFS.
-19 LUFS integrated is commonly used for mono files, which roughly matches the perceived loudness of a -16 LUFS stereo file.
Around -14 LUFS is the normalization level Spotify uses for music by default, and YouTube is widely reported to normalize near that level. Some podcasters who publish heavily to video aim slightly louder for that reason.
True peak ceiling of -1 dBTP is a safe standard. It leaves headroom so MP3 encoding does not cause distortion.
Platforms update their recommendations and normalization behavior over time, so look up each platform's current technical guidelines before you finalize your template. If you are unsure, -16 LUFS integrated with a -1 dBTP ceiling is a dependable, widely accepted choice for a stereo podcast.
Tools to measure loudness
Youlean Loudness Meter: a popular free plugin that shows integrated LUFS and true peak.
Built-in meters in Adobe Audition, Reaper, DaVinci Resolve and Logic Pro.
Audacity's Loudness Normalization effect, which can set a file to a LUFS target directly.
Auphonic: a web service that levels and normalizes podcasts automatically. It offers a limited amount of free processing time; check current terms.
Mastering and export, step by step
Here is the exact sequence Tasha follows to finish "Why do cats purr?" Use it as your own template.
Save a copy of your project before mastering, so you can always return to the unmastered mix.
Listen to the full mix once on headphones, noting any timestamps where levels jump or audio sounds harsh.
Fix those moments in the mix, not the master. Mastering cannot rescue one quiet sentence.
Add a limiter to the master output with the ceiling set to -1 dBTP.
Measure integrated loudness across the entire episode.
Adjust gain into the limiter (or use a normalization tool) until you land within about 1 LU of your target, such as -16 LUFS for stereo.
Check that the limiter is not working too hard. If it is constantly pulling down 4 dB or more, go back and add a bit more compression in the mix.
Export a master WAV (44.1 or 48 kHz, 24-bit) and archive it. This is your highest-quality copy.
Export your distribution MP3. A common choice is 128 kbps for stereo, or 64 to 96 kbps for mono speech. Check your hosting platform's recommendations.
Do a reference listen on your phone speaker, cheap earbuds and in the car. Compare against two shows you admire in the same genre.
Step 10 is the one people skip and regret. When Tasha listened in her car on the way to school, she noticed her theme music felt too loud next to her voice at highway volume. She pulled it down 2 dB, re-exported and the episode instantly felt more polished.
Working with an editor (or a producer) without losing control
Maybe you love this technical work. Maybe you would rather spend your hours on research and storytelling. Both are valid. Tasha decides to mix the first few episodes herself so she understands the process, then plans to bring in an illustrative freelance editor, Marcus, once her school year gets busy.
The Union's infrastructure makes that handoff easier. The studio has dedicated fiber internet and integrated Blackmagic Cloud storage built for real-time collaboration and rapid file transfers, so a remote editor can stay in the loop without anyone mailing hard drives or waiting hours for uploads. Tasha can record on Tuesday and Marcus can start pulling files the same evening.
If you prefer to hand off post entirely, The Union's producers handle post-production that includes mixed audio, a clean video cut, short captioned clips, thumbnails, pull-quotes, show notes and publishing copy. You can see the full range of support on the services page. A quick conversation with the team can help you decide which parts to learn yourself and which to delegate, which often saves weeks of trial and error.
If you share the work, share a spec sheet
Whoever mixes your show, write down your standards so every episode sounds the same:
Loudness target and true peak ceiling (for example, -16 LUFS, -1 dBTP).
Export formats (master WAV and distribution MP3 settings).
Music ducking level and intro and outro lengths.
Your EQ and compression presets for each regular voice.
Naming conventions for files.
Common mistakes to avoid
Trying to fix bad recordings in the mix. Mixing polishes good audio. It cannot turn a noisy, echoey recording into a clean one. This is why recording on a set in a controlled environment, like the ones in the Blue Room, pays off later.
Heavy noise reduction. Too much creates a watery, robotic sound. Use the gentlest setting that works.
Chasing loudness. Going far louder than your target does not help on platforms that normalize; it just adds distortion and fatigue.
Mixing only on one device. Always reference on what your listeners actually use.
Different settings every week. Save presets and a project template. Consistency builds trust.
Ignoring the first 30 seconds. Your opening is where new listeners decide to stay. Make sure it is clean, balanced and properly loud.
Do this this week
Pick one finished or practice recording (even five minutes of you reading a kid's question aloud) and run this exercise:
Install a free loudness meter and measure the raw file's integrated LUFS. Write the number down.
Apply a high-pass filter at 80 Hz, one small mud cut and a 3:1 compressor with 3 to 6 dB of gain reduction.
Add a limiter at -1 dBTP and bring the file to -16 LUFS (or -19 for mono).
Export, then listen to the before and after back to back on your phone speaker.
Save those settings as your first preset.
That single preset is the beginning of your show's signature sound. If you want a second set of ears on it, bring it to a session at The Union and ask the team to listen with you.
Coming up next
Your episode sounds great. Now it needs words that help people find it and decide to press play. In Part 15, Writing Show Notes, Tasha turns "Why do cats purr?" into a description, timestamps and links that work for listeners and search engines alike.
Start your story at The Union
You do not need your own studio, a rack of plugins or years of audio training to make a podcast that sounds professional. The Union is a nonprofit creative hub in downtown Seattle, built since 2018 to be an on-ramp for educators, entrepreneurs, artists and creators, with production studios, a pre/post-production room and a team that can support you from recording through final mix.
Guests can book the studio by appointment without a membership; guest hours are 9 AM to 5 PM on weekdays, and The Union also hosts Saturday guest events. If you are ready to make podcasting a regular practice, apply for membership: the CoCreate Podcast membership is $300 per month with a $100 sign-up fee and a two-month commitment, and includes access to the media lab for DIY and full-service productions. CoCreate memberships currently have a waitlist of about one month, so applying early helps. Want to start smaller? The CoMmunity membership is $50 per month with no sign-up fee and includes discounted consultations.
Questions about your mix, your setup or where to begin? Email contact@theunion.io or call 206-551-0964. We would love to hear what you are making.
The full series
This is Part 14 of 24 in Starting a Podcast at The Union (Post-Production stage). Previous: Part 13, From Raw Recording to Tight Episode: A Simple Editing Workflow. Next: Part 15, How to Write Show Notes for That Blank Description Box.