Podcasting
·
Oct 15, 2026
A Repeatable Studio Setup So You Can Press Record Faster
Arif Gursel
Founder

The first test recording by our example creator, Tasha, sounded like two different podcasts stitched together. Her voice was quiet and far away, her co-host's laugh distorted every time something was funny, and twenty minutes in she realized her headphones had been unplugged the whole time. The question they were answering was a great one, straight from a sixth grader: "Why do my fingers get wrinkly in the bath?" But the audio got in the way of the answer.
If you have been following this series, you know Tasha as our illustrative creator: a middle school science teacher in Rainier Valley building a podcast for parents of curious kids, where each episode answers one real question a kid asked. In Part 8 she learned how rooms shape sound and why a treated space matters. Now, in Part 9, she is tackling the thing that turns a good room into a good recording: a setup she can repeat every single session without thinking.
That is what this post is about. We will cover gain and levels, monitoring, recording formats and backups, and a pre-record checklist you can print and tape to the table. By the end you will have a system, and a system is what saves you hours.
Why a repeatable setup matters more than new gear
Most beginners assume bad audio is a gear problem. Usually it is a consistency problem. The microphone was fine; it was just six inches too far away this week. The interface was fine; the gain knob got bumped. The room was fine; someone forgot to turn off the fan.
A repeatable setup means three things:
The same settings every time. Gain, sample rate, track layout, headphone volume. You write them down once and reuse them.
The same physical positions every time. Mic distance, chair height, where the laptop sits so its fan is not pointed at a microphone.
The same order of operations every time. A checklist you run in five to ten minutes before every session, no matter how rushed you are.
Tasha recognized this instantly. Every lab in her classroom starts with the same procedure: goggles, check the materials, confirm the steps. Nobody skips it because they "did it last week." A recording session is a lab. The procedure is what makes results comparable from episode to episode, and comparable episodes are what make a show sound professional.
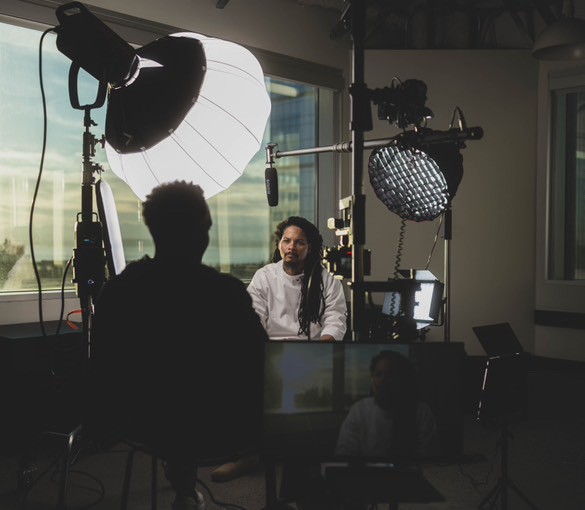
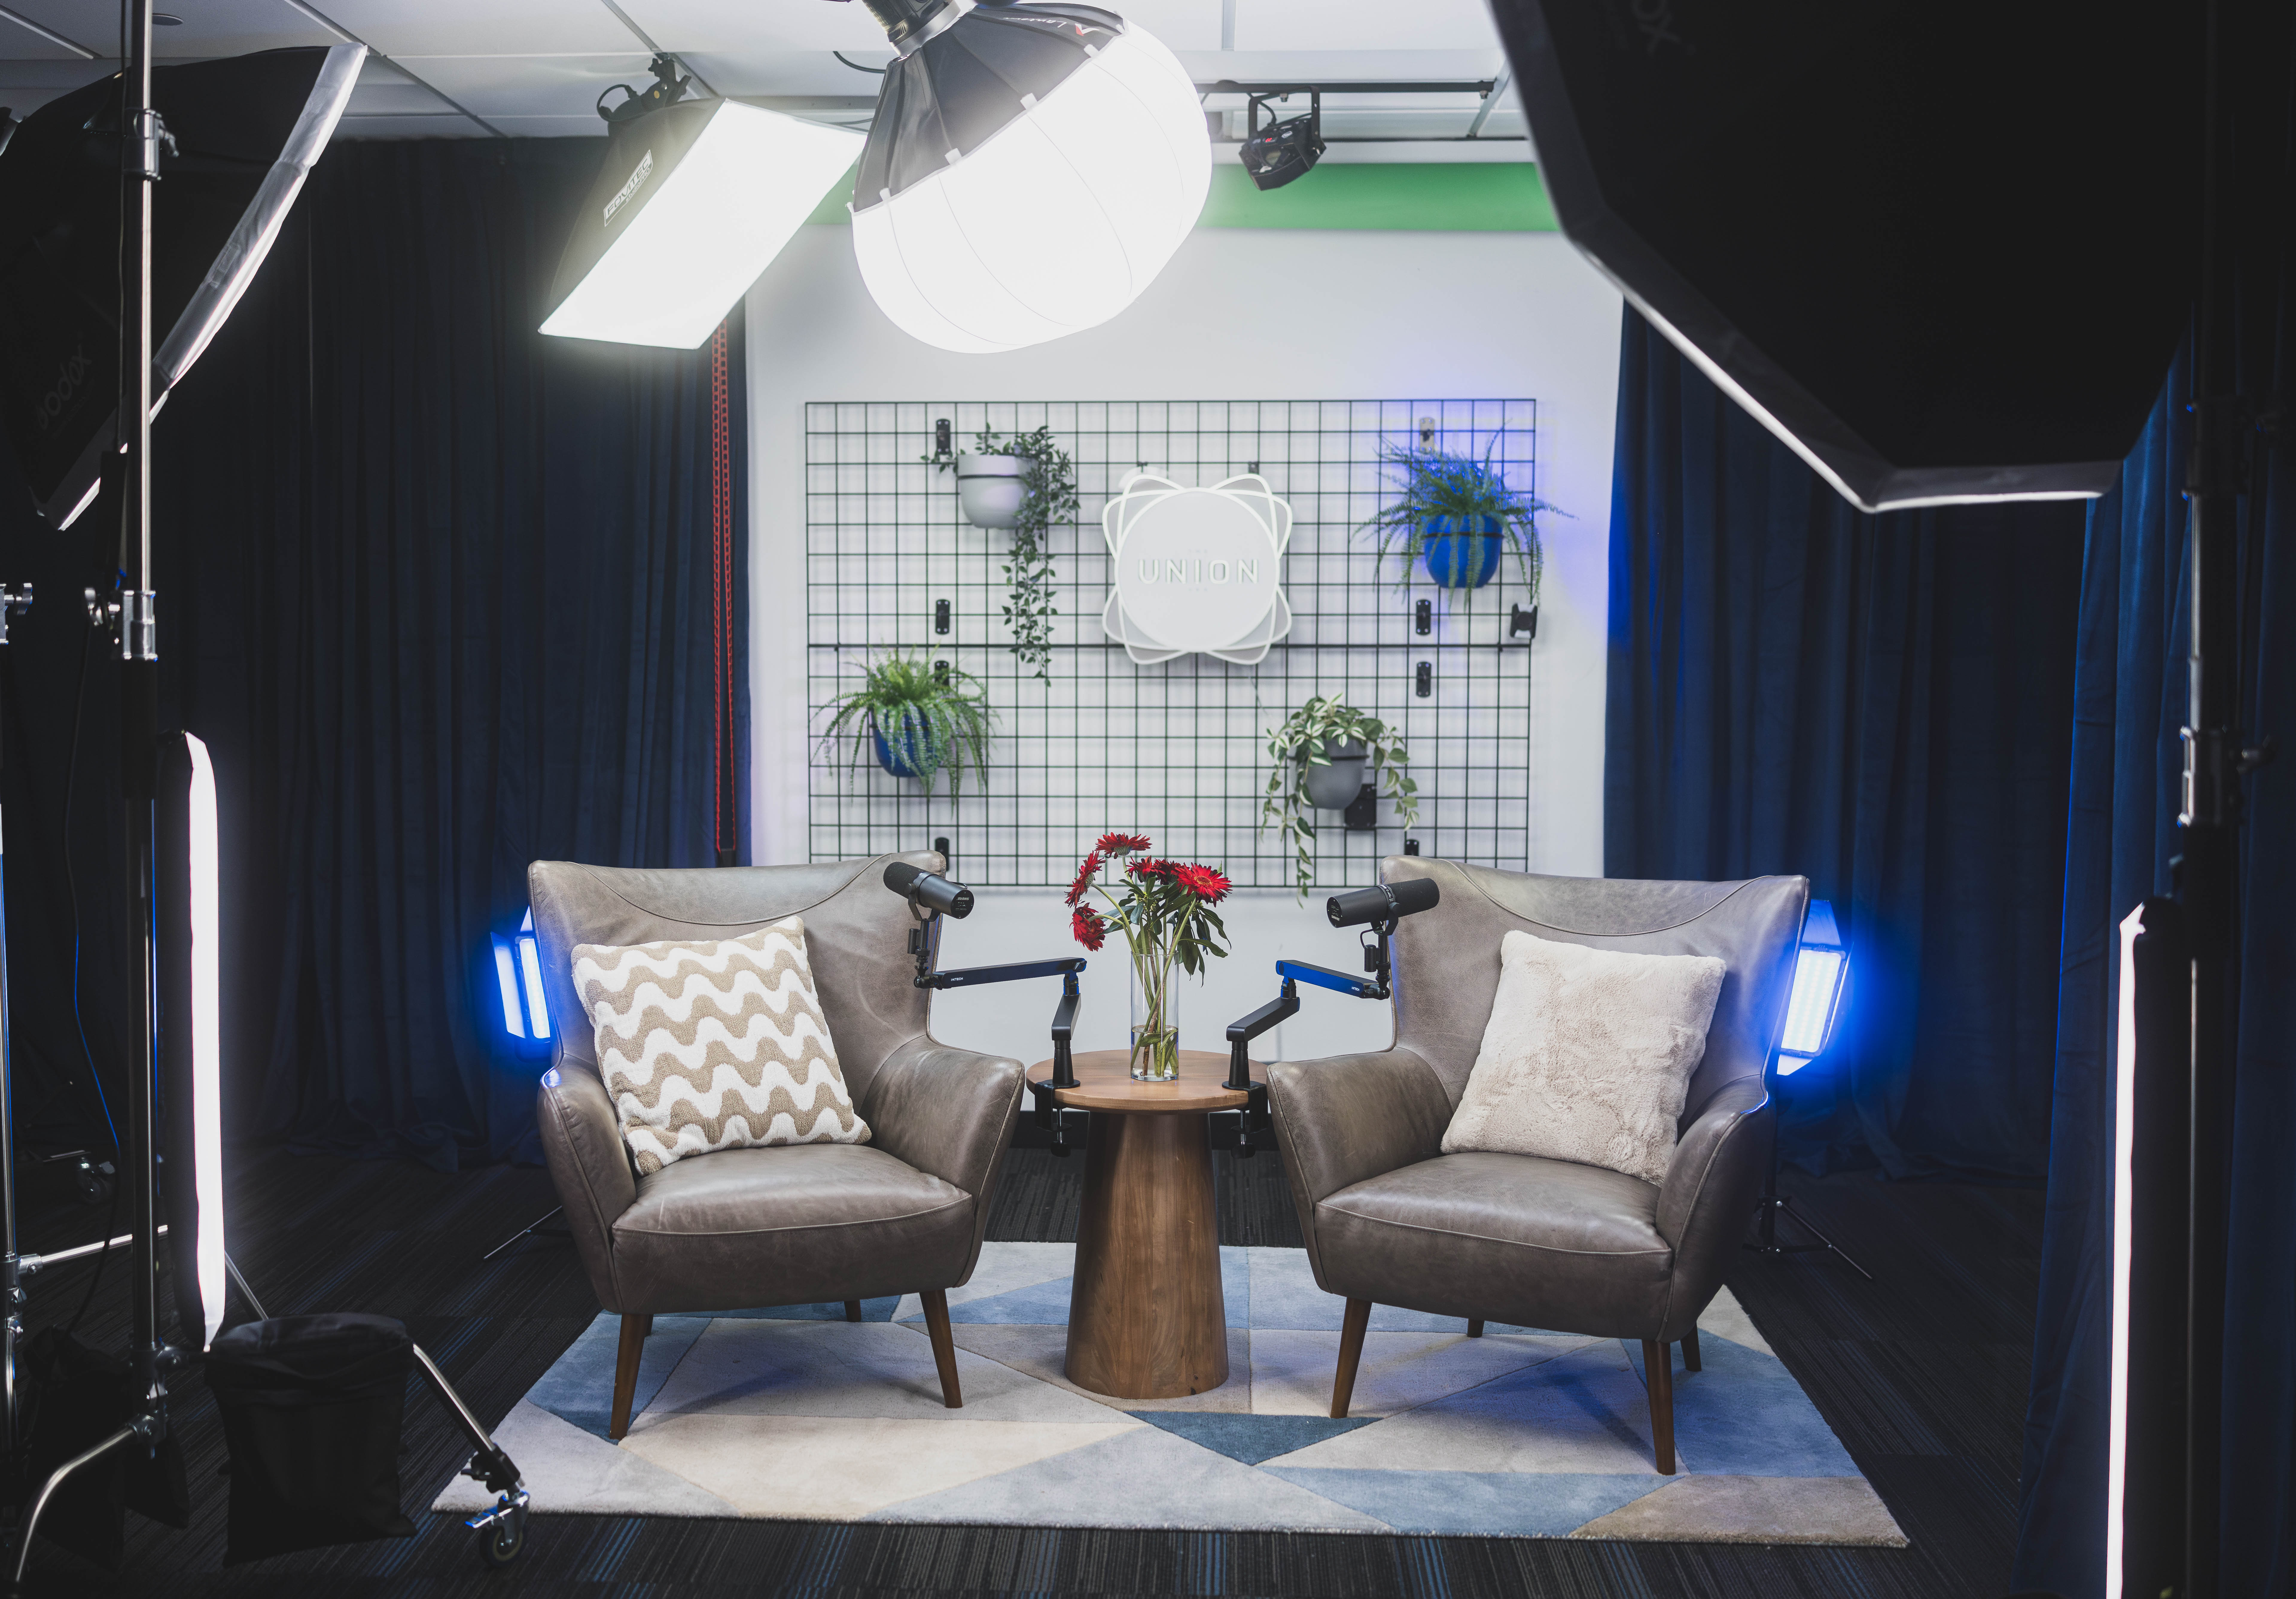
This is also where the studio you choose starts to matter. Setting up from scratch in a spare bedroom means rebuilding the whole rig every time. At The Union, the production team sets the room before a session, and the Media Lab is built around two purpose-built production studios, Blue Pill and Red Pill, with a proper recording and engineering setup already in place. The goal is simple: you walk in and get to recording, instead of spending the first forty minutes untangling cables.
Gain staging: getting levels right at the source
"Levels" means how loud your signal is as it enters the recorder. "Gain" is the knob that controls it, usually on your audio interface, mixer, or recorder. Gain staging is the habit of setting that knob correctly at the start of the chain so you are not fighting it later.
Here is the core idea: you cannot fix a distorted (clipped) recording, and you can only partly fix a very quiet one. Too hot and the peaks get chopped off into harsh crunch. Too low and when you turn it up in editing, you also turn up the hiss, the hum, and the room.
The numbers to aim for
Digital meters measure in dBFS (decibels relative to full scale). Zero dBFS is the ceiling. Anything that hits it clips. For spoken word recorded at 24-bit, a common, safe target looks like this:
Normal speaking peaks: around -12 dBFS.
Loudest moments (laughs, excited reactions): staying below about -6 dBFS.
Average speech level: roughly -18 to -20 dBFS on most meters.
That might look quiet on the meter. It is supposed to. At 24-bit there is plenty of resolution, so leaving headroom costs you almost nothing and protects you from the one laugh that would otherwise ruin a great moment.
A note on newer gear: some recorders and interfaces capture in 32-bit float, which makes the digital file very hard to clip. That is genuinely helpful, but it does not protect the analog parts of the chain (the microphone preamp can still distort if driven too hard), and it does not fix a mic placed too far away. Set sensible levels anyway.
Also, do not confuse recording levels with final loudness. Published podcasts are usually mastered to a loudness target later in post-production. Apple's guidance has long pointed to around -16 LUFS for spoken audio, while Spotify normalizes playback to around -14 LUFS by default. These targets vary by platform and do change, so you will handle them when you mix, not while you record.
Mic technique that makes levels behave
Gain settings only stay valid if the distance between mouth and mic stays consistent. For most dynamic microphones used in podcasting:
Stay about 2 to 4 inches from the mic (a fist's width is a handy gauge).
Speak slightly across the mic, angled a little off center, to reduce popping "p" and "b" sounds (plosives).
Use a pop filter or foam windscreen when one is available.
Do not lean back mid-story. Every few inches of extra distance makes you noticeably quieter and roomier.
Condenser microphones are more sensitive, pick up more of the room, and need phantom power (usually labeled +48V). If a condenser is silent, phantom power is the first thing to check.
Tasha's co-host in our example, a parent named Devon who brings the "what would a kid actually ask next?" energy, is a natural leaner. He gets excited and sits back to laugh. The fix was low-tech: a chair with no recline and a reminder note on the table that said "Fist to mic."
Monitoring: hearing what the recorder hears
Monitoring means listening, live, to the actual signal being recorded. It is how you catch problems while you can still fix them, instead of discovering them in the edit.
Everyone wears headphones
If you are the host, wear headphones for the entire session. Ideally, your co-host and guests do too. Hearing your own voice through headphones makes you naturally adjust your distance and volume. It also lets you hear a buzzing cable, a rustling sleeve, or a guest drifting off mic.
Use closed-back headphones. Open-back headphones leak sound, and that leaked audio can bleed into the microphones, creating a faint echo.
Keep headphone volume moderate. Loud enough to hear clearly, quiet enough that it does not leak and does not fatigue you over an hour.
Use direct or zero-latency monitoring if your interface offers it. A delay of even a fraction of a second between speaking and hearing yourself is surprisingly distracting.
Watch and listen
Monitoring is both ears and eyes. Glance at the meters every few minutes. Are peaks still landing where you set them? Did a guest get quieter after the first ten minutes as they relaxed back in their chair? A quick, friendly hand signal (a fist toward the mic) fixes it without stopping the conversation.
This is one of the places where having a producer in the room changes everything. During a session, The Union's producers monitor pacing and clarity while capturing clean audio and video. That means you get to focus on being a good host, listening to your guest, following the interesting thread, while someone else watches the meters. For a beginner, splitting those two jobs is often the single biggest jump in quality.
Recording format, tracks, and backups
Before you ever hit record, decide on your format and never change it mid-season.
Sample rate: 48 kHz is the standard for anything that touches video. 44.1 kHz is fine for audio-only shows. Pick one and keep it consistent across every file.
Bit depth: 24-bit (or 32-bit float if your gear supports it).
File type: WAV for recording. You will export to compressed formats like MP3 at the end.
Multitrack: Record each microphone to its own separate track. This lets an editor fix one person's level, cough, or interruption without affecting anyone else.
Always have a backup
Recordings fail. Laptops freeze, drives fill up, cables get kicked. Run a second recording whenever you can: a backup recorder, a second device, or a safety track. It feels redundant until the day it saves an interview you can never redo.
Record room tone and, for video, a sync point
At the start of every session, record 20 to 30 seconds of silence with everyone in place. This "room tone" helps an editor smooth over cuts and run noise reduction later. If you are also filming, do a clear hand clap on camera at the start so audio and video can be lined up easily.
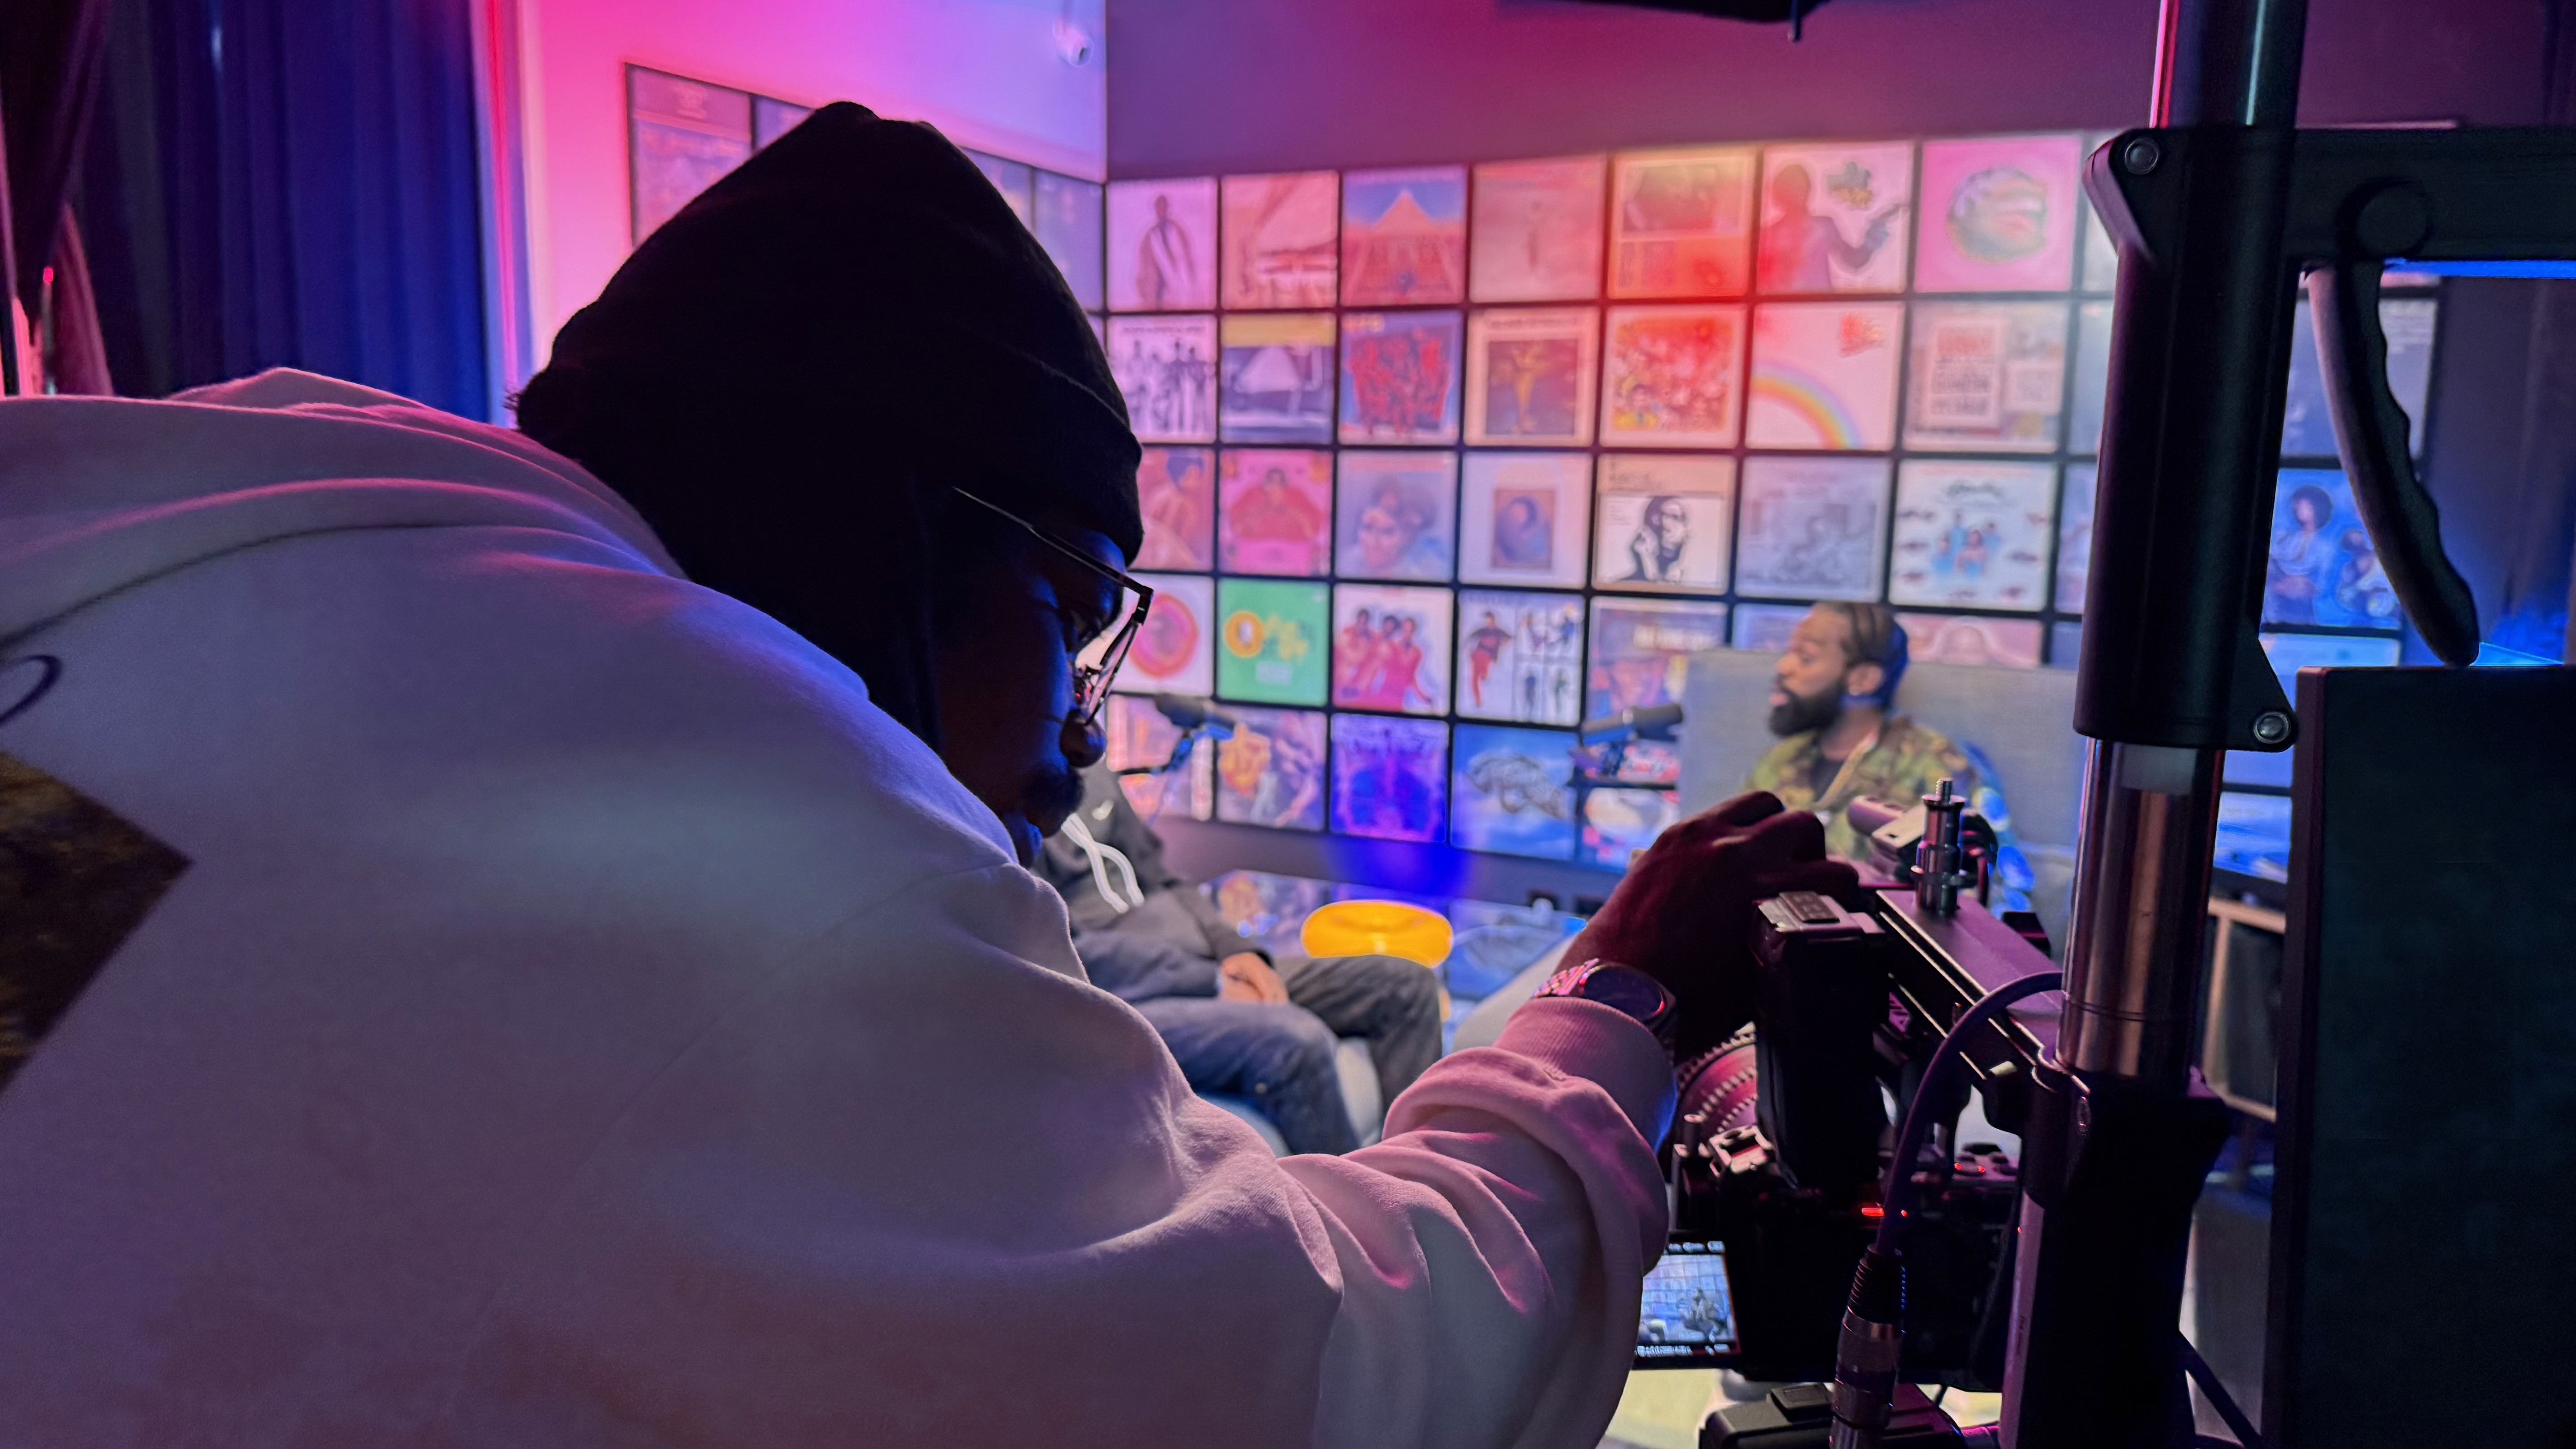
If you plan to film (and many podcasts do now, for YouTube and short clips), The Union's Media Lab includes cinema and vlog camera bodies, and the dedicated fiber internet means you can review 4K footage while still on set. Its integrated Blackmagic Cloud Storage keeps a remote editor in the loop, so files can start moving toward post-production quickly instead of waiting on a hard drive handoff.
How Tasha builds her session sheet
After her rough first test, Tasha booked the studio as a guest, by appointment. Her goal was not to memorize every knob. It was to leave with a session sheet: one page that captures her show's exact setup so any session can be rebuilt the same way.
Her sheet looks like this:
Set: The Cove, one of the sets in the Blue Pill studio. For a future episode with a panel of kids and parents, she has her eye on the Red Pill studio, which is designed for larger setups.
Format: 48 kHz, 24-bit WAV, one track per mic, plus a backup recording.
Gain notes: Tasha's setting, Devon's setting, and a starting point for guests (adjusted after a sound check).
Positions: Fist distance from the mic, chairs locked, notes on the table instead of in laps.
Host notes: Her episode outline loaded onto the teleprompter screen, so she is not rustling paper near the mic.
Who does what: Tasha hosts, Devon co-hosts, a producer monitors pacing and clarity.
The teleprompter detail turned out to be bigger than she expected. Teachers are used to glancing at notes; podcasters who hold paper make noise. Moving her questions and the science explanation (the wrinkly-finger answer involves the nervous system and blood vessels, which surprised Devon on air) onto a screen kept her hands still and her eyes up.
The Union supports both do-it-yourself and full-service productions, and you can bring your own team or borrow theirs. Tasha chose a hybrid: she hosts and owns the content, and a producer handles the technical side while she learns. You can see the full range of support on the services page.
Your pre-record checklist
Here is the checklist Tasha now runs before every session. Copy it, adjust it for your show, and run it every time, even when you are running late. Especially when you are running late.
Silence the room. Phones on airplane mode or silent (including guests'). Notifications off on any computer in use. Fans, heaters, and anything with a hum turned off if possible.
Confirm the format. Correct sample rate and bit depth, one track per mic, enough storage space for at least twice your planned recording length.
Check every cable and power source. Firm connections, phantom power on only for mics that need it, devices charged or plugged in.
Position everyone. Chairs set, mics at fist distance and slightly off axis, pop filters in place, notes on a screen or flat on the table.
Headphones on, levels set. Each person talks at their real "on air" volume (ask them to describe what they had for breakfast, not to say "test, test"). Adjust gain so peaks sit around -12 dBFS.
Do a laugh test. Have everyone laugh or react loudly. Confirm peaks stay below about -6 dBFS.
Start the backup recording. Confirm it is actually rolling.
Record a test and play it back. Ten seconds, then listen on headphones. This catches dead mics and wrong inputs every time.
Test remote links if any guest is joining online, including their mic and headphones.
Record room tone and a clap. Thirty seconds of silence, then a clear clap if cameras are rolling.
Say the date and episode title at the top of the recording so files are easy to identify later.
On a well-prepared set, this takes five to ten minutes. When the production team has already aligned on the run-of-show, tested the remote links, and set the room, many of these steps are done before you arrive, which is the real time saver.
Common setup mistakes (and quick fixes)
Setting gain while whispering "testing." People speak louder once they relax. Sound check with real conversation.
Recording everyone onto one track. You lose the ability to fix individual voices. Always multitrack.
Skipping playback. The meter can bounce while recording a cable buzz. Listen to a short test first.
Mixing sample rates. A 44.1 kHz audio file and a 48 kHz video file can drift out of sync. Match them.
Treating 32-bit float as permission to ignore levels. It helps, but mic placement and preamp settings still matter.
Changing the setup between episodes "to try something." Experiment on a test day, then update the session sheet. Do not experiment on an interview you cannot redo.
Handling the mic or table while recording. Thumps travel. Hands off the stand, mugs on a separate surface.
Where an experienced producer saves you time
You can absolutely learn all of this yourself. Plenty of creators do. But there are a few moments where a short conversation with someone experienced pays for itself many times over:
Your first walkthrough. Seeing a set configured correctly once is faster than reading about it ten times. A studio walkthrough also helps you pick the right set for your format: two hosts, a panel, a solo show, or something with video.
Your first recording with a guest. Guests add unknowns: soft voices, nervous fidgeting, remote connections. Having someone monitor while you host lets you build confidence quickly.
When you add video. Cameras, lighting, and color backdrops add a whole new set of decisions. The Media Lab's modular sets can switch from a talking head to a panel without a long reset, and the team can design custom backdrops, lighting setups, and visual themes for your show.
Real creators work this way, too. Jolyn GC, co-host of the YouTube show The Come Up Series, records her podcast Wealth Rituals at The Union. Having a space that is ready when you arrive is part of what lets a creator keep a consistent schedule.
And there is a bigger picture here. Since opening on Juneteenth 2018, The Union has invested in production infrastructure for digital creation, which means individual creators do not have to buy and maintain it all themselves. You do not need to own a studio, or know every term in this post, to start. You need a question worth answering and a place to answer it.
Do this this week
Give yourself one focused hour:
Write your session sheet. Format, track layout, mic distance, who does what. Even if you have never recorded, draft what you intend.
Adapt the checklist. Cut what does not apply, add anything specific to your show, and print it.
Do a five-minute level test. Talk normally, laugh, then play it back on headphones. Note where your peaks land.
List three setup questions you cannot answer yet. Bring them to a content strategy conversation with The Union's team, or to the conversation the team schedules when you apply for membership.
Tasha's list included "How do I keep Devon from leaning back?" and "Can I use the teleprompter for my science explanation?" Both got answered in one visit.
Coming up next
Your setup is dialed in, so now it is time to fill the other chair. In Part 10, Guest Booking and Logistics, Tasha invites her first expert guest and learns how to schedule, prep, and welcome someone so the interview goes smoothly from the moment they arrive.
Start your story at The Union
If you want to see a studio setup in person, ask questions about levels or sets, or just figure out where to begin, the team is glad to help. Email contact@theunion.io or call 206-551-0964.
You do not need a membership to try it: guests can book the studio by appointment, 9 AM to 5 PM. If you are ready to record regularly, the CoCreate Podcast membership is $300 per month with a $100 sign-up fee and a two-month commitment, and includes the Media Lab for DIY and full-service productions plus pre-paid parking for you and your guests. There is currently a waitlist of about a month, so it is worth starting early: apply for membership and the team will reach out to schedule a conversation.
Your first question is waiting. Come find the room where you answer it.
The full series
This is Part 9 of 24 in Starting a Podcast at The Union (Content Production stage). Previous: Part 8, Why Your Room Matters More Than Your Mic. Next: Part 10, How to Book Great Podcast Guests and Make Them Glad They Came.